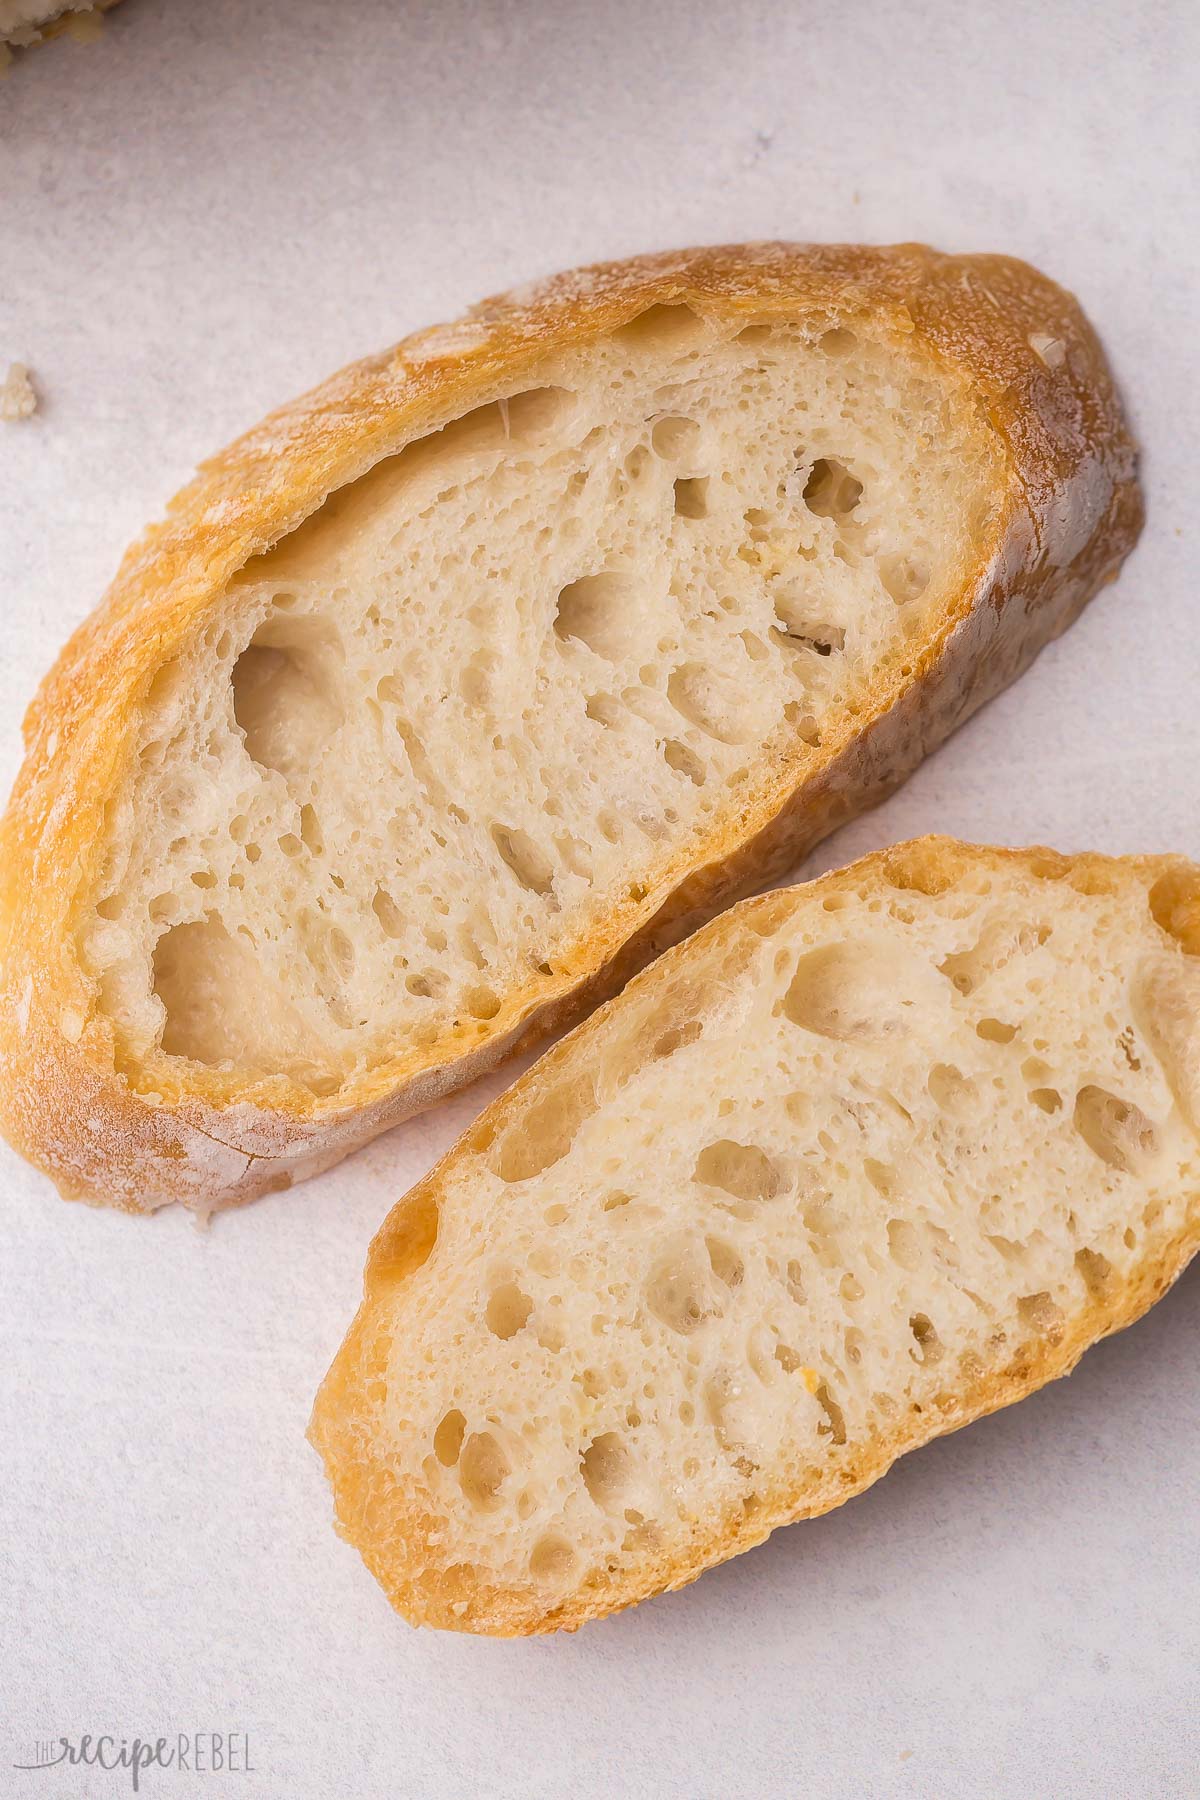
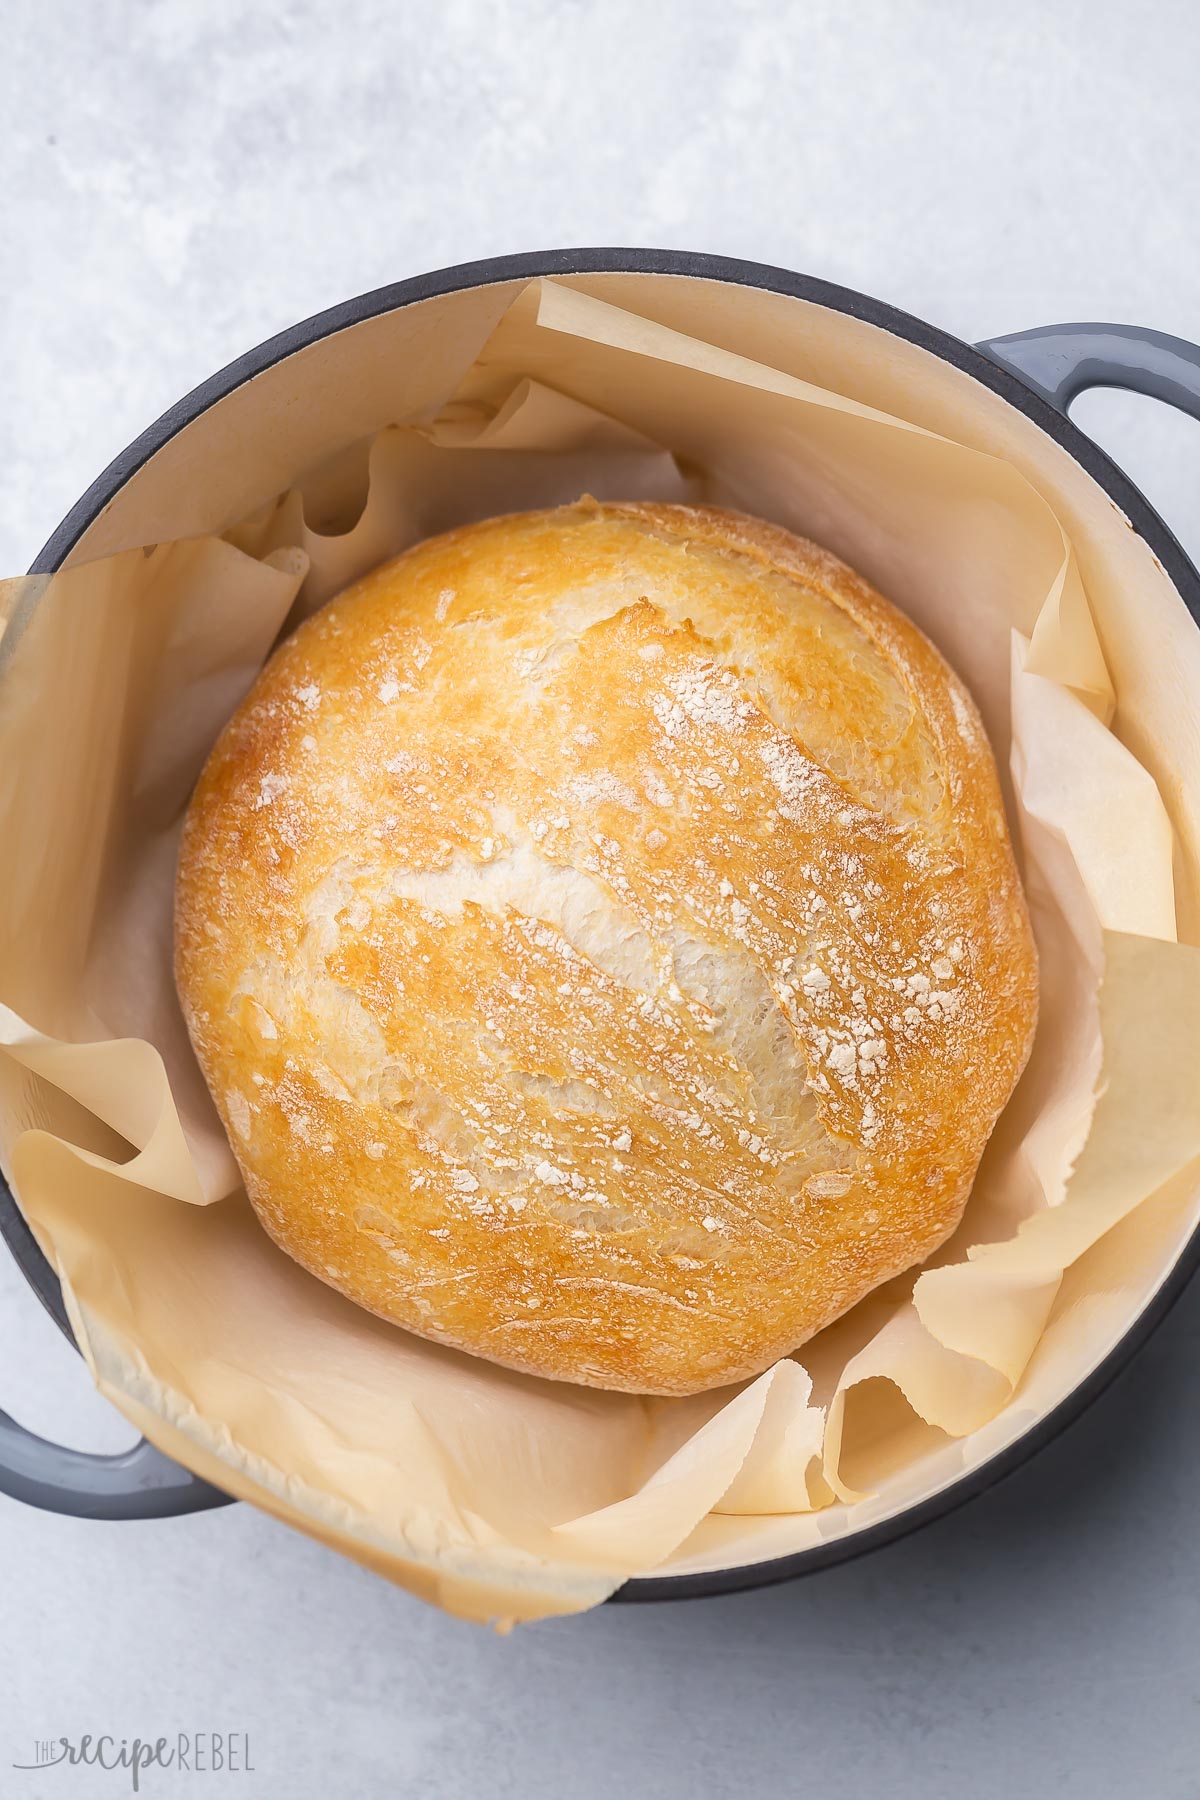
This hearty, chewy, No Knead Bread comes together in just minutes! It sits on the counter to rise and bakes up with a perfectly golden crust that is great for dipping. It’s so easy and perfect for beginner bakers!
Serve a slice with this hearty Pasta Fagioli recipe, this easy Cheeseburger Soup, or alongside these Baked Tuscan Chicken Breasts!
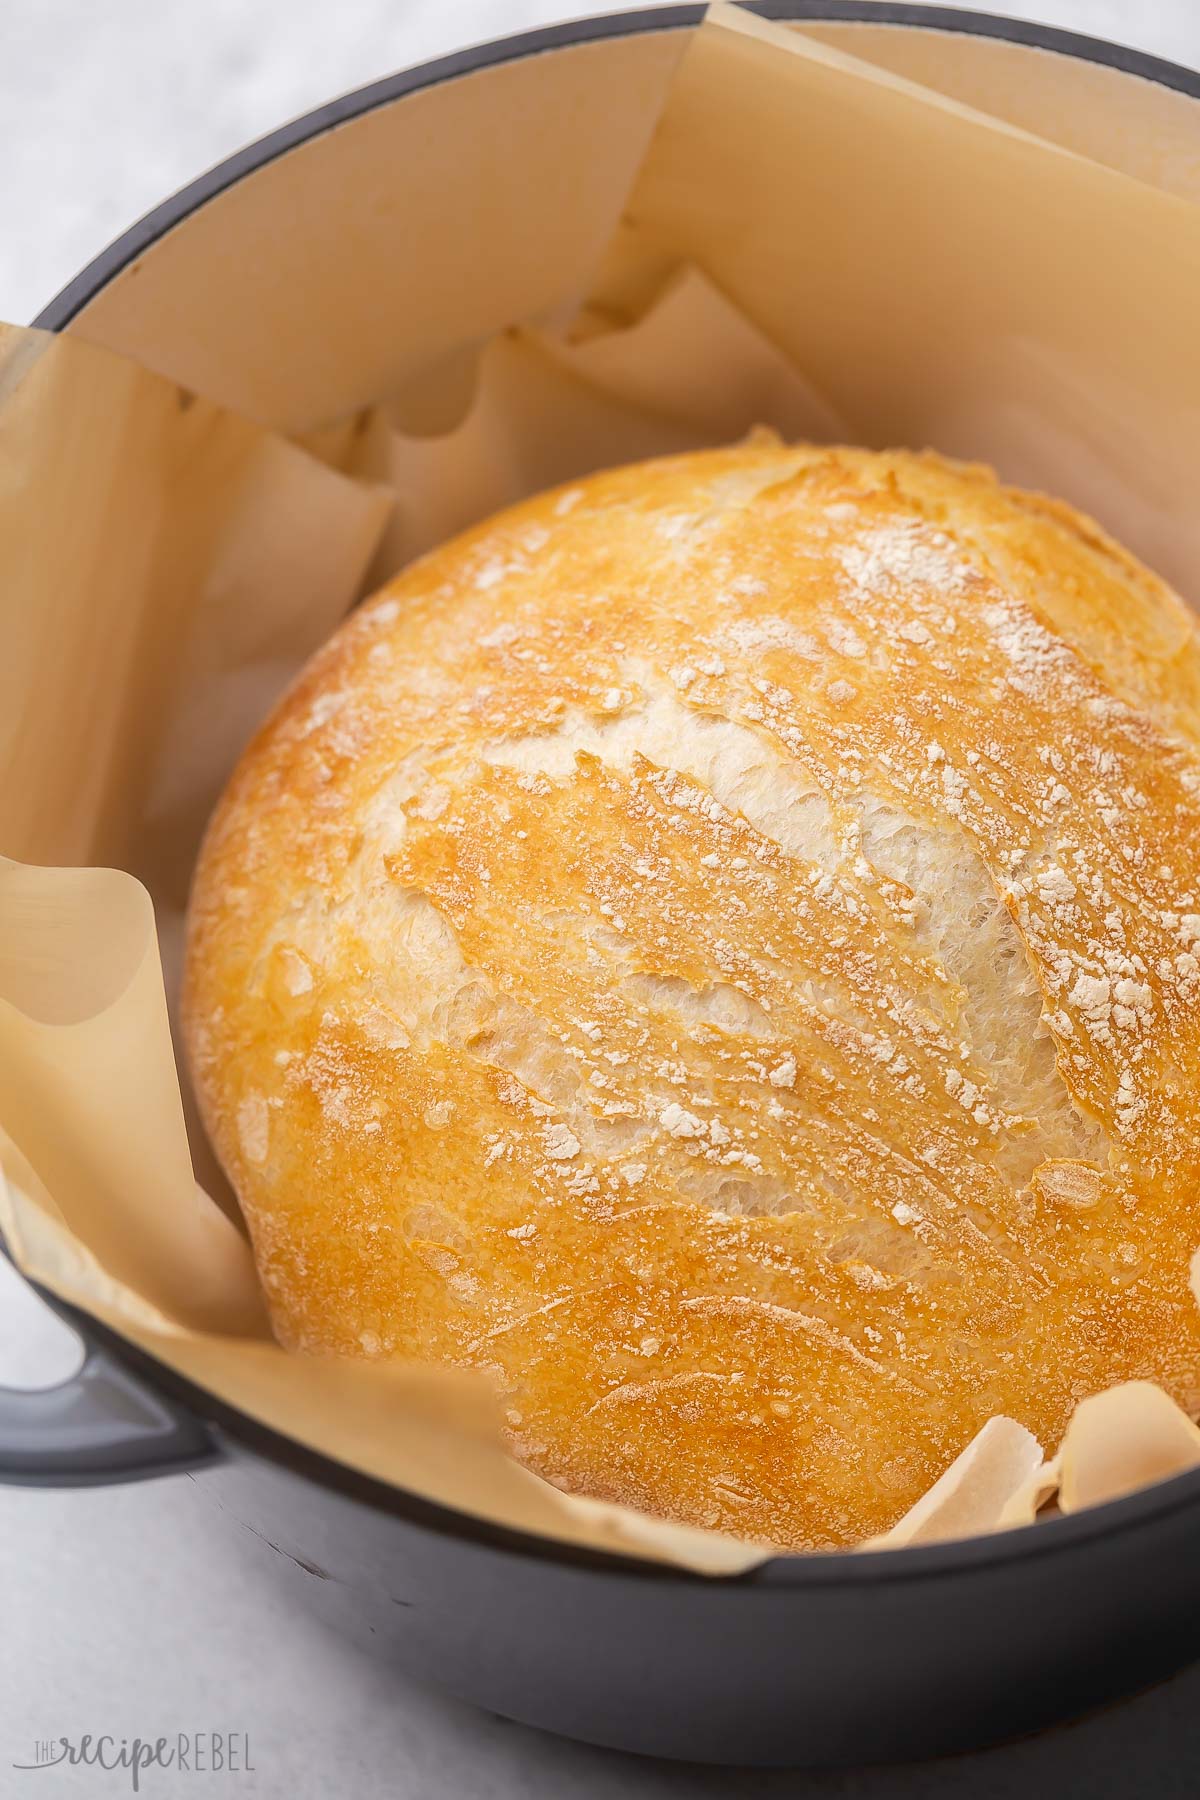
Table of Contents
I’m obsessed with this no knead bread.
There is no better smell in the world than freshly baked bread. Warm aromas circulate the house so beautifully! Sometimes I wish I lived in a bakery.
This artisan bread recipe makes it so easy to enjoy fresh, homemade bread anytime you want.
The dough has a long, overnight rise time (and a short second rise), but it is a great way of making bread with little effort, since the hands-on time is very little.
No knead bread is great for a beginner breadmaker, as it isn’t complicated. The trick to making this bread well is to let it rise for long enough and let the yeast do its thing!
I usually make mine at 10:00 p.m. before I go to bed if I’m going to eat it for supper the next day. No need to rush around before dinnertime!
I love serving it with something to dip it into: whether it’s this Slow Cooker Chicken Gnocchi Soup, this Cheeseburger Soup or this White Chicken Chili. Or try slicing it and serving with this Creamy Spinach Dip on appetizer night!
Ingredients Needed:
- Flour: all-purpose flour is fine for this bread. You can use whole wheat flour or bread flour if you have it to hand instead.
- Salt: kosher salt or sea salt will enhance those warm bread flavors!
- Yeast: using active dry yeast is best to make the dough rise.
- Water: you want lukewarm-warm water, not cold but not hot.
How to Make No Knead Bread
This no knead artisan bread is easy to make! Full instructions are included in the recipe card below.
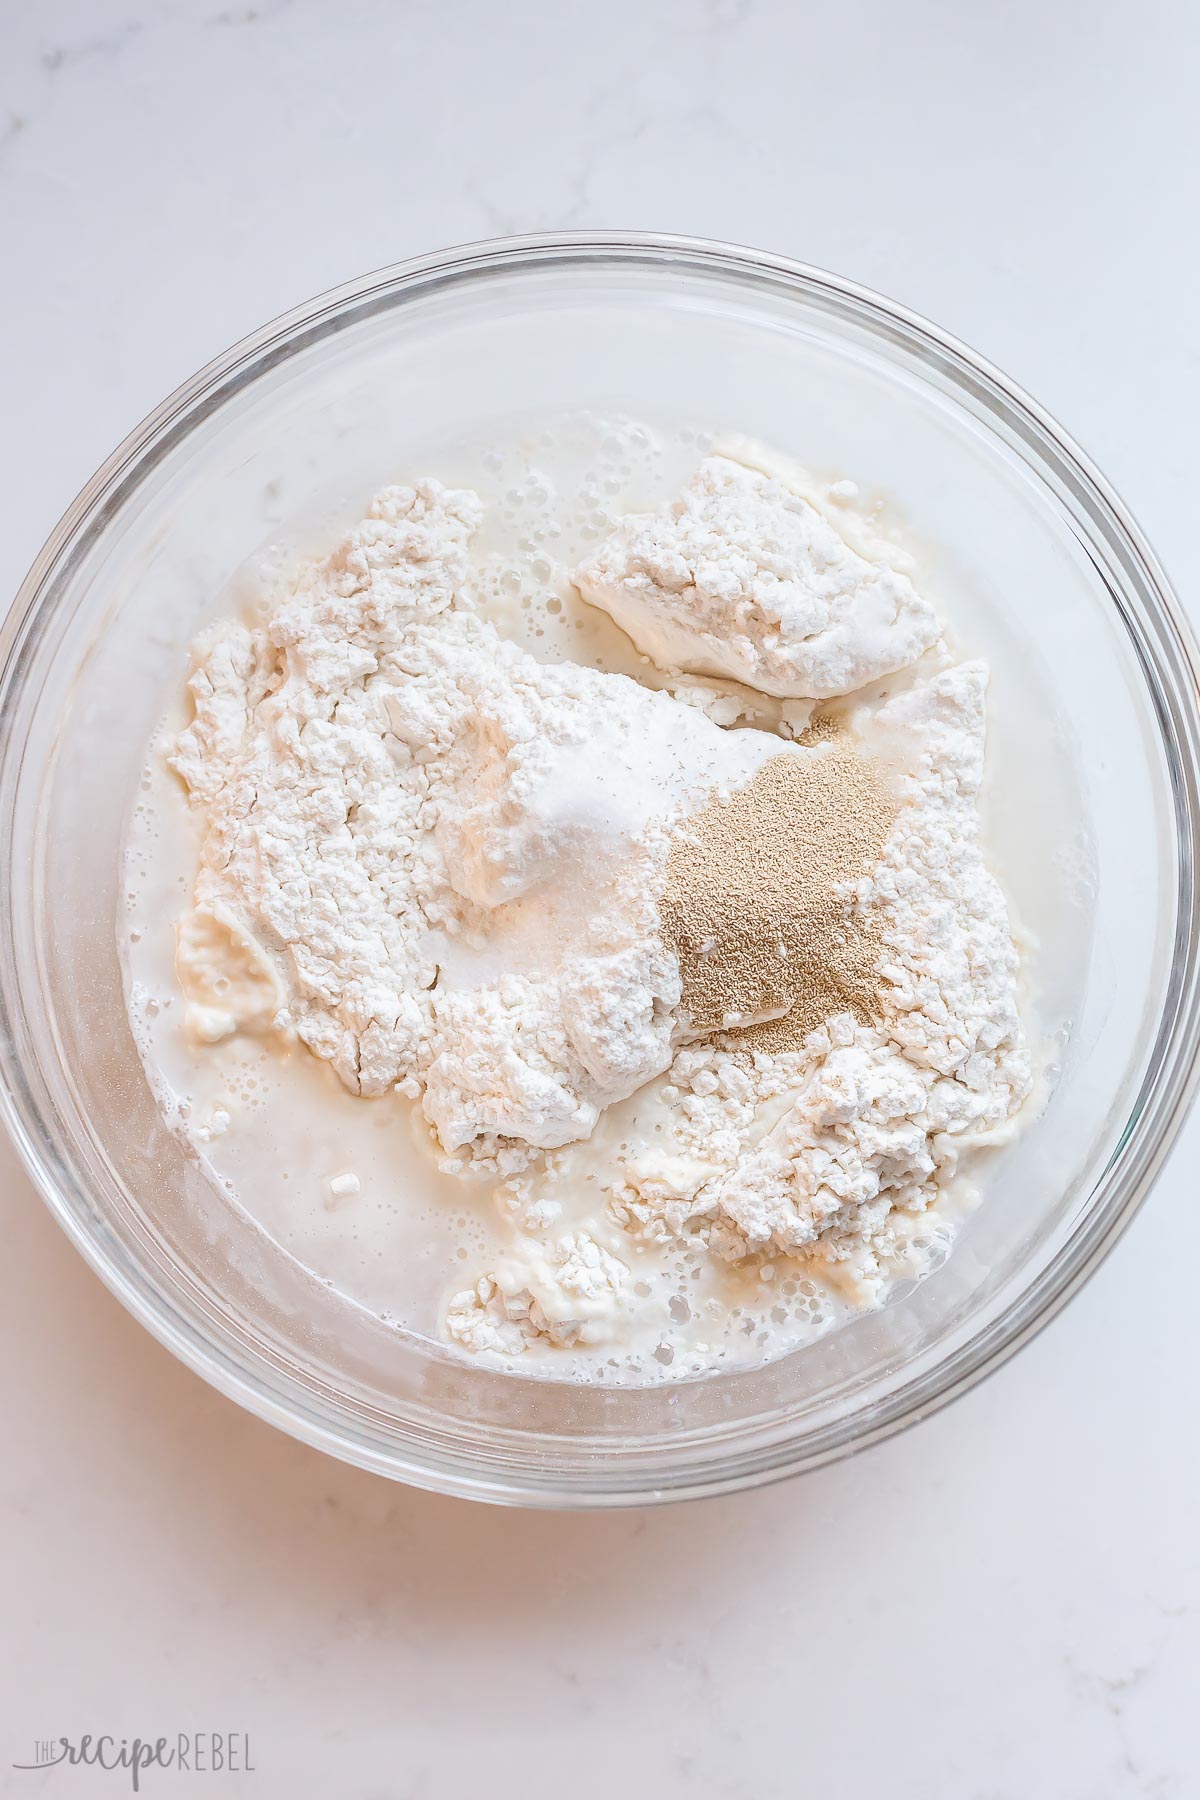
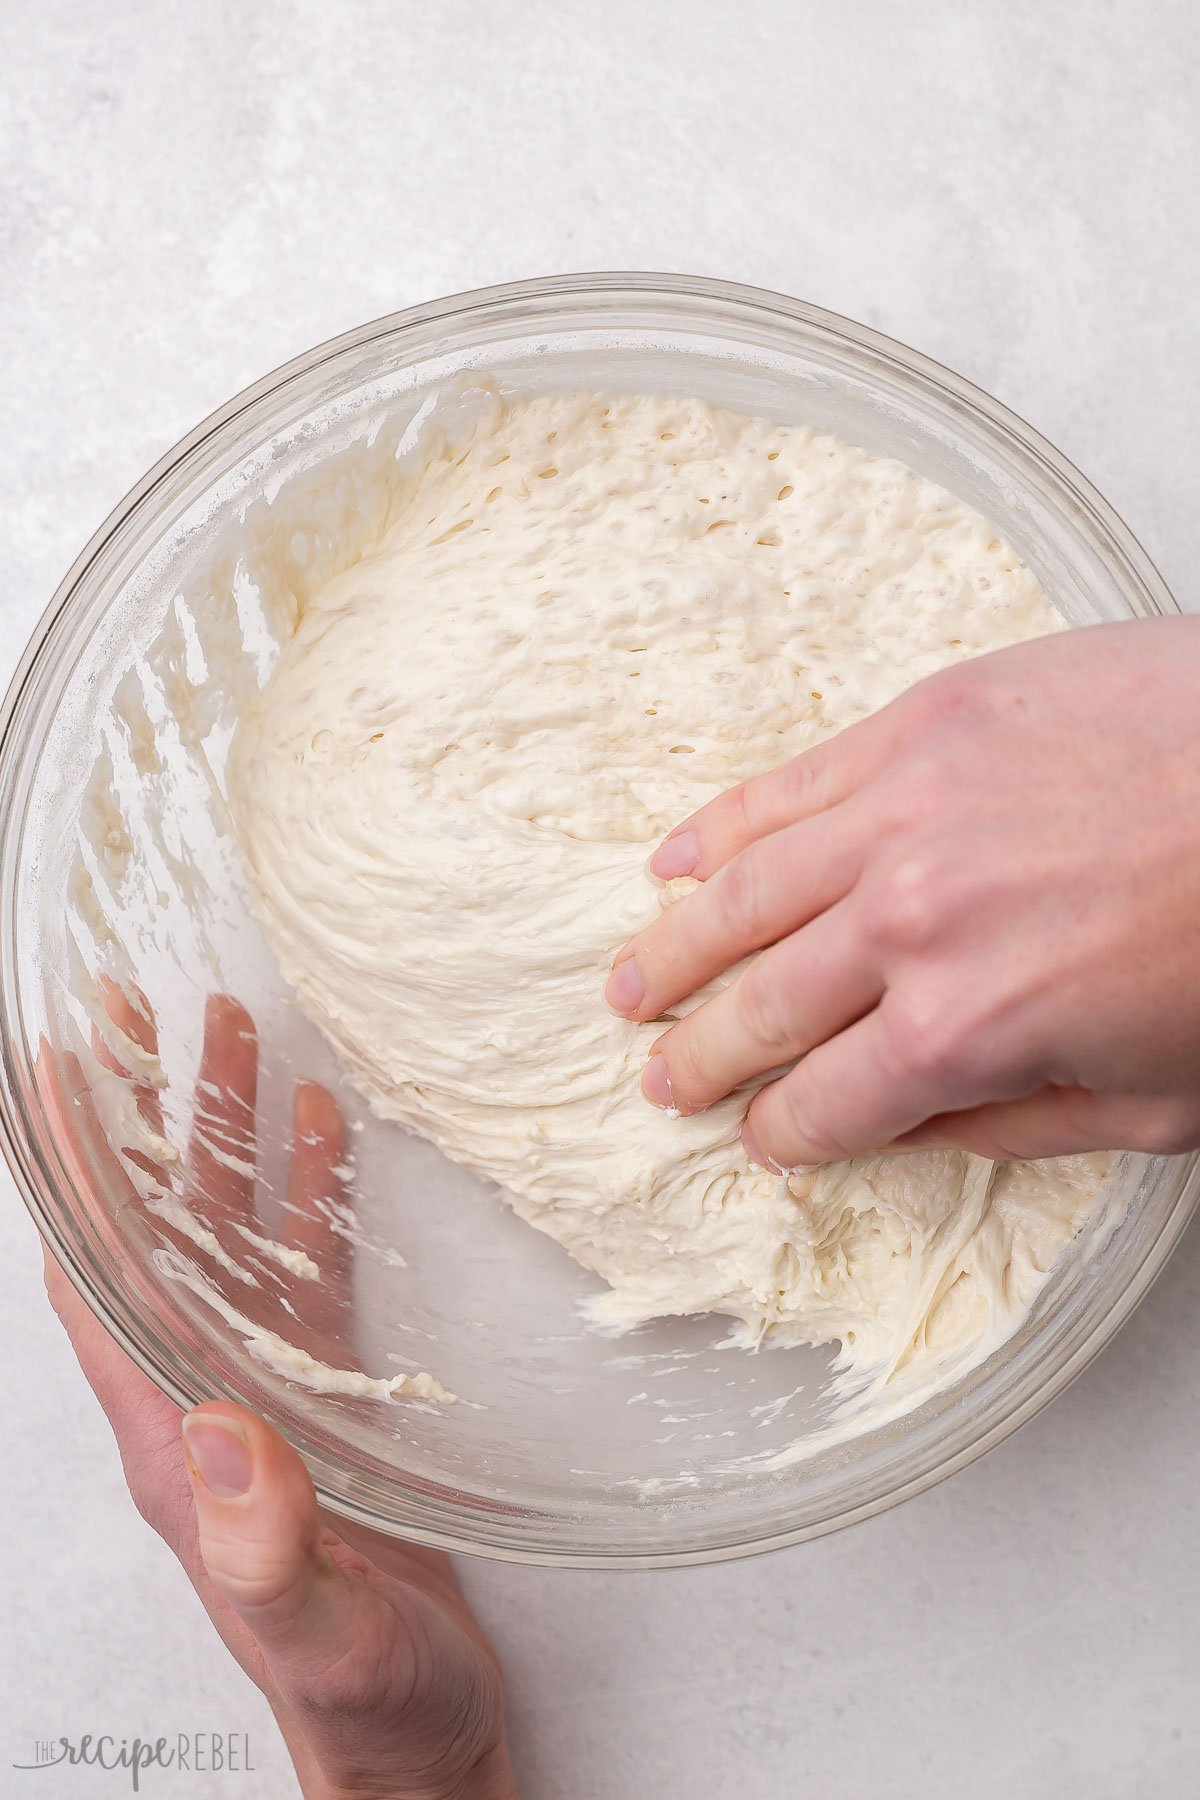
- Mix ingredients. Combine ingredients in a large bowl.
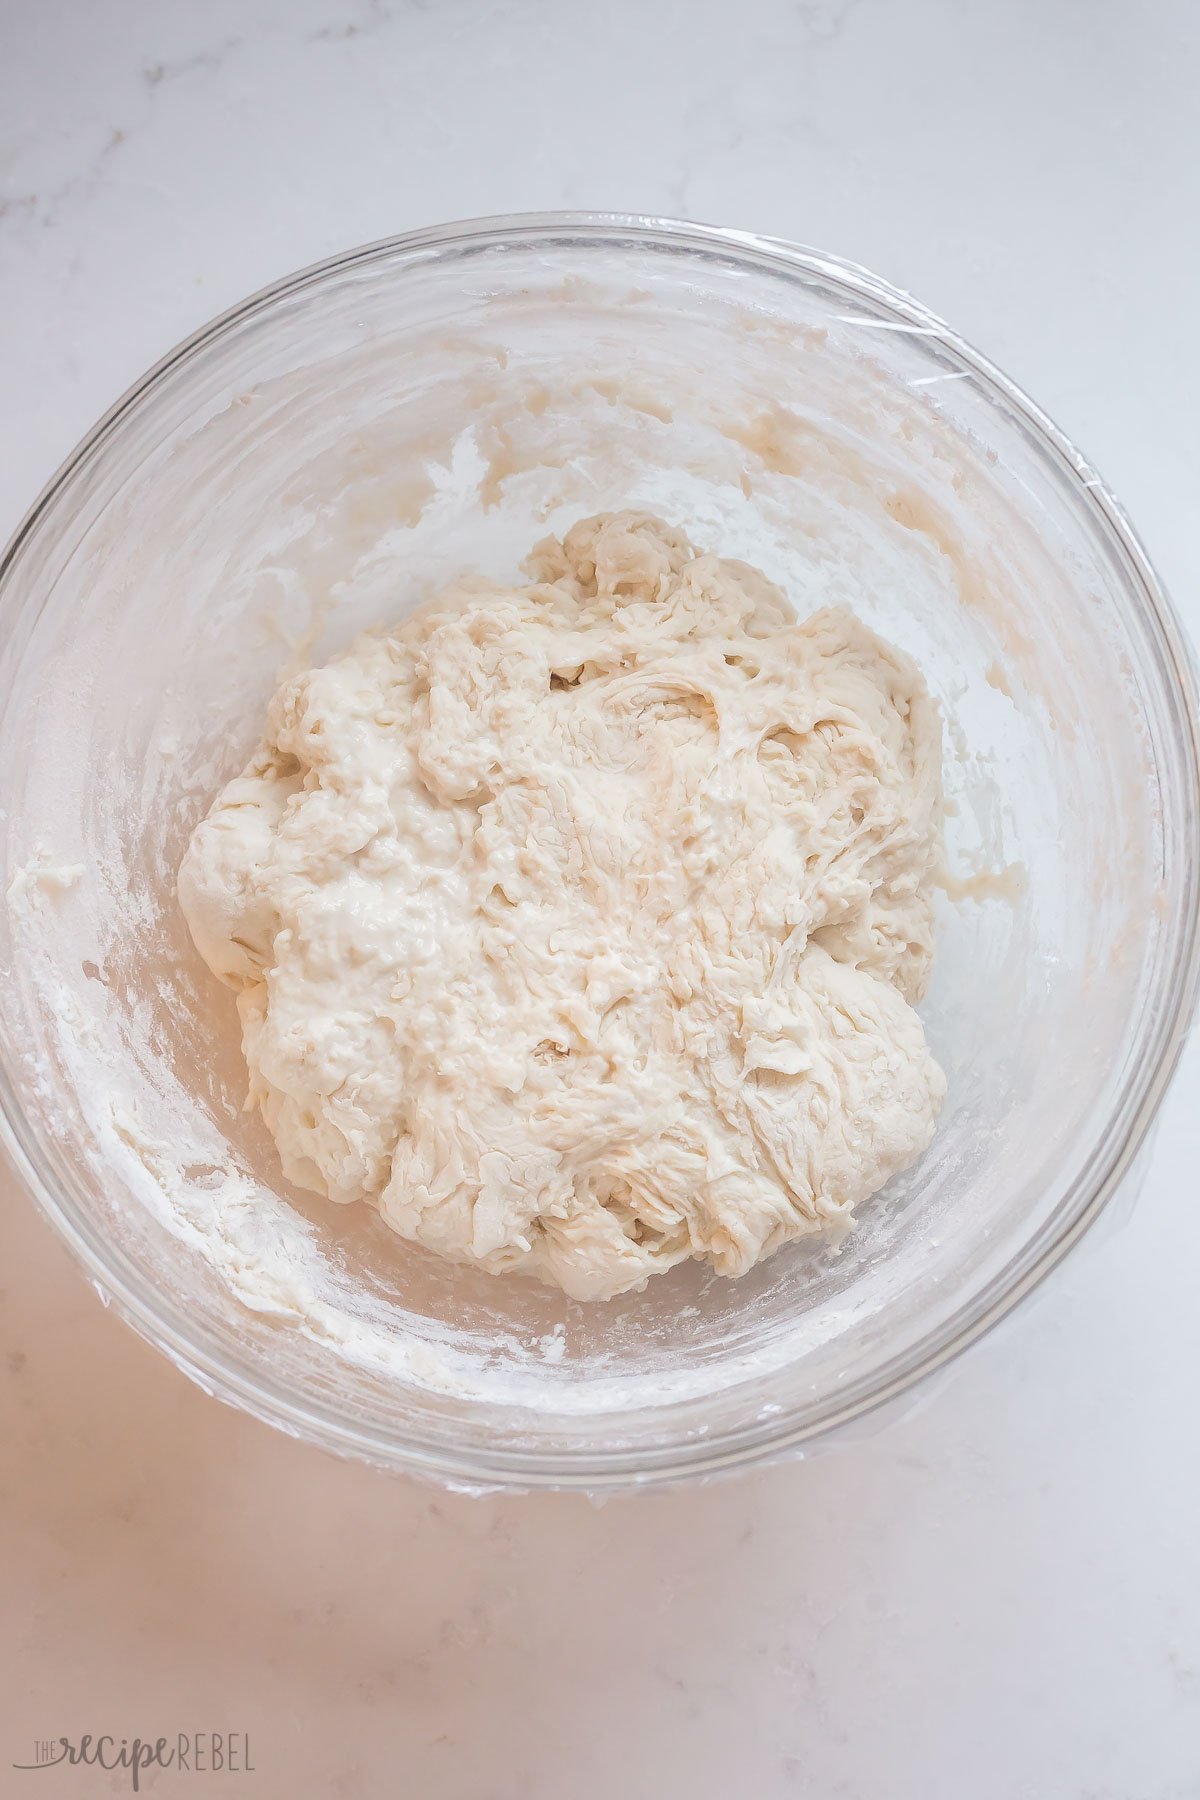
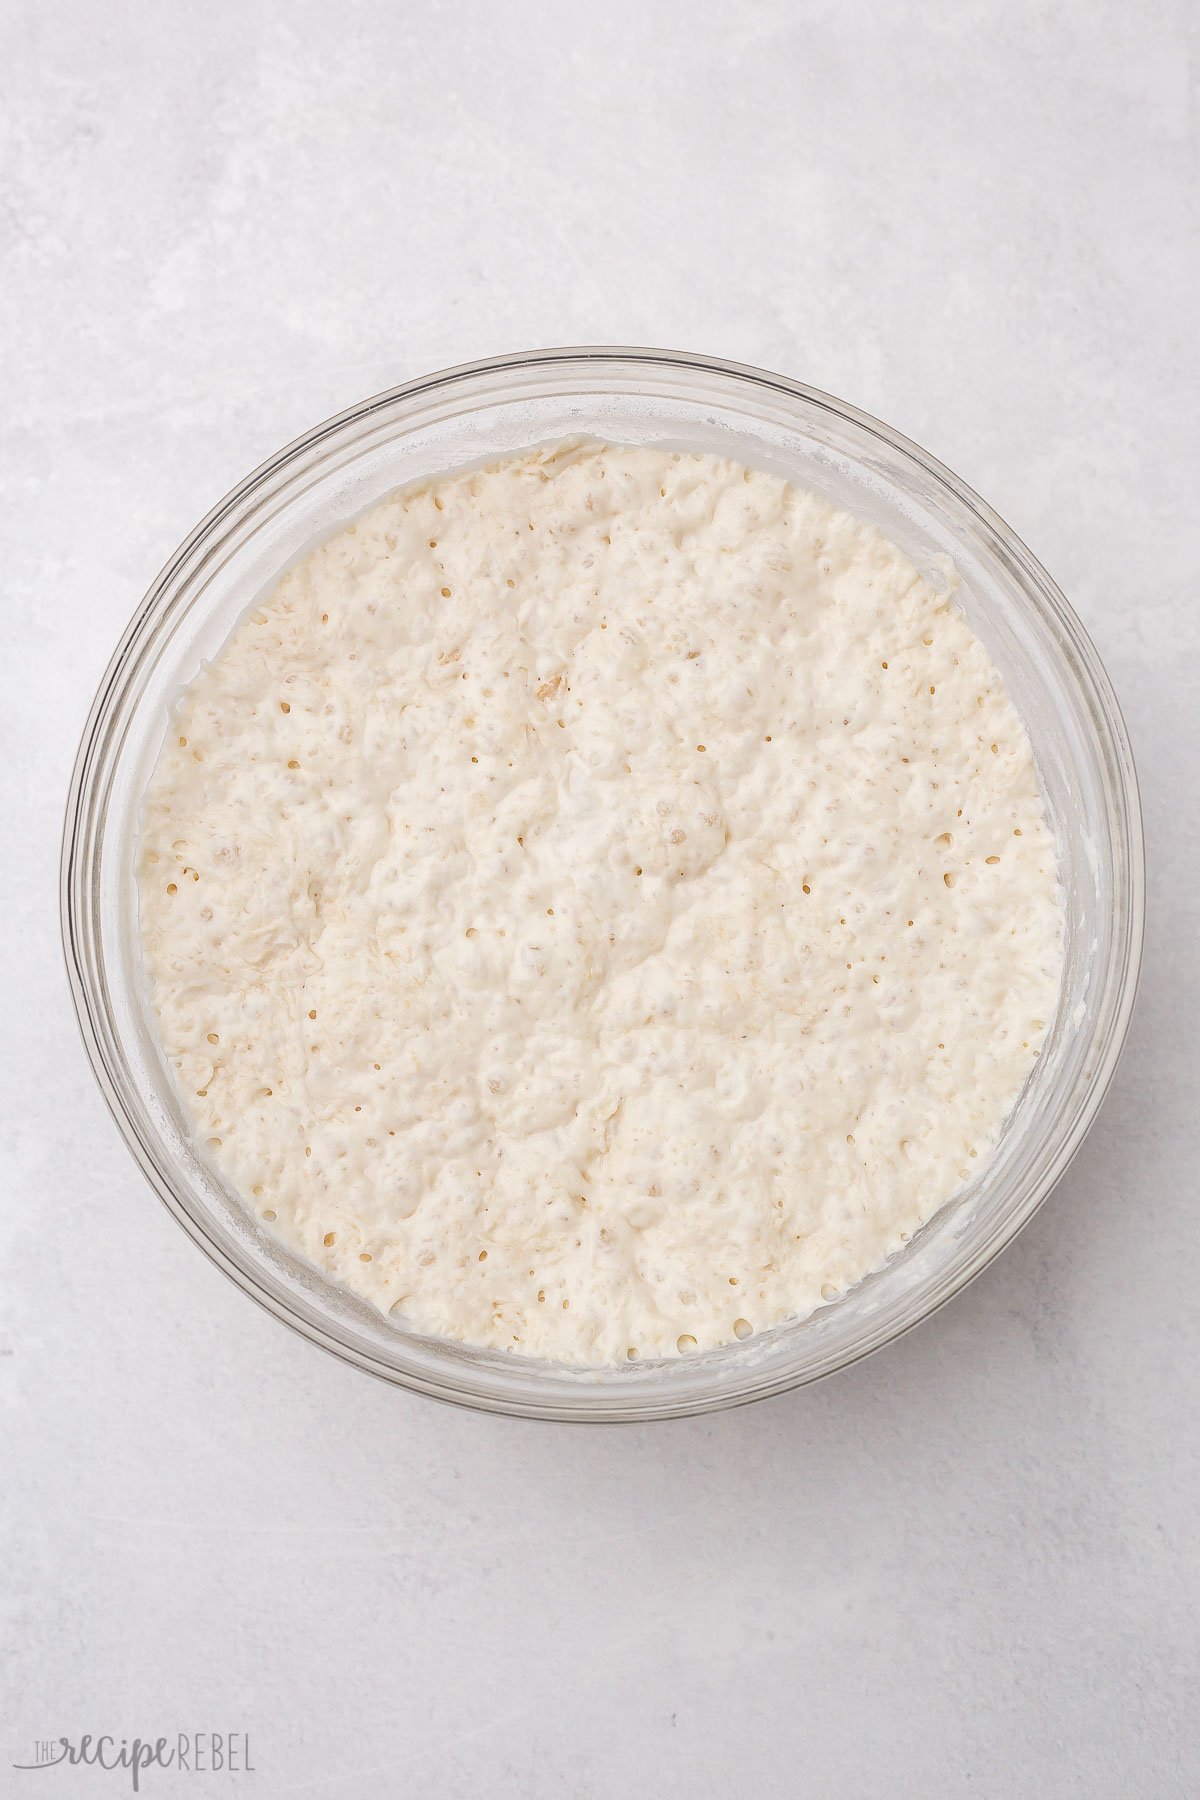
- Cover. Cover tightly with plastic wrap and let it rise.
- Prepare equipment. When the dough has risen, preheat the oven and a dutch oven.
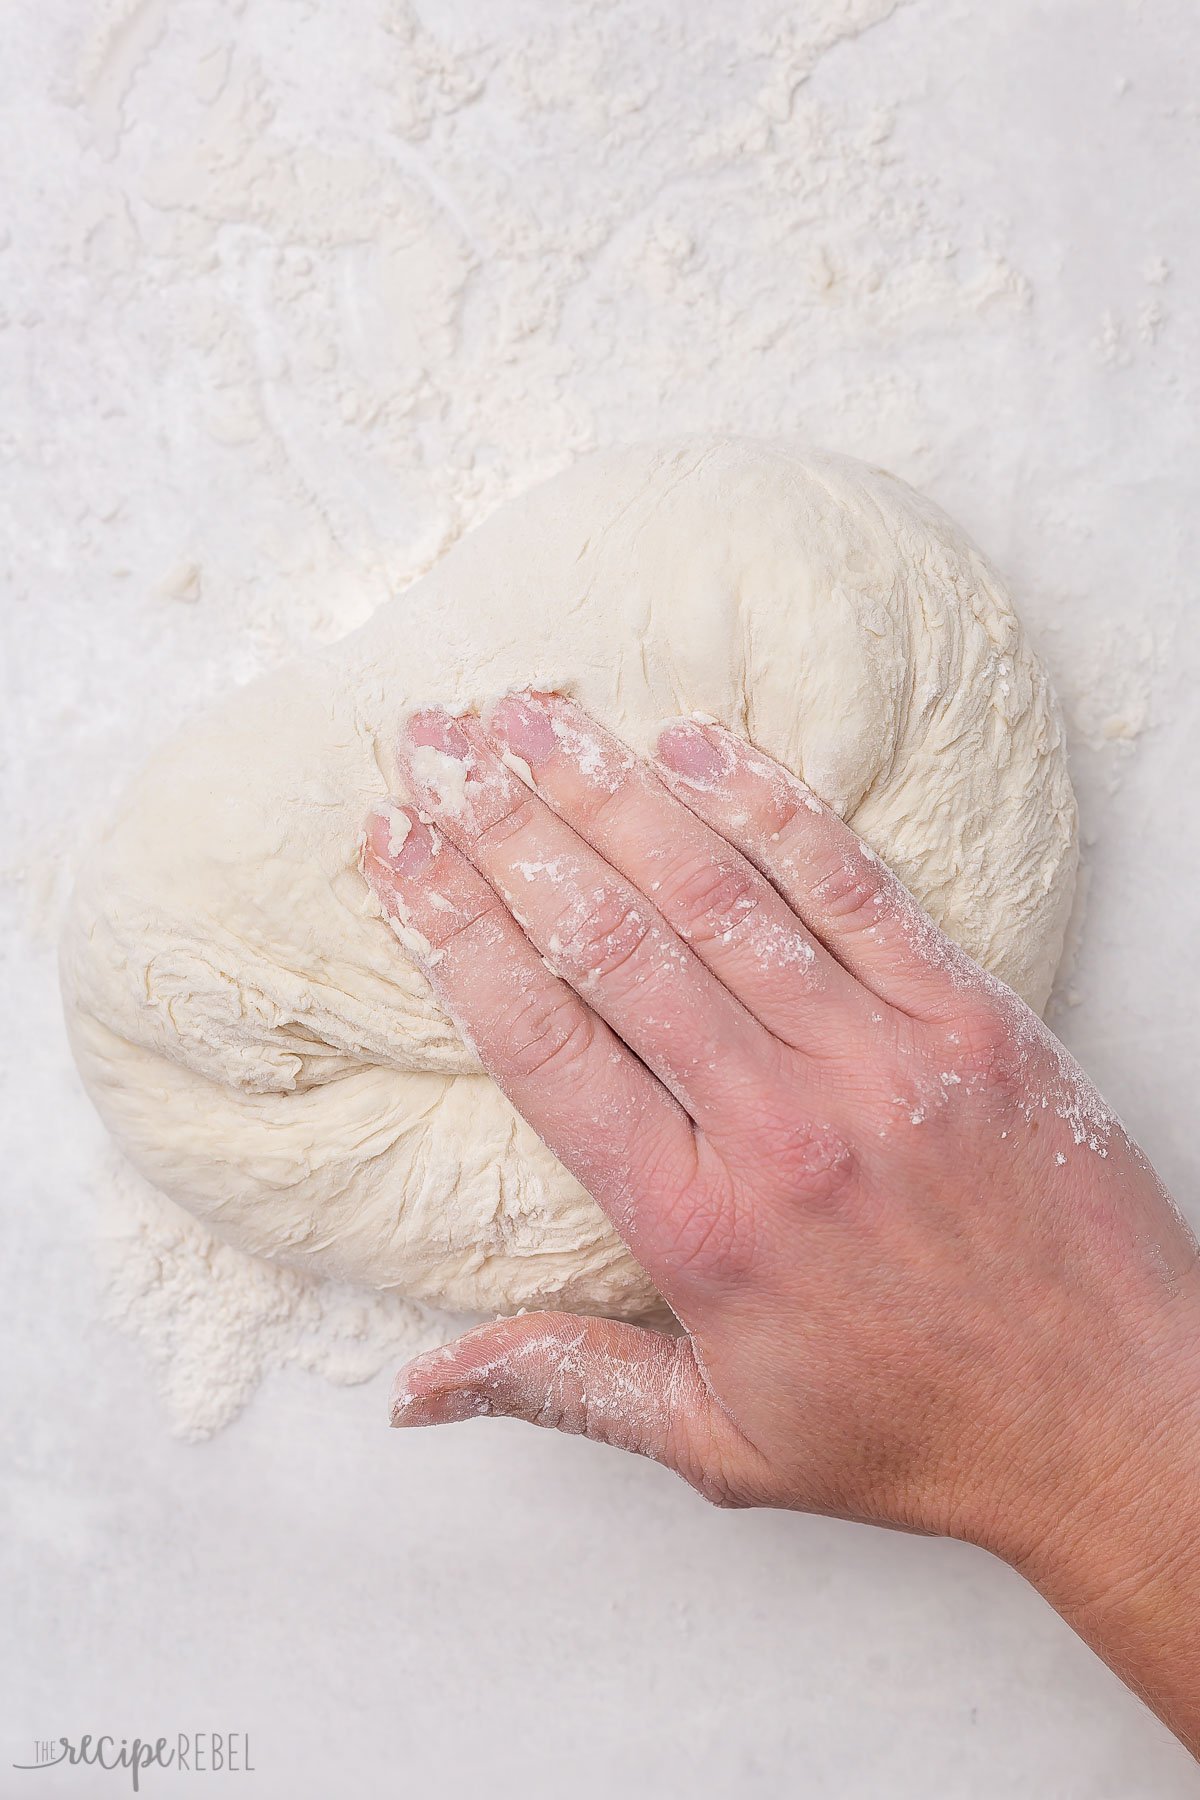
- Turn out the dough. Turn out dough onto a floured surface.
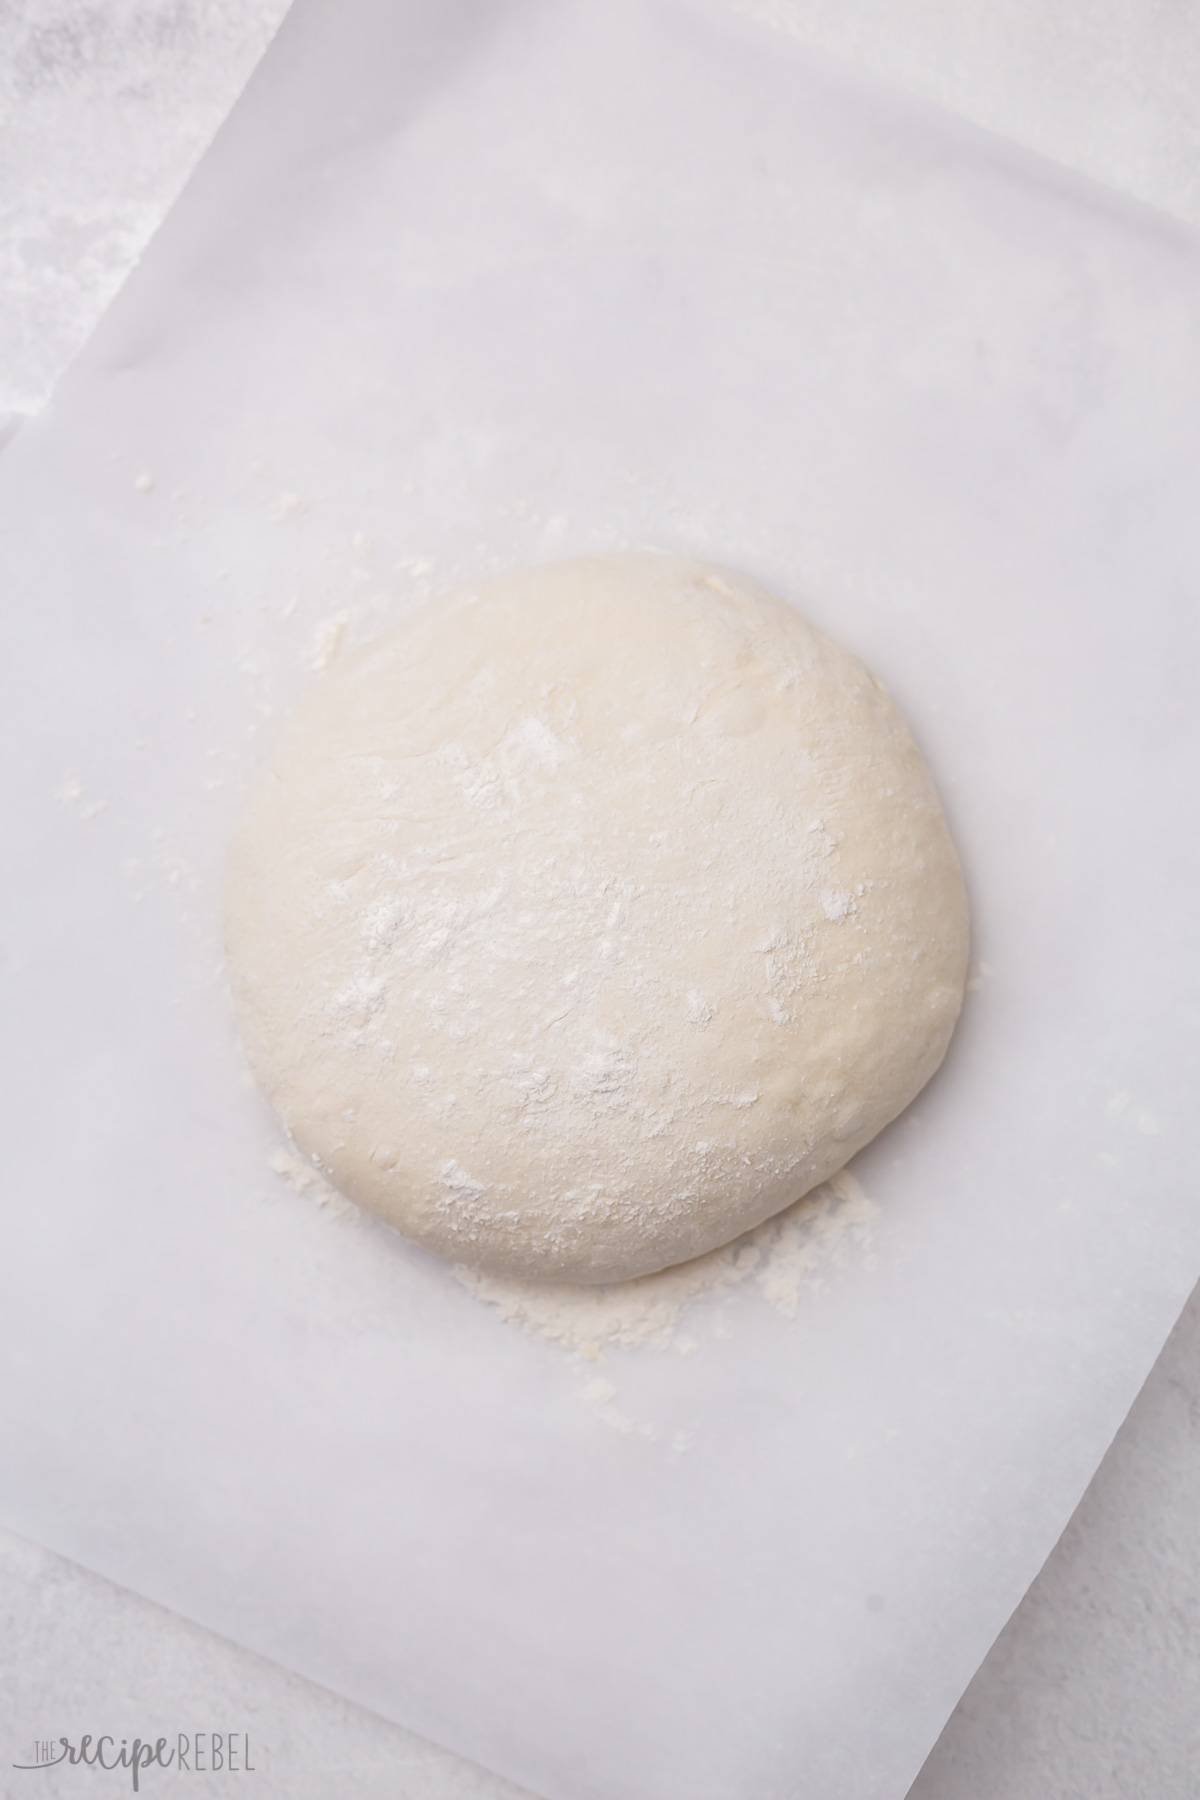
- Make a dough ball. Use a bit of flour to shape a ball. Lift and pull the dough into the middle as shown in the step-by-step pictures.
- Rest then bake. Place your dough ball on parchment paper. Cover and let rest. Lift the parchment paper with the dough ball into the dutch oven and bake until golden, removing the lid halfway through to brown the crust further.
No Knead Bread FAQs
Bread recipes usually call for a process of kneading that can take a long time and a lot of effort, unless you have a breadmaker! No-knead bread is a very easy way of making bread that uses a long fermentation time and a soft, sticky dough.
Store this no-knead bread in an airtight container at room temperature for up to 3 days or in the refrigerator for up to 5 days. Allow it to cool completely to room temperature before putting it in the fridge.
Yes! You can freeze an entire loaf of bread or slices that are individually wrapped, for up to 3 months. Defrost and reheat in the oven before using.
Tips and Notes
- I use a glass bowl to mix the bread dough so that the plastic wrap will cling easily.
- You can use all-purpose flour, whole wheat flour, or a combination of the two (or bread flour). Using 100% whole wheat flour will result in a heavier loaf.
- Making the bread in a hot oven in a hot pot will make the crust sturdier. For a softer crust, reduce the oven temperature to 400 degrees F (although you may need to bake it a little longer), and do not preheat the dutch oven. If you have already baked it and you would like the crust to soften, place it in a plastic bag, sealed, overnight.
No Knead Bread Variations
- Seeds. Add poppy seeds, sesame seeds, or pumpkin seeds to the top of the dough, or stir them into the dough before baking for added texture.
- Herbs. Add herbs into the dough, and/or top the dough with herbs before baking it for a different flavor.
- Pattern. Make a pattern on top of the bread by scoring the top of the dough with a sharp knife before baking it.
Serving Suggestions
This crusty artisan bread is perfect for dunking. Enjoy it as a side with this Sausage & Potato Soup, this Easy Minestrone Soup, or even this delicious Lasagna Soup.
You can also cut it into big slices for making Grilled Cheese Sandwiches. Cut it into smaller pieces to dip it in olive oil and vinaigrette, or serve it with this Chicken Alfredo Dip or my Buffalo Dip for an amazing appetizer.
More Bread Recipes to Try
No Knead (Whole Wheat) Artisan Bread
Ingredients
- 3-4 cups all purpose flour* (plus more for shaping)
- 1½ cups warm water
- 2 tsp salt
- 1 tsp yeast
Instructions
- Combine 2 ½ cups flour, water, salt and yeast in a large mixing bowl using a wooden spoon. Continue adding flour (up to 4 cups total) until a shaggy dough forms. It should still be very sticky and soft.
- Cover tightly with plastic wrap and let sit on the counter to slow rise for 12-24 hours. The dough will rise nicely but still be sticky.
- When the dough has risen, preheat the oven and a dutch oven (or any casserole dish with a tight-fitting lid) to 450 degrees F. Make sure that your dutch oven preheats for 30 minutes for a crusty loaf (for a less crusty loaf, you can leave the dutch oven out until baking).
- On a well-floured surface, turn out the dough and shape it into a ball. Use a bit of flour to shape a ball. Lift and pull the dough into the middle as shown in the step-by-step pictures. Place your dough ball onto a lightly floured piece of parchment paper. Cover it lightly with plastic wrap or a towel and let the dough rest while your dutch oven preheats.
- Once your dough has rested and your dutch oven is preheated, add your ball of dough to the dutch oven (right on the parchment paper) and cover it with the lid.
- Bake at 450 degrees F for 20 minutes. After 20 minutes, remove the lid and bake for 10-15 minutes until golden brown.
Notes
- *Flour: You can use all-purpose, whole wheat, or a combination. 100% whole wheat will result in a heavier loaf.
- Crust: This artisan bread has quite a crusty exterior, and we love it. If you prefer a softer crust, you can reduce the oven temperature to 400 degrees (although you may need to bake it a little longer) and not preheat the Dutch oven. If you have baked it and you would like the crust to soften, place it in a plastic bag, sealed, overnight.
- Storage: Store this no-knead bread in an airtight container at room temperature for up to 3 days or in the refrigerator for up to 5 days. Allow it to cool to room temperature completely before putting it in the fridge.
Nutrition Information
Want to save this recipe?
Create an account easily save your favorite content, so you never forget a recipe again.
Tried this recipe?
Tag @thereciperebel or hashtag #thereciperebel — I love to see what you’re making!
Tag @thereciperebelWe especially love this bread for dipping in soups and sauce! Enjoy!
You might also like these Buttery (Bread Machine or Mixer) Buns!






Sandy Testa says
Can I use self rising flour?
The Recipe Rebel says
Hi Sandy, you can use all-purpose flour, whole wheat flour, or a combination of the two (or bread flour). I have not tested it with self-rising flour. If you decide to experiment, I’d love to know how it goes!
Gaby G says
Do you really let it rise 12-24 hours???
The Recipe Rebel says
Yes!
Beatriz Cabrera says
I made it with my mom, she followed the recipe using GF ingredients and I followed as is. The GF version definitely needs some tweaking ( it didn’t came out right, it was to hard ); mine was a bit undercooked. (Any suggestions on the cooking time?) However after I have it all figured out it’s definitely a keeper!
The Recipe Rebel says
Hi Beatriz! The timing has worked well for me but all ovens are different so it sounds like you need to just bake it a little longer. Enjoy!
Laura says
I love this recipe, use it regularly. Now I’d like to change it up a bit….does anyone have suggestions on how I could make it garlic/herb or garlic/cheese? Not sure when would add other ingredients during the process…before or after it rises?
The Recipe Rebel says
Hi Laura! So glad you enjoyed the recipe! I haven’t tried it myself but I feel like you could probably add those ingredients at the beginning before it rises. If you decide to experiment, I’d love to know how it goes!
Vonda Coy says
This was so easy that I doubted it would really be that good. Boy was I ever wrong!! My family like a softer crust, so I will try the methods to soften it next time, but for now…this one is all mine! 😊
Julie says
I make this bread 1-3 times a week, and have found it fits perfectly into my husbands low sodium diet due to a recent CKD diagnosis.
Aka… you can leave out the salt and still have amazing homemade bread!
The Recipe Rebel says
Hi Julie! So glad you enjoyed the recipe! Thank you for this kind review!
Amy says
Love it! Could I double the recipe to make a bigger loaf? It is gone too fast! How would the cooking times. Change?
Cinda says
I’m so confused. Look at the recipe, does that say “eleven” and one half cups of water?? 11 -1/2 cups?
Who would have a bowl big enough?
This must be an error on this 4 ingredient recipe?
D says
It’s 1 and 1/2 cups (like 1 1/2 cup)
Kelly says
Hi! Do you proof the yeast before adding it to the mix? Thanks!
The Recipe Rebel says
Hi Kelly! Nope! All of the directions are in the recipe card so that’s how you will make this recipe. Enjoy!
Michelle says
Never made bread before.. soooo easy and so delicious! I used bread flour. I will definitely be making this again!
The Recipe Rebel says
Hi Michelle! So glad you enjoyed the recipe! Thank you for this kind review!
Tilde says
Could a 1-to-1 gluten free flour blend be used instead.
The Recipe Rebel says
Hi Tilde! I’ve only tested the recipe as is, so I am unsure. I If you decide to experiment, I’d love to know how it turns out!
Debbie says
Is it rapid rise or regular yeast
The Recipe Rebel says
Hi Debbie! You’ll be using active dry yeast for this recipe.
SandyF says
Does it have to be baked in a ‘Dutch oven’? I don’t have one. What brand, size do u use?
Ashley Fehr says
A 4-6 quart works best for this recipe. It doesn’t have to be a dutch oven, it just gives it a nice crusty exterior! You could bake it on a baking sheet as well
francoise says
Hi lovely site, thanks. For the 4 ingredient bread recipe (resting overnight and cooked in a dutch oven), do you use instant yeast or regular yeast? Thank you. Kind regards
Francoise