
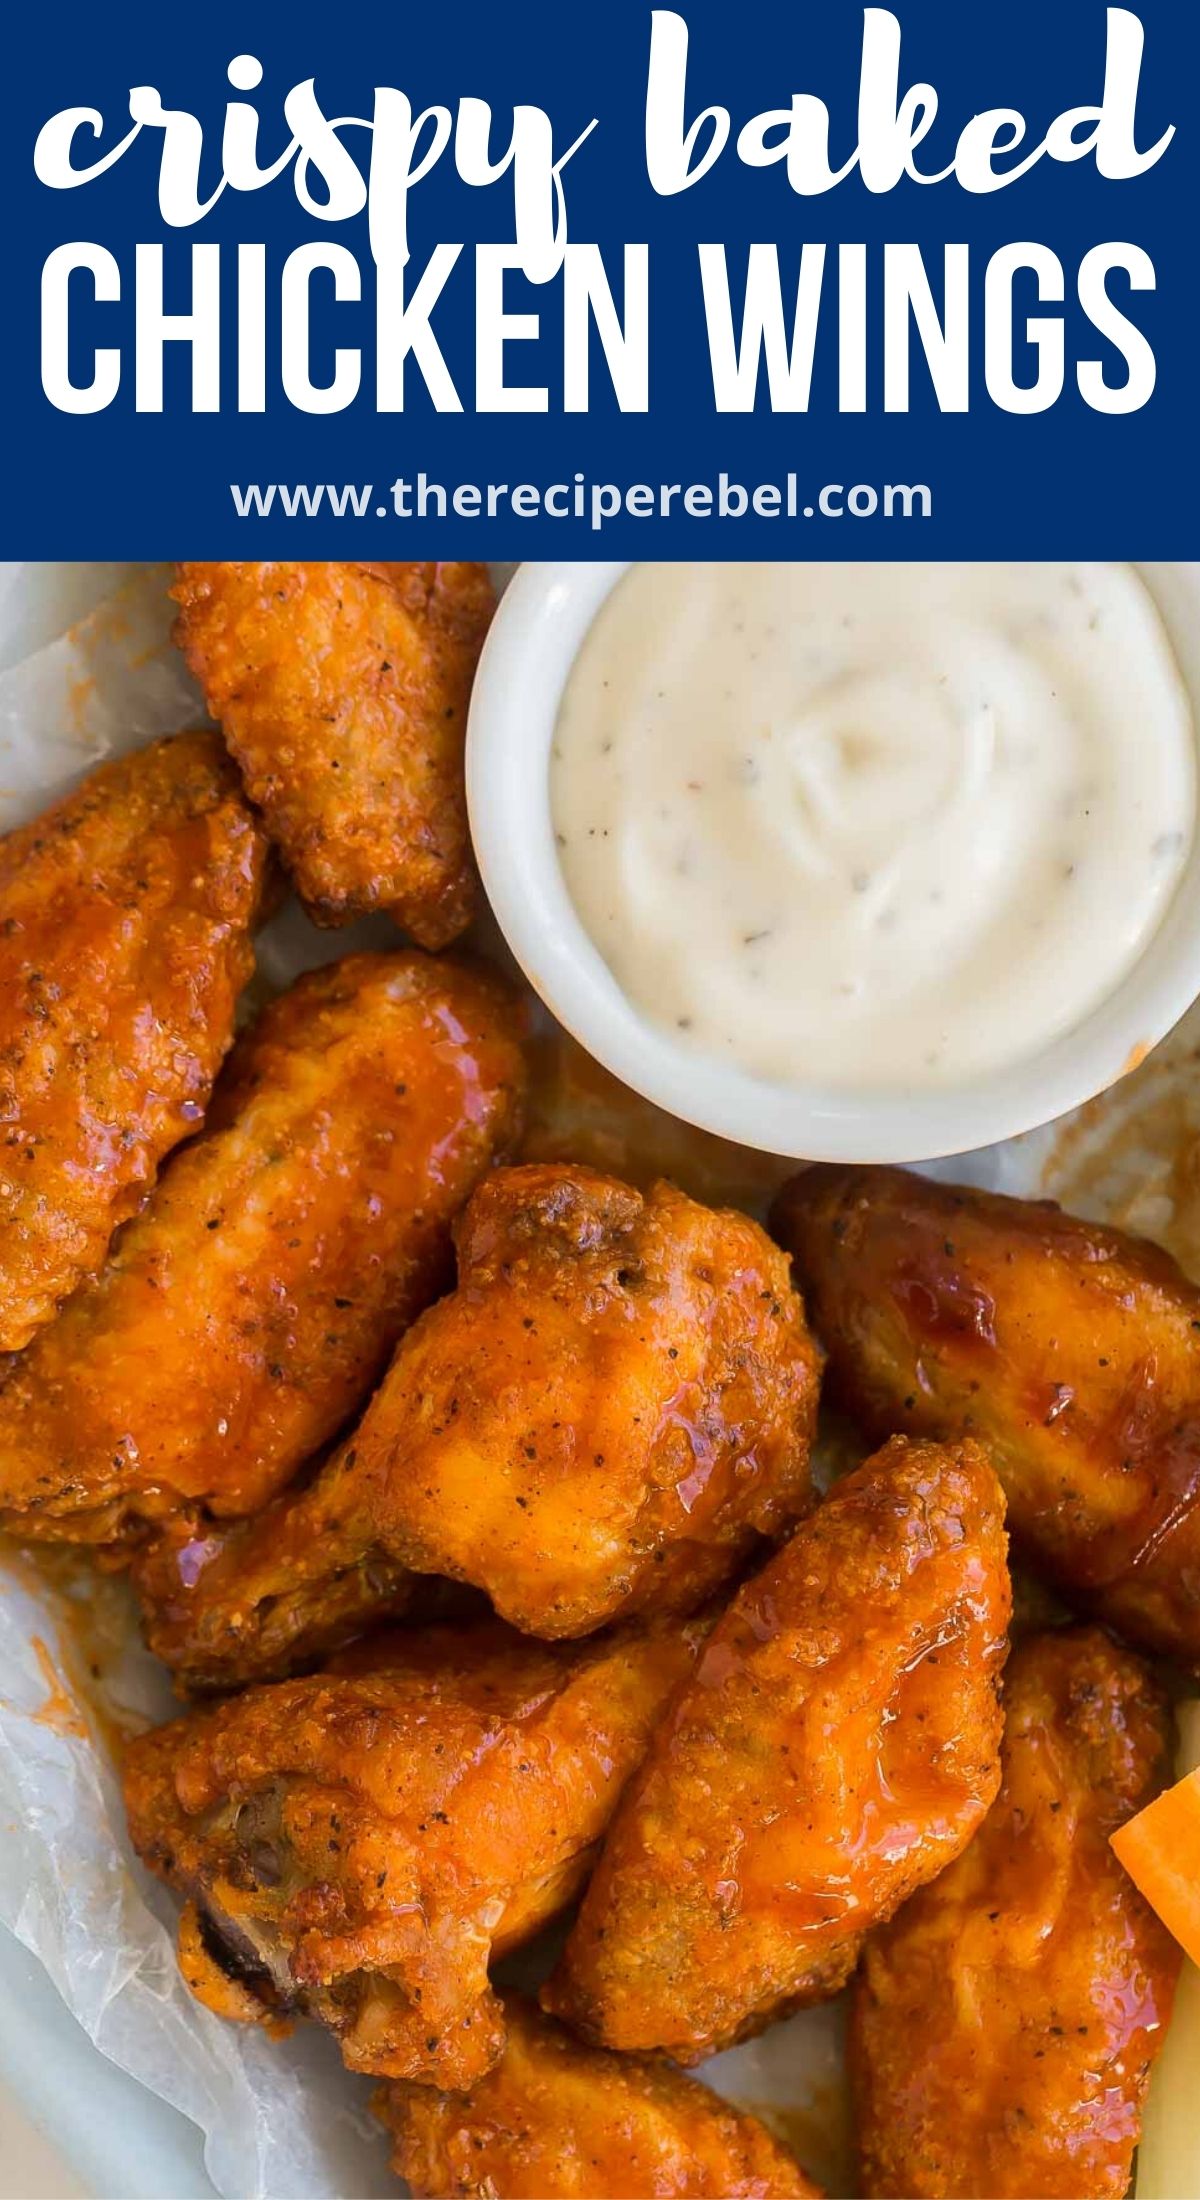
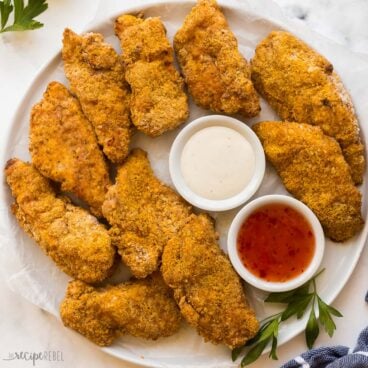
These Baked Chicken Wings are a healthier version of everyone’s favorite comfort food! They’re coated in a flavorful spice rub and baked until juicy and tender in the middle and perfectly crispy on the outside!
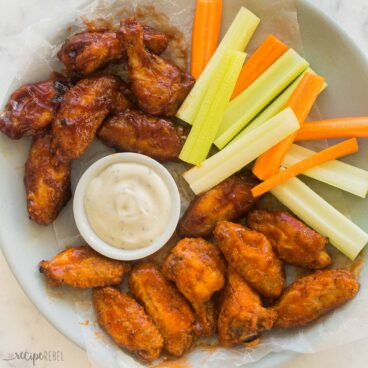
Serve these wings on their own or toss them in your favorite wing sauce!
Love chicken wings? Try my Garlic Parmesan Chicken Wings or my Boneless Chicken Wings!

Table of Contents
There is something so satisfying about taking classic comfort food and making it into something healthier (but just as yummy, of course.) These Baked Chicken Wings are just that! They have the same taste and texture as deep-fried chicken wings, but they’re baked in the oven instead.
They also don’t require you to stand over a pot of scalding hot oil until they’re done. Just line them on a baking sheet, pop them in the oven, and they’re good to go. Less mess and less hands-on time is always something I can get on board with!
Looking for other healthier ways to cook chicken wings? Check out my air fryer chicken wings or my crockpot chicken wings!
Ingredients for Baked Chicken Wings:
- Split Chicken Wings: you can buy already split chicken wings or split them yourself.
- Canola Oil: adds moisture to the chicken and helps the seasonings stick.
- Cornstarch: helps absorb the moisture of the meat as it cooks for a crispier texture.
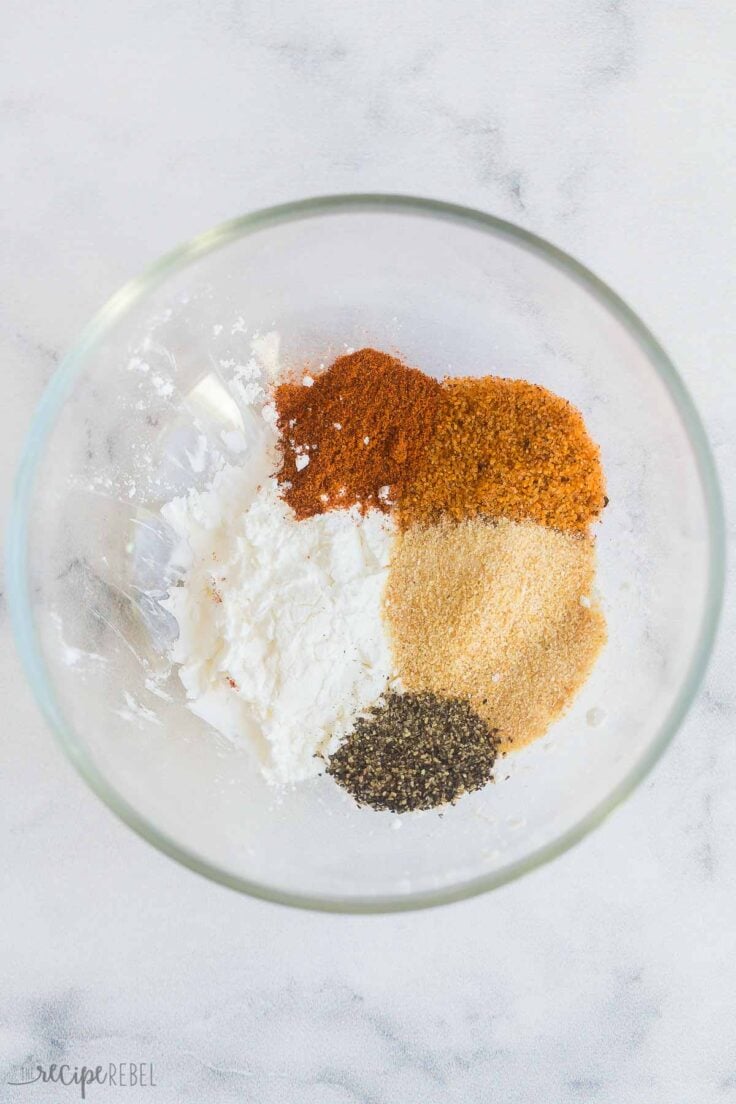
- Seasonings: I use a blend of seasonings salt, garlic powder, paprika, and black pepper to give the chicken wings delicious flavor even before adding a sauce.
- Sauce: you can toss these chicken wings with any sauce of your choice. If you’d rather not toss them in sauce, they are also delicious as-is!

How to make Baked Chicken Wings
I love baking chicken wings in the oven because they’re totally hands-off! Just prep the wings, place them in the oven, and your job is done!
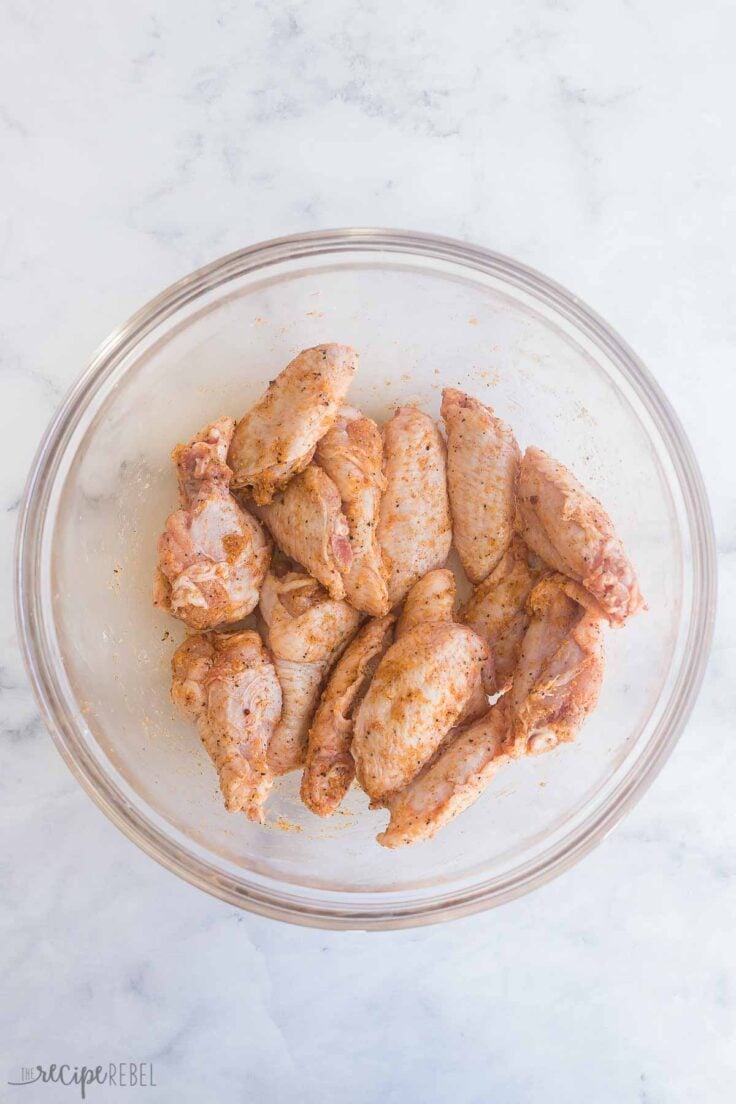
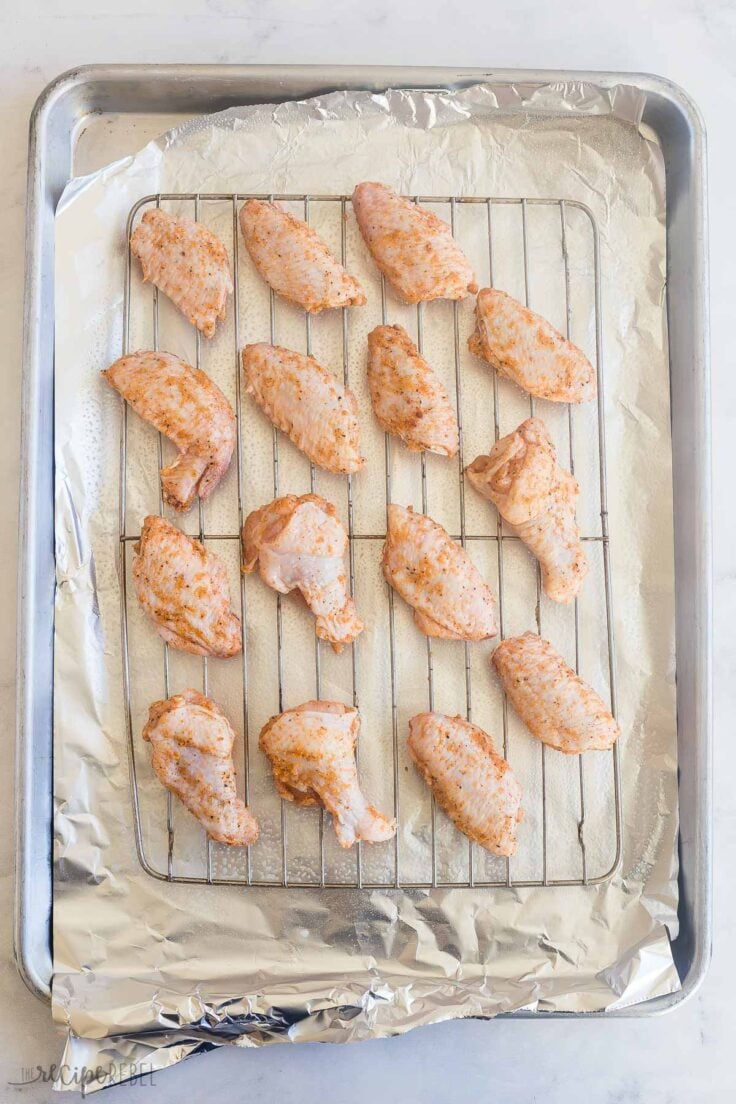
- Season the wings: Place the wings into a bowl and toss with oil. Whisk together cornstarch and seasonings, then sprinkle over the wings. Toss to coat.
- Bake: Place the wings onto a grease wire rack, then place the rack onto a rimmed baking sheet. Bake at 425ºF for 20 minutes, flip, then bake for another 20-30.
- Serve: Serve the wings as-is or toss them with your favorite sauce.
Wing sauce ideas:
These chicken wings are absolutely delicious as-is with a side of Ranch dressing for dipping, but they’re also versatile enough to be tossed with a variety of different sauces!
- Buffalo: make buffalo chicken wings and mix in Frank’s Red Hot sauce to taste. Love the flavor of buffalo but not a huge fan of spice? Whisk the sauce with a little bit of cream cheese!
- BBQ: you can use store-bought BBQ sauce or whip up a batch of homemade classic BBQ sauce, pineapple brown sugar BBQ sauce, or Dr. Pepper BBQ sauce.
- Orange: toss the wings with the sauce from my orange chicken recipe.
- Teriyaki: use the sauce from my teriyaki chicken recipe for an Asian-inspired twist.
- Honey Garlic: try these wings smothered in my homemade honey garlic sauce.

Baked chicken wings FAQs
The chicken wings should bake at 425ºF for a total of 40-50 minutes. I bake them for an initial 20 minutes, then flip them and bake for another 20 minutes so they get crispy on all sides. If they’re still not quite crispy enough after that, you can add another 10 and they should be good to go.
Yes! Flipping the chicken wings halfway through the cooking time ensures that they are evenly cooked and get crispy on all sides.
I don’t recommend frozen chicken wings for this recipe. The outside of the chicken will burn before the middle is cooked through. If all you have is frozen chicken, you can thaw it quickly by placing it into a bowl of room temperature water until it’s thawed through. Change the water out every 20 minutes so that it doesn’t get too warm.
Chicken wings will be cooked with an internal thermometer reaches a minimum of 165 degrees F. These chicken wings will be cooked before they are crispy, but because of the bone and the skin, they stay super juicy!
Leftover baked chicken wings will last in an airtight container in the fridge for 3-4 days or in the freezer for up to 3 months. To reheat, thaw in the fridge overnight if frozen, then warm at 350ºF in the oven for 10-20 minutes or until heated through.

Tips and tricks
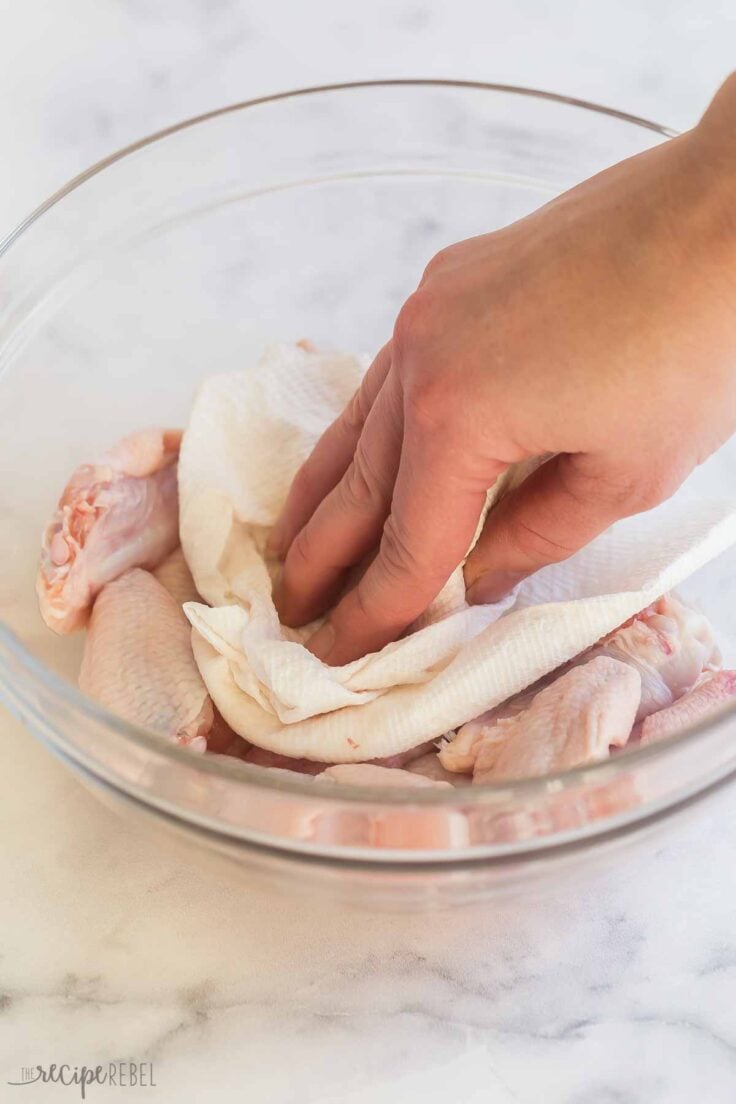
- Dry the wings. Before you add oil and seasonings to the wings, gently pat them dry with a paper towel to get rid of excess moisture. This results in a crispier texture.
- Use a wire rack. This isn’t totally necessary, but it does help the wings get crispy all the way around.
- If you don’t have a wire rack, you can lay the wings directly on a greased baking sheet and they will be just fine.
- Leave space. Make sure you leave space between the wings as they bake. This ensures that they cook evenly and can crisp up all over!
More appetizer recipes you’ll love


Baked Chicken Wings
written by Ashley Fehr
Ingredients
- 1 lb split chicken wings
- 1 tablespoon canola oil
- 1 tablespoon corn starch
- 1 teaspoon seasoning salt
- 1 teaspoon garlic powder
- ¼ teaspoon paprika
- ¼ teaspoon black pepper
- ½ cup sauce of choice
Instructions
- Preheat oven to 425 and place a rack onto a rimmed baking sheet (optional but helps the wings to crisp on all sides). Spray the rack with non stick spray.
- Place wings in a medium bowl and toss with oil.
- In a small bowl, combine corn starch, seasoning salt, garlic powder, paprika and pepper. Add to wings and toss to coat.
- Place wings on rack, leaving space in between each one.
- Bake for 20 minutes, flip, and baking for 20 minutes more until crispy on both sides (the internal temperature will reach safe eating before they are crispy, so if you don't need them crispy, you can remove from the oven as soon as the internal temperature is 165 degrees F.) If desired, flip again and bake 10 minutes or until as crispy as you desire them.
- Enjoy as is or toss with your favorite sauce.
Video
Notes
- Dry the wings. Before you add oil and seasonings to the wings, gently pat them dry with a paper towel to get rid of excess moisture. This results in a crispier texture.
- Use a wire rack. This isn’t totally necessary, but it does help the wings get crispy all the way around.
- If you don’t have a wire rack, you can lay the wings directly on a greased baking sheet and they will be just fine.
- Leave space. Make sure you leave space between the wings as they bake. This ensures that they cook evenly and can crisp up all over!
Nutrition
Nutrition information is automatically calculated, so should only be used as an approximation.
Want to save this recipe?
Create an account easily save your favorite content, so you never forget a recipe again.
Tried this recipe?
Tag @thereciperebel or hashtag #thereciperebel — I love to see what you’re making!
Tag @thereciperebel


Carolyn Austin says
Very easy to make. We loved the wings. Will make again and again!!!
Ashley Fehr says
Thanks Carolyn!
Lisa says
Delicious and easy!!! Family loved them without any sauce!!! Thank you!!!!
Ashley Fehr says
Thanks Lisa!
Karen says
These look amazing. Wondering if I could use the same technique with drumsticks. Perhaps cook a little longer? Thank you for the recipe.
The Recipe Rebel says
Hi Karen, it’s similar yes. Here is our recipe for drumsticks: https://www.thereciperebel.com/baked-chicken-drumsticks/ Enjoy!
Karen says
Thank you Ashley, exactly what I was looking for. I’ll add it to my collection of your recipes – they’re the best!
The Recipe Rebel says
Glad you enjoyed it, Karen!
Lynette says
Delicious
The Recipe Rebel says
Hi Lynette! So glad you enjoyed the recipe! Thank you for this review!
Jen says
These were absolutely amazing and they turned out perfectly. We are about to make them again. I love recipes that are easy and delicious – thank you so much!
The Recipe Rebel says
Hi Jen! So glad you enjoyed the recipe! Thanks for the feedback!
Jane says
Really terrific technique here. The oil and cornstarch is so much better than the baking soda method which tastes metallic to me. Love this recipe. Great job Ashley and Happy New Year!
The Recipe Rebel says
Hi Jane! So glad you enjoyed the recipe! Thank you for your review! Happy New Year!