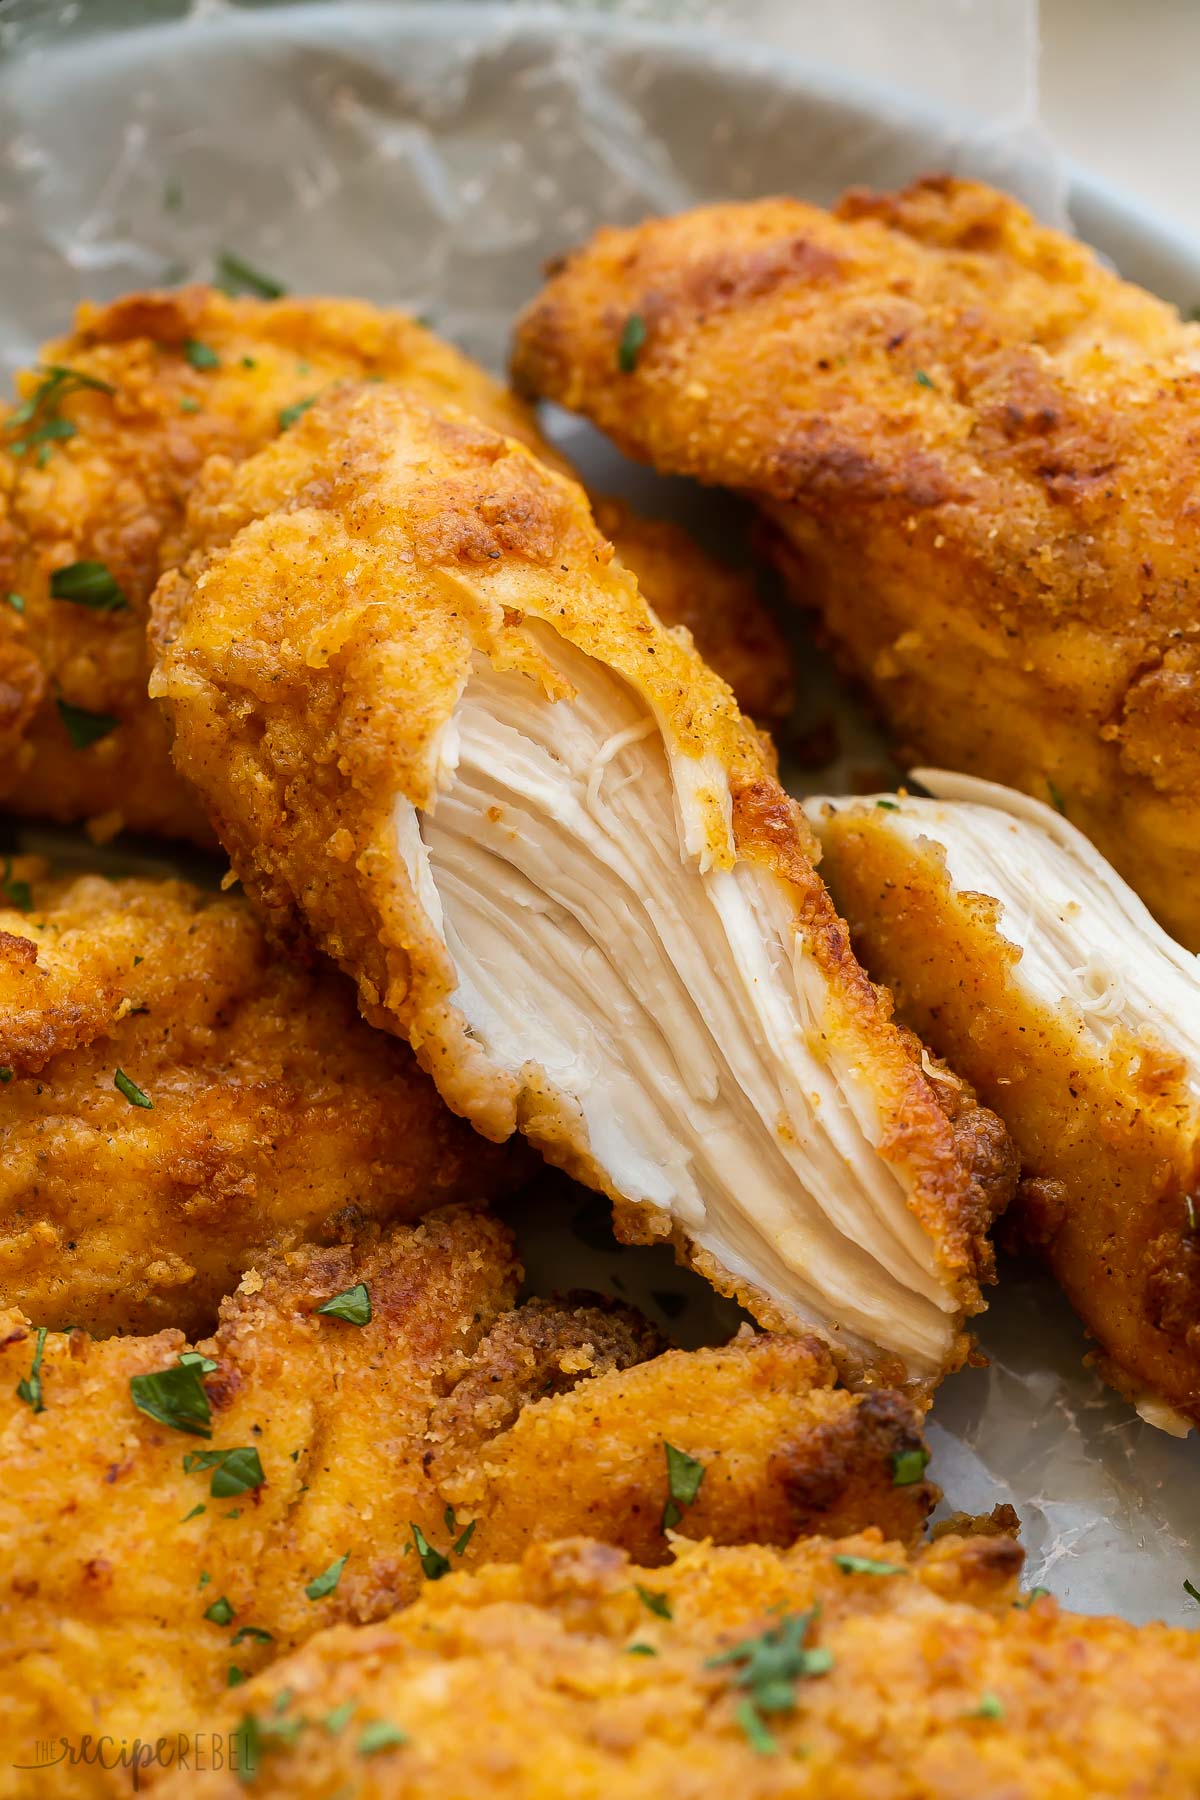
This easy Oven-Fried Chicken turns out perfectly crispy and juicy every time! The special seasoning blend tastes just like KFC, but it’s made with wholesome ingredients in your own kitchen.

This recipe has been updated and republished since its original debut in 2014.
Table of Contents
Perfectly Crispy “Fried” Chicken in the Oven
I seriously love chicken.
Whether it’s One Pot Chicken Lo Mein, Caprese Chicken and Rice, or this simple Slow Cooker Chicken Breast… you name it, we love it.
This year, since I really got into using my Instant Pot, I’ve been especially enjoying making chicken breasts in there (check out my tutorial on how to cook chicken breasts from frozen!). But one thing the Instant Pot cannot do is produce crispy, oven-fried chicken.
And that’s why we’re here 🙂
This oven-fried chicken breast recipe is perfectly crispy and juicy, without fail. It captures that KFC, special-herbs-and-spices flavour, without all of the deep frying and processed ingredients that go into the fast-food version.
Most of all, this is a recipe our family loves, and that we make over and over again. The last time I made it, it got rave reviews from our newest taste tester: our 10-month-old daughter! I know it’s a good one when she bounces up and down in her high chair, saying, “Mmm, mmm, mmm!” (and becoming upset when it’s not on her tray fast enough).
What You’ll Need to Make Oven Fried Chicken
For this recipe, I use chicken breast, but you could substitute chicken thighs, chicken tenders, chicken wings, or even legs. The seasonings and crispy coating are always delicious! Just remember that the cooking time will vary according to the cut of chicken.
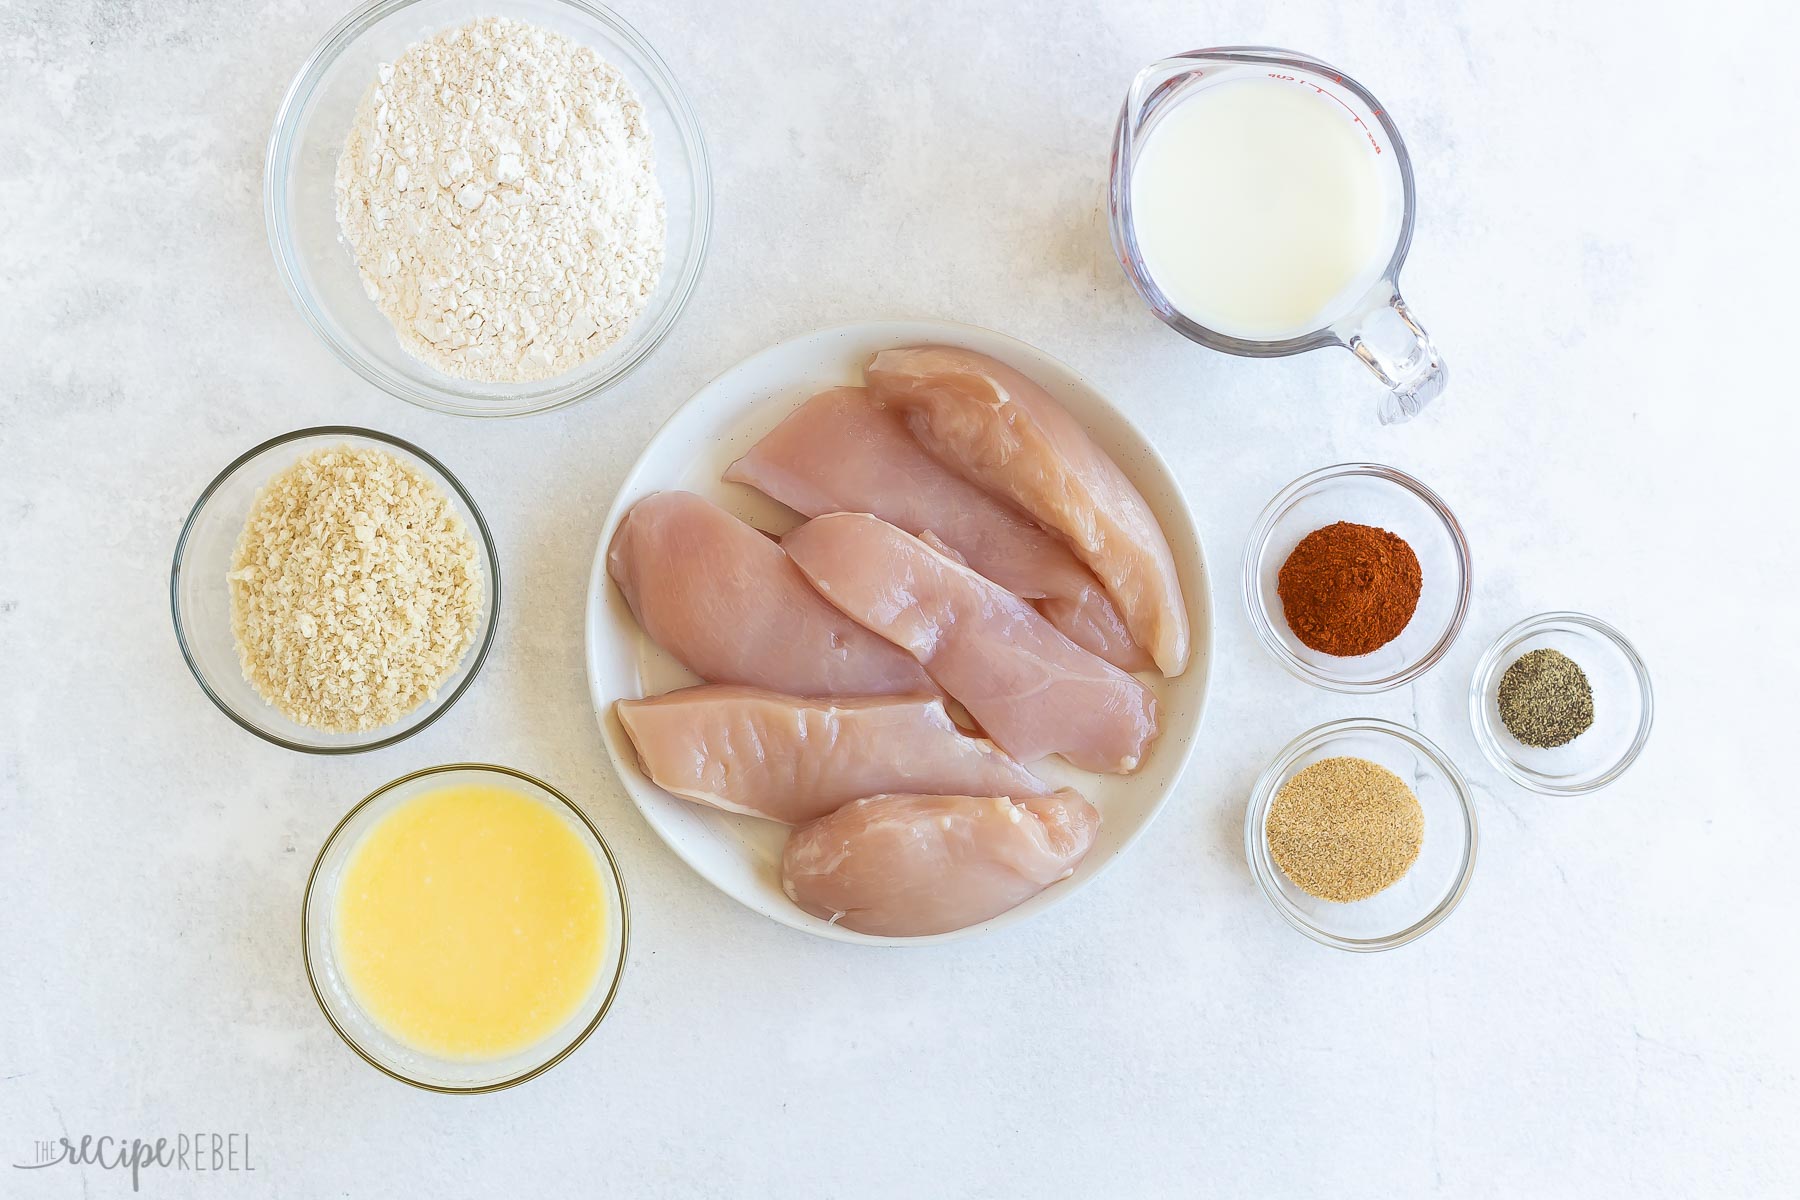
- Chicken Breast: One batch of this recipe makes about 3-4 chicken breasts, or around one and a half pounds, cut into strips. One chicken breast equals about three strips, the way I cut them.
- Buttermilk (optional): you can soak your chicken in buttermilk to help the coating stick more.
- Butter: Salted or unsalted butter is fine.
- Flour: All-purpose flour, or you could use gluten-free flour if you prefer.
- Panko: Panko breadcrumbs give the chicken a crunchy, crispy coating. Original or pork rind panko are fine.
- Salt and Pepper
- Seasoned Salt: This versatile seasoning goes with everything! I use Lawry’s brand.
- Paprika: Made from dried, ground peppers, paprika isn’t spicy, but it adds depth of flavor, a slight sweetness, and lots of colour.
How to Make Oven Fried Chicken
Depending on the size and thickness of your chicken pieces, you may need to adjust the cooking time, so always check your chicken for doneness before diving in. The safest way to do this is with a meat thermometer. The chicken should reach 165°F in the thickest part.
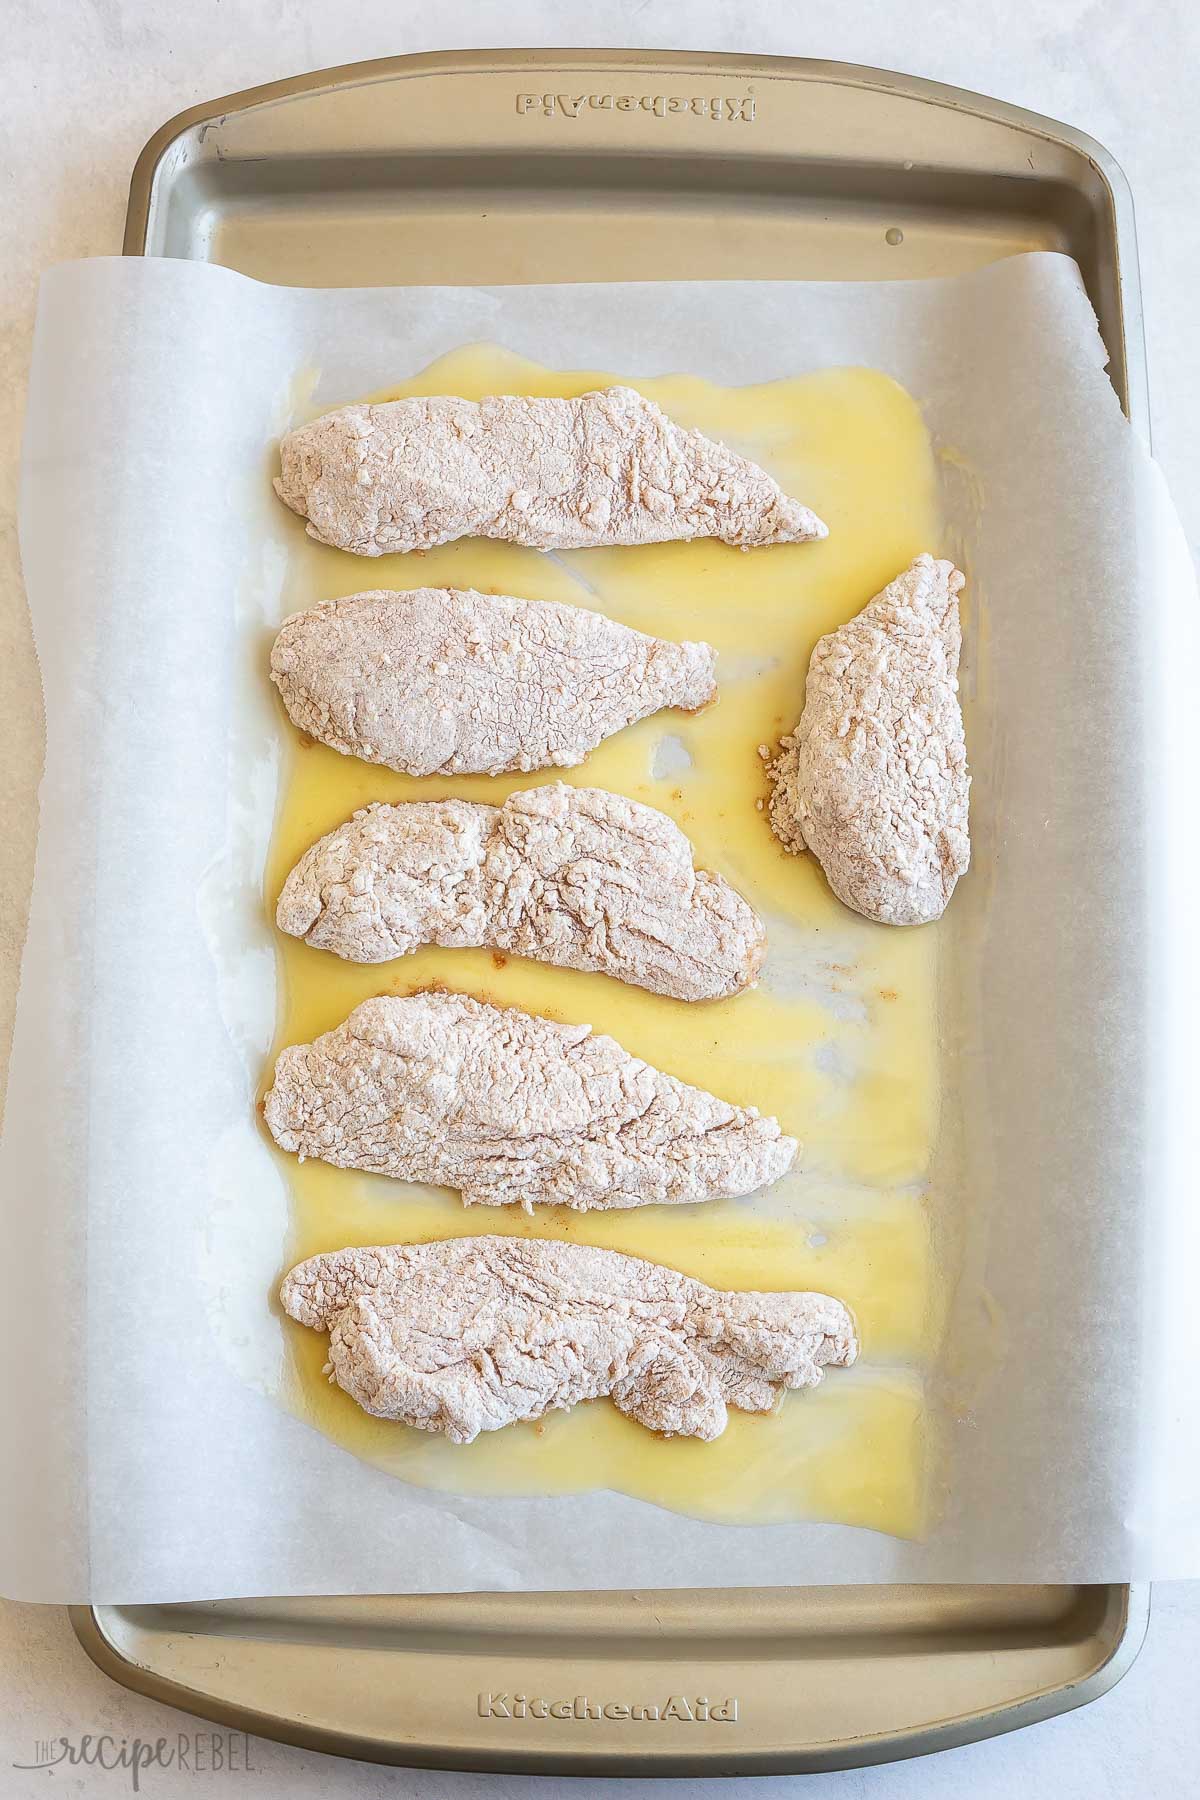
- Get the Oven and Baking Sheet Ready. To get started, preheat your oven to 425°F. Line a large, rimmed baking sheet (10×15) with parchment paper, and brush the butter over the surface of the parchment. It might seem like a lot of butter, but that’s fine. It will help to crisp up the chicken coating!
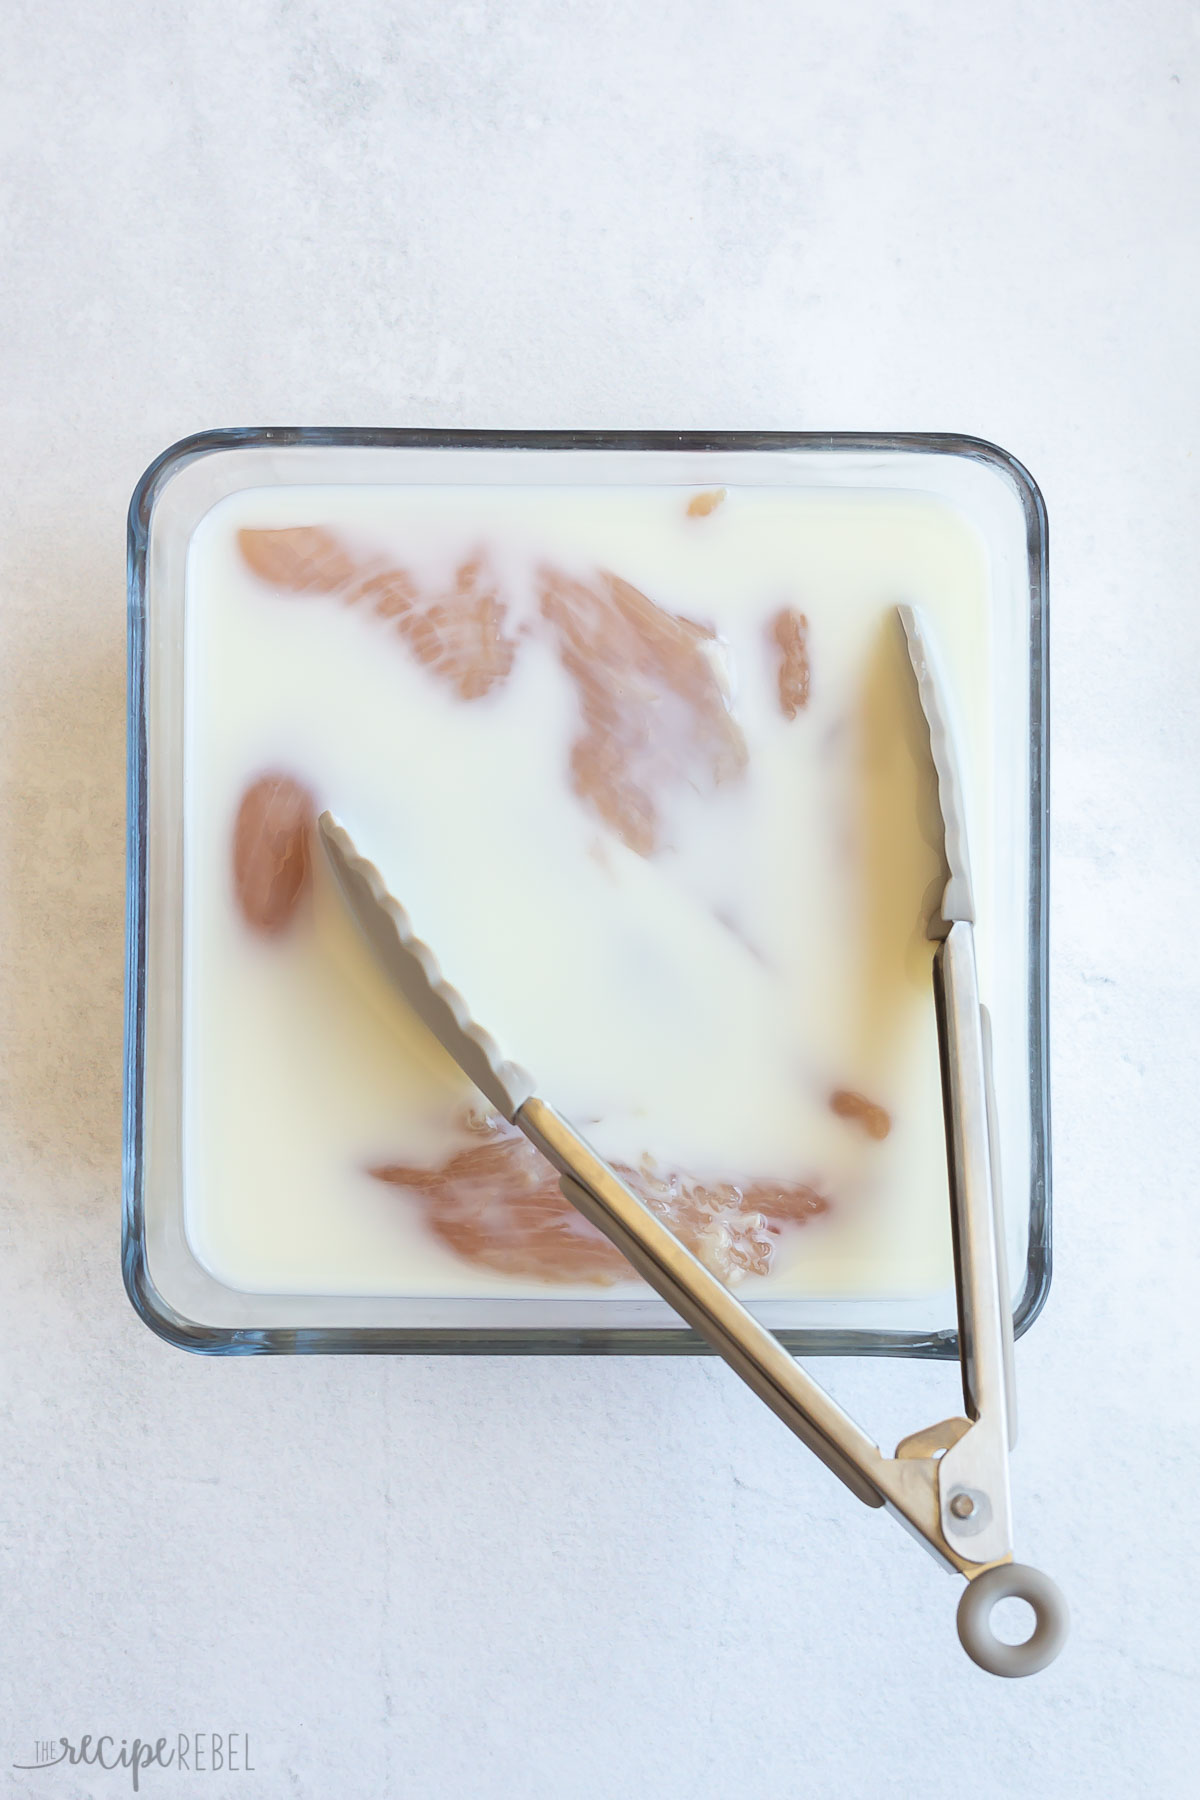
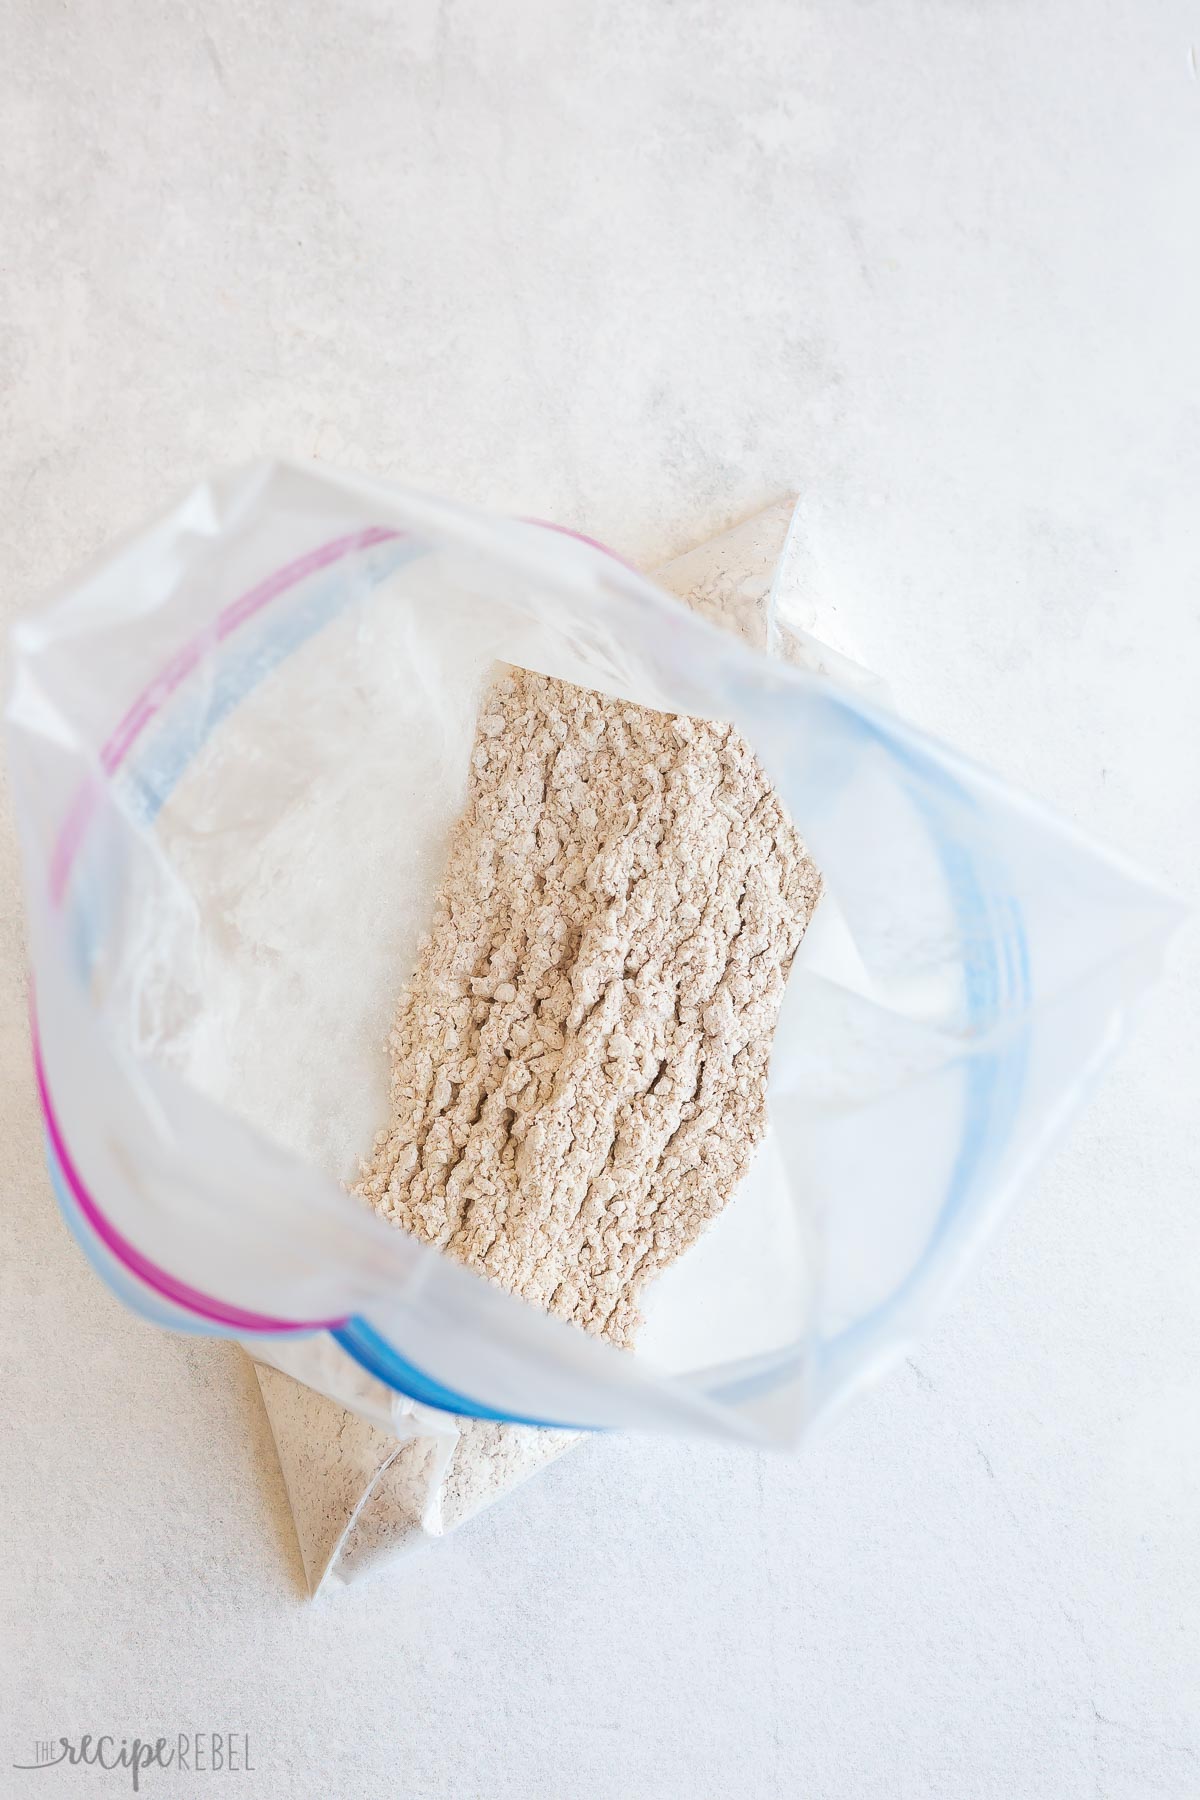
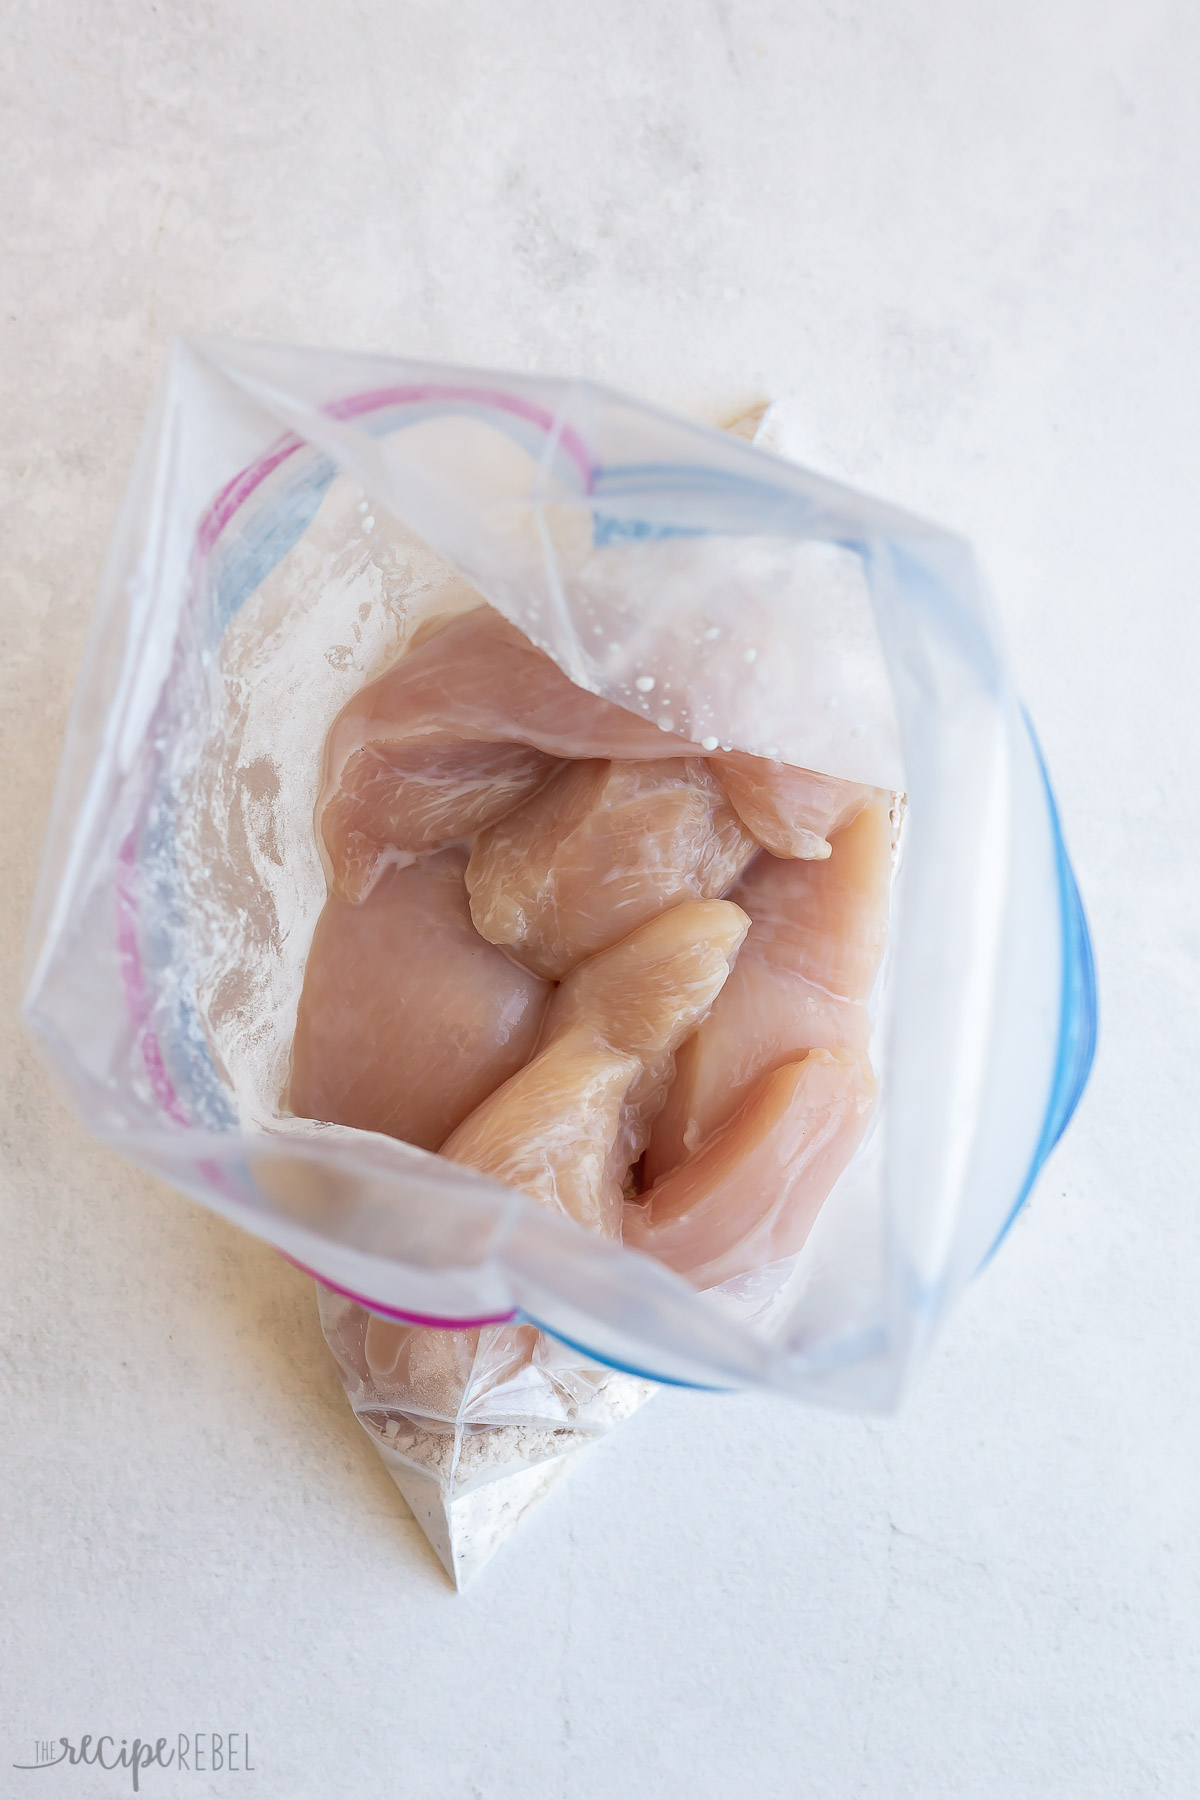
- Bread the Chicken Breast Pieces. Soak the chicken in buttermilk (you can skip this step if you like, but it helps the coating to stick!). Combine the flour, panko, seasoned salt, salt and pepper, and paprika in a large paper or zip-top bag. Add the chicken to the bag, and shake the bag to coat the chicken pieces.
- Bake. Place your chicken on the prepared baking sheet, leaving a space between each strip. Bake the chicken for 10 minutes, flip carefully with a spatula, and bake for another 10 minutes. (Note: if the parchment is dry when you flip the chicken, add a drizzle of oil, to the to ensure the bottom pieces of chicken get crispy.)
- Check for Doneness. Check to make sure your chicken is cooked (165°F), as the thickness can greatly affect baking time. You want it to be done, but not overdone and dry. If it’s not yet up to temperature, bake for another 4-5 minutes at a time, until it’s cooked through
Why is my baked chicken not crispy?
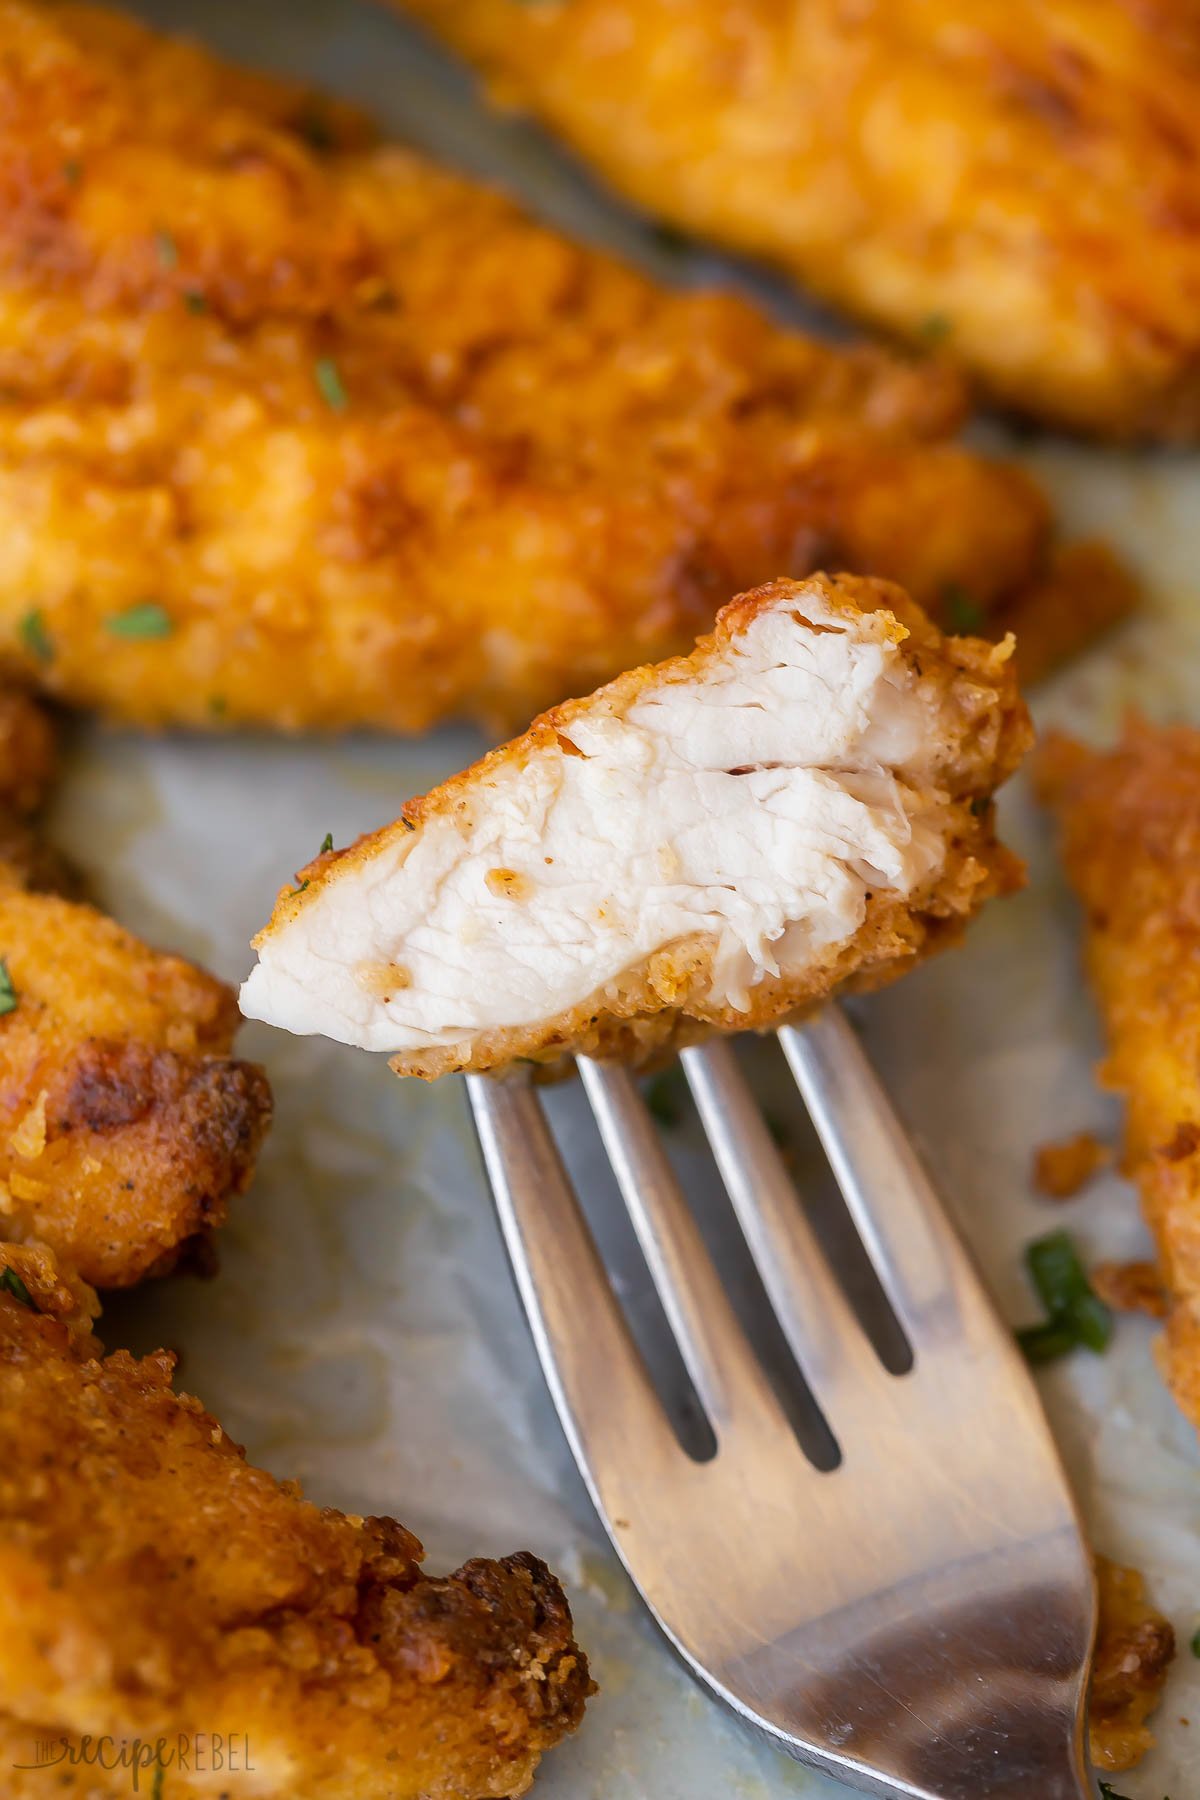
While baking chicken isn’t always known for crispy results, this recipe really does deliver a crispy “fried” main course right out of the oven! Still, I wanted to add some tips that might help, if you find that your chicken is not as crispy as you’d like.
- Use Dark, Non-Stick Pans. Dark pans heat to a higher temperature than light-colored pans, which will help with getting a crispy coating.
- Use Moist Chicken. I keep my chicken breasts in the freezer, and then thaw them in the fridge. So they’re quite moist when it’s time for me to bread them, and a lot of the coating sticks to them easily. If you’re working with fresh chicken breasts, you’ll want to soak them in milk first (or buttermilk, which adds great flavour!).
- Use Butter, Not Cooking Spray. I know you might be tempted to bake the chicken with cooking spray instead of butter, but unfortunately, this just doesn’t work as well. The fat in real butter makes a lot of difference in crisping up the chicken! If you need a healthier substitute, try margarine or reduced calorie margarine.
- Watch the Parchment: When you flip the chicken, you may find that the parchment paper is a little dry. I recommend drizzling more butter or oil onto the parchment to help crisp up the bottom of the chicken as it cooks.
- Serve with Care: As the chicken sits on a plate, the underside may get a little soggy from condensation. Therefore, I recommend serving immediately. If you’re not serving right away, place the chicken on a rack, a plate lined with paper towel, or just keep it warm in a 225°F oven.
Can I make this ahead?
Yes! You can make the breading mixture and bread the chicken pieces, and then “flash freeze” them on a tray in the freezer until frozen solid.
From there, transfer the breaded frozen chicken to freezer bags, and keep for up to 3 months frozen. There’s no need to thaw them before baking, but you will need to add more cook time (around 2 to 5 additional minutes per side, depending on the thickness of the chicken).
Serving Suggestions
When it comes to serving oven-fried chicken breast, I like to go with classic, comforting sides. Here are some of our family favorites:
- Glazed Carrots: These simple Honey Glazed Carrots are made with honey, brown sugar, butter, and garlic. They add a sweet touch to the dinner table, and go perfectly with crispy, well-seasoned chicken.
- Mashed Potatoes: These easy, creamy mashed potatoes come together in the slow cooker, which makes them almost completely hands-off! Try Slow Cooker Mashed Potatoes once, and you may just find yourself making them every week! (Looking for something even more indulgent? Try my Cream Cheese Mashed Potatoes)
- Baked Beans: A beloved potluck favourite, sweet and savory Instant Pot Baked Beans come together quickly, but taste like they simmered all day.
How to Store and Reheat Leftovers
To refrigerate leftover chicken, allow it to cool on a wire rack or paper-towel-lined plate. Then transfer the cooled pieces into shallow, airtight containers. Store in the fridge for 3 to 4 days.
To freeze, place the chicken in a single layer on a tray in the freezer, until frozen solid. Then transfer the frozen pieces to freezer bags, and store in the freezer for up to 3 months.
To reheat oven-fried chicken, place chicken pieces on a wire rack on a baking sheet and place in the oven at 250 degrees just until heated through.
The Best Oven-Fried Chicken
Ingredients
- 2 lbs chicken breasts (about 3-4) cut in strips — I get about 3 out of one breast
- 1 cup buttermilk (optional)
- 6 tbsp melted butter
- ¾ cup flour
- ½ cup Panko breadcrumbs
- 1 tbsp seasoning salt I use Lawry’s
- ½ tsp pepper
- 2 tsp paprika
Instructions
- Cut chicken breasts into thick strips and soak in buttermilk.
- Preheat oven to 425°F. Place a large piece of parchment paper on the rimmed baking sheet (10×15) and brush butter over the parchment. It might seem like too much butter, but you need it to crisp up the coating!
- Combine flour, Panko, seasoning salt, paprika and pepper in a large zip-top bag. Add the chicken and shake to coat **
- Place your chicken on the prepared baking sheet, leaving a space between each strip. Bake 10 minutes, flip gently with a spatula, and bake another 10 minutes. (If the pan is dry when you flip the chicken, add a drizzle of oil to ensure the bottom crisps as well)
- Be sure to check to make sure your chicken is cooked (165°F), as the thickness can greatly affect baking time. You want it to be done but not overdone and dry. Bake another 4-5 minutes if needed.
- Remove to a plate lined with paper towel to soak up any excess grease. Serve immediately. To keep warm until serving, place on a wire rack on a baking sheet in a 225°F oven.
Notes
Nutrition Information
Want to save this recipe?
Create an account easily save your favorite content, so you never forget a recipe again.
Tried this recipe?
Tag @thereciperebel or hashtag #thereciperebel — I love to see what you’re making!
Tag @thereciperebel



Priscilla says
This is my very first time I commented on any blog, but I have to say these turned out great, orginal recipe and all! Thank you!
Kaci says
I tried this recipe. It is simple and awesome!
Ashley says
Wonderful! Thank you!
Jessica says
Made this last night and it was fantastic! I used Gluten Free flour and it turned out great. I pounded out the chicken, soaked in milk and then breaded in a paper bag. The flavor was amazing and it was crispy. I did lay it on paper towel when it came out of the oven. My husband, 16 month old and I all ate it and loved it. Thanks!
Ashley says
That’s awesome! I’m glad to hear it!
kris says
Can you tell me what flour you used for your gluten-free flour? I would like to try this, and not sure if I should just use brown rice flour or sorghum, or a mixture of some.
The Food Hunter says
This is a great recipe and I love that you tried it twice for us!
Ashley says
Thanks! We’ve had it so many times, it’s one of our favorites! But I’m always trying it new ways 🙂
carol says
+Followed the recipe exactly except I dipped my boneless chicken breast in egg before I put the seasoned coating on them. I had one and a half pound of boneless chicken breast. There were three to a package. I used my hand to pound them down a little sliced them in half lengthwise before I dipped them in the egg, then the seasoned coating like the recipe called for. Cooked at 425 degrees instead of 400 degrees. Cooked 12 minutes each side. The texture was like the “original recipe KFC” it wasn’t crispy, but I think it wasn’t meant to be. But it sure wasn’t soggy either. MUST put on paper towels as soon as I leaves the oven. It was really good, my husband like it a lot, but it didn’t TASTE LIKE KFC.
Ashley says
Glad your husband liked it at least! Sorry you didn’t find the taste to be similar — we find it to be very close in taste!
Tiana says
Maybe you should not have dipped the chicken in egg.
Cas Baker says
thanks for this recipe 🙂 i tried it a couple of weeks ago and again tonight. I just thought it needed a few changes so instead of butter i used 1 TBS of margarine. i soaked the chicken in milk for an hour then coated, dipped in milk and coated again. After cooking for 10 mind on each side at 200degrees celcius i put them in my convection oven for 10 mins each side at the same temp to crisp up — also i used only half the flour and only 2 chicken breasts 🙂 taste sooo goood 😀
Ashley says
1 tbsp of margarine is probably enough for such a small amount of chicken. Glad you liked it!
sarah says
This was fantastic! We used a cast iron skillet and it worked great. The seasoning was delicious. A new go-to in my house.
Ashley says
Awesome! Glad you liked it!
Renee says
Baking chicken breast strips at 400 degrees, for possibly 30 minutes, will give you dried out chicken. Chicken breast strips fried on the stove in oil are fried at 375 for only 3-4 minutes on each side.
Ashley says
You really can’t say that as it depends completely on the size of your strips. A meat thermometer is the only thing that can tell you how long is long enough.
Zoe says
You’re right Reneee. I hadn’t noticed my mistake while I was typing that out. I had mine in on 325 degrees, 10 or so minutes per side. However some took a little longer. Because of the varying thicknesses ( I use a thermometer to check ) some stayed a little longer.
Also, you can’t compare baking time to frying time … even if the temperature is the same. Frying will always take less time.
Trisha says
So do you cook it at 400 or 325. Going to make tonight
Ashley says
Your coating will be crispier if you bake at a higher temperature. Just pay attention to the thickness of your chicken and check with a meat thermometer to ensure doneness.
Zoe says
I preheat my cast iron skillet with the oven set to 400 degrees. But once I have the chicken in it in the oven I reduce to 325 degrees. The reason is I want that initial crisp taking place when I first lay the chicken strips on the skillet surface but after that I want them to cook at a heat which will cook to the center without drying out the outer. I’ve found this gives me a crispy outside with the chicken breast strip itself moist.
I tried the process the first time at 400 the entire time. I prefer my strips to be a little more juicy, hence the change in temperature settings. The coating I use with the addition of the corn flakes gives a nice crisp without having to cook the chicken strips on the higher heat.
Zoe says
I made this a couple nights ago, then after making some changes made it again last night. I had the same sogginess issue mentioned by others because of the amount of butter so I used non-stick cooking spray this time with 1.5 tbl. of butter. My household loves hot wings so I decided on the second batch to add a little heat. I made a mix of tobacco sauce and melted butter and marinated the chicken strips In it for an hour. Then added some crushed cornflakes to the coating mix to give it crunch. I also adjusted the spices by eliminating the season salt because the tobacco lends a saltiness and I prefer to keep the sodium we consume within the healthy 2500 mg daily limit and used kosher salt rather than table salt. I also baked them in a cast iron skillet. 15 minutes on one side, rolled them around to pick up that butter then 15 minutes on the other produced the most amazing crunchy chicken strips with a little kick. The thicker ones took a little longer. I served these with a corn and black bean salad and rounded out the night with fresh strawberries topped with French vanilla yogurt. The chicken strips were an absolute hit. Best of all was this was such an easy meal to prepare!
If you like some heat and want the end result crunchier.. these were amazing !
Zoe says
Tabaso sauce! Not tobacco sauce. Haha
Zoe says
Wow, it’s my night for typos. Tobasco sauce!
Ashley says
Those are some great ideas! We actually made this last night too and I experimented with the non-stick v. Butter so I’m going to update the recipe with a couple notes 🙂
Nikki says
I made this last night for my boyfriend and I!
After reading the comments and suggestions, I decided to go with bone-in drumsticks WITH skin, just to see what it would turn out like. 20 minutes on each side.
I also used cooking spray opposed to butter to resolved the sogginess issue and threw in a few extra seasonings as we like things a little more spicy- they turned out FANTASTIC!!
They were crispy, golden, delicious and best of all NOT greasy!!
Next time I think I will attempt to double batter them for more of a crunch, and maybe try it with skinless breast strips just to see what its like.
THANK YOU for sharing this recipe!
Cheers from Alaska!
Ashley says
Thanks for letting us know your results! I’ve never tried with bone-in or skin on, but I might have to someday!
Karla says
I used only cooking spray, and cooked in a cast iron skillet. The rest of the recipe i followed exactly. Great recipe! Thank you.
Ashley says
Thanks Karla! I should try it in my cast iron skillet!
Leslie says
I made this tonight, its absolutely delicious!!! I changed a couple of things… I used kosher salt and omitted seasoned salt, I made my own seasoned salt minus the extra salt. I also used less butter. the only problem that I had was not being able to get it as crispy as it should’ve been but it was an absolute success nonetheless. I served it along side some garlic sautéed spinach and roasted cauliflower. I will definitely make it again.
Ashley says
I’m so glad! Thanks for coming back and leaving a comment!
Dee says
These were great…I cut off a tbsp of butter they were nice and crisp the way they are supposed to be very moist. Looked just like the picture served with side of Rance…..also fresh sweet corn and mashed potato…I made 20 nice strips and still had enough mix for MORE. Will make again for sure.
Dee says
These were great…I cut off a tbsp of butter they were nice and crisp the way they are supposed to be very moist. Looked just like the picture served with side of Ranch…..also fresh sweet corn and mashed potato…I made 20 nice strips and still had enough mix for MORE. Will make again for sure.
Ashley says
So glad to hear that!
Tiara says
Tried it with bone in chicken. It was great! To solve the soggy complaint, I only did 1 tbsp of butter and spread it over the pan. Then I flipped it 20 mins in and kept it in for another 30-40. I suggest after they’re flip to move it to another pan. That eliminate sogginess
Ashley says
That’s a great idea — I’ve been meaning to try with just a spray of non-stick and see if they would be just as crispy!
Tiara says
Yes. Everyone said it was the best!
Ashley says
I’m glad!
Tara says
The flavor of KFC was there! The texture not so much. It’s was very soggy so I broiled it a bit helped some but wish it had a lot more crunch maybe skin on chicken would help
Ashley says
That’s strange — we don’t find it soggy at all. You could try cooking it at a higher temperature or on a baking rack?
Nosurrender says
Tried this tonight and I have to say that it tasted pretty good. Such a simple recipe too! Thanks! The only reason it didn’t get 5 stars was because there was too much butter which changes the healthiness of it. That is very fixable for next time though!
Ashley says
Thanks! I have yet to try baking it just with non-stick spray, but I should definitely sometime — it would help cut back on the butter a bit!
Paloma says
Thanks for the recipe. I made it with coconut flour it came out awesome!!!!
Ashley says
So glad! You’re welcome 🙂
Jessica says
This is by far the best recipe! Thank you for sharing. So delicious and juicy 🙂
Ashley says
Thanks Jessica! Glad you liked it!
Anna says
I used 5 tablespoons of butter. Too much, butter soaks up the flour ,therefore not allowing the coating to stick.
I think also a little heavier on the spices, there wasn’t enough flavor, tender yes. I would try again.
Ashley says
That’s too bad — we’ve always found it very flavorful!
melissa says
Just wondering if anyone has made this with the thin chicken breast strips and how long approx to cook on both sides? We tried the thick ones last night but they were a bit thicker than we like!
Ashley says
I haven’t personally Melissa, but I would start with 5-6 minutes per side and then add a couple minutes if they’re not done.
melissa says
Thanks I’ll give it a try!
Amy says
My chicken did not come out crunchy like in the picture… Any recommendations? I followed the recipe exactly
Ashley says
It might be because our oven temperatures differ slightly or the type of pan used — it could be a few things. I usually use a dark non stick pan so it would get a bit hotter than any other pan. You could also try reducing the butter a bit or just spraying the pan with non stick spray. Hope that helps!
Mary says
Made this for dinner last night, and while it was easy to prepare it certainly did not resemble KFC
Shannon says
Making this bake chicken now can’t wait to see how it turns out
Ashley says
I’d love to hear how you like it!
HappyLuckyBlessed says
Oh my! Perfect! Do not change a thing! My husband and I have a ‘top 10’ rating system. We’ve been together for 14 years and I’ve cooked way over a few hundred dinners and many many chicken dishes during this time. This is ‘top 10’ (according to him), and me! Served this with mashed potatoes, a creamed corn casserole and a side of chicken gravy (just in case he wanted gravy). Peeerrrrfect! Follow the chicken recipe exactly and you will NOT be disappointed. Thank you SO much for posting this.
Ashley says
That sounds like the perfect dinner! I’m so glad you enjoyed it — it’s one of our favorite meals!