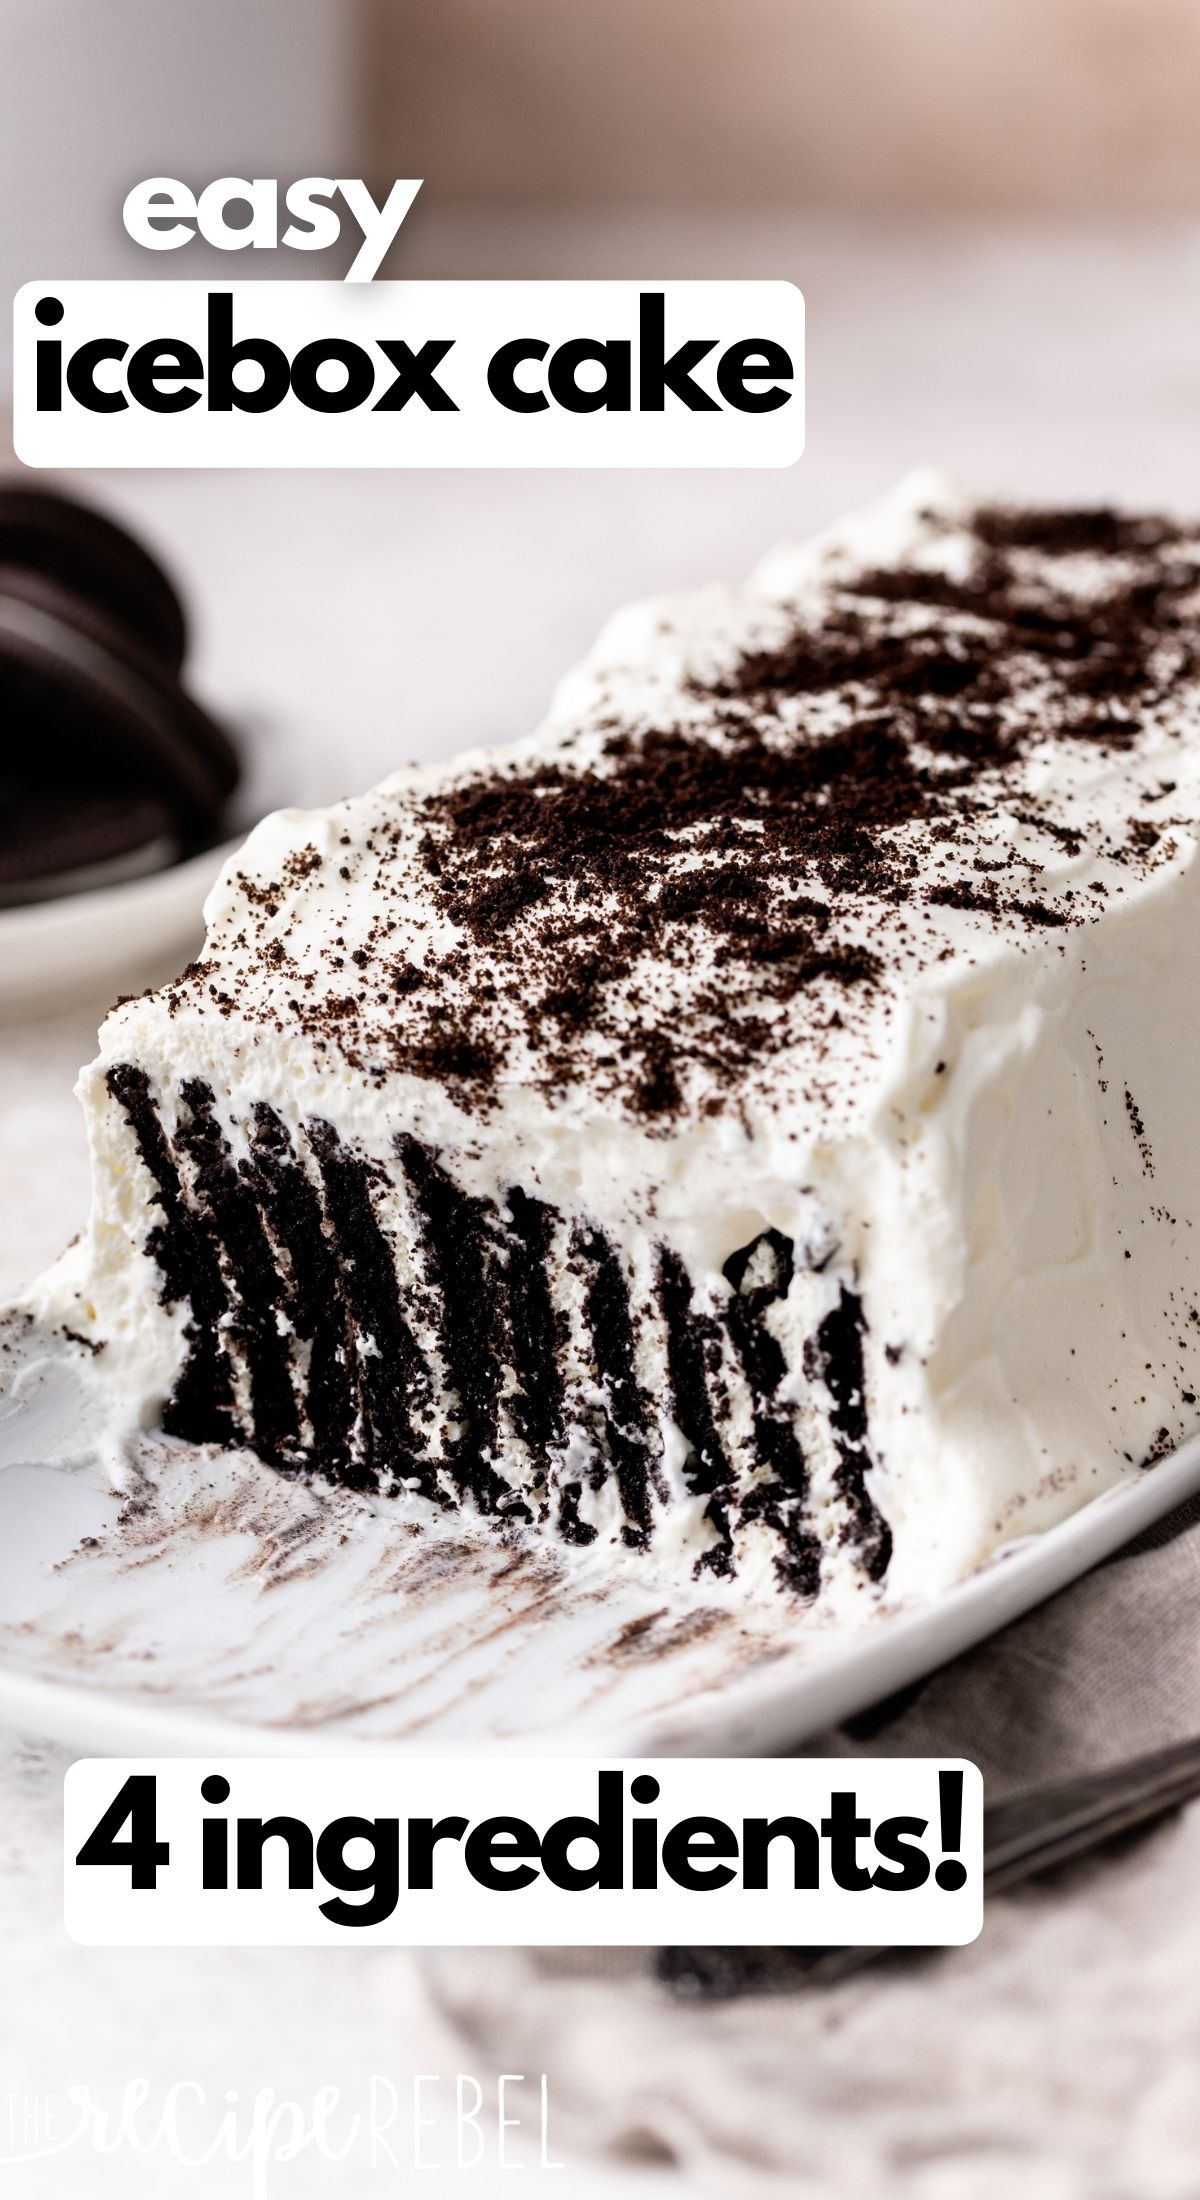
This delicious Icebox Cake recipe is made with just 4 simple ingredients and only takes 15 minutes of prep time! It’s the perfect make-ahead easy dessert for birthday parties, special occasions, or BBQs on hot summer days!
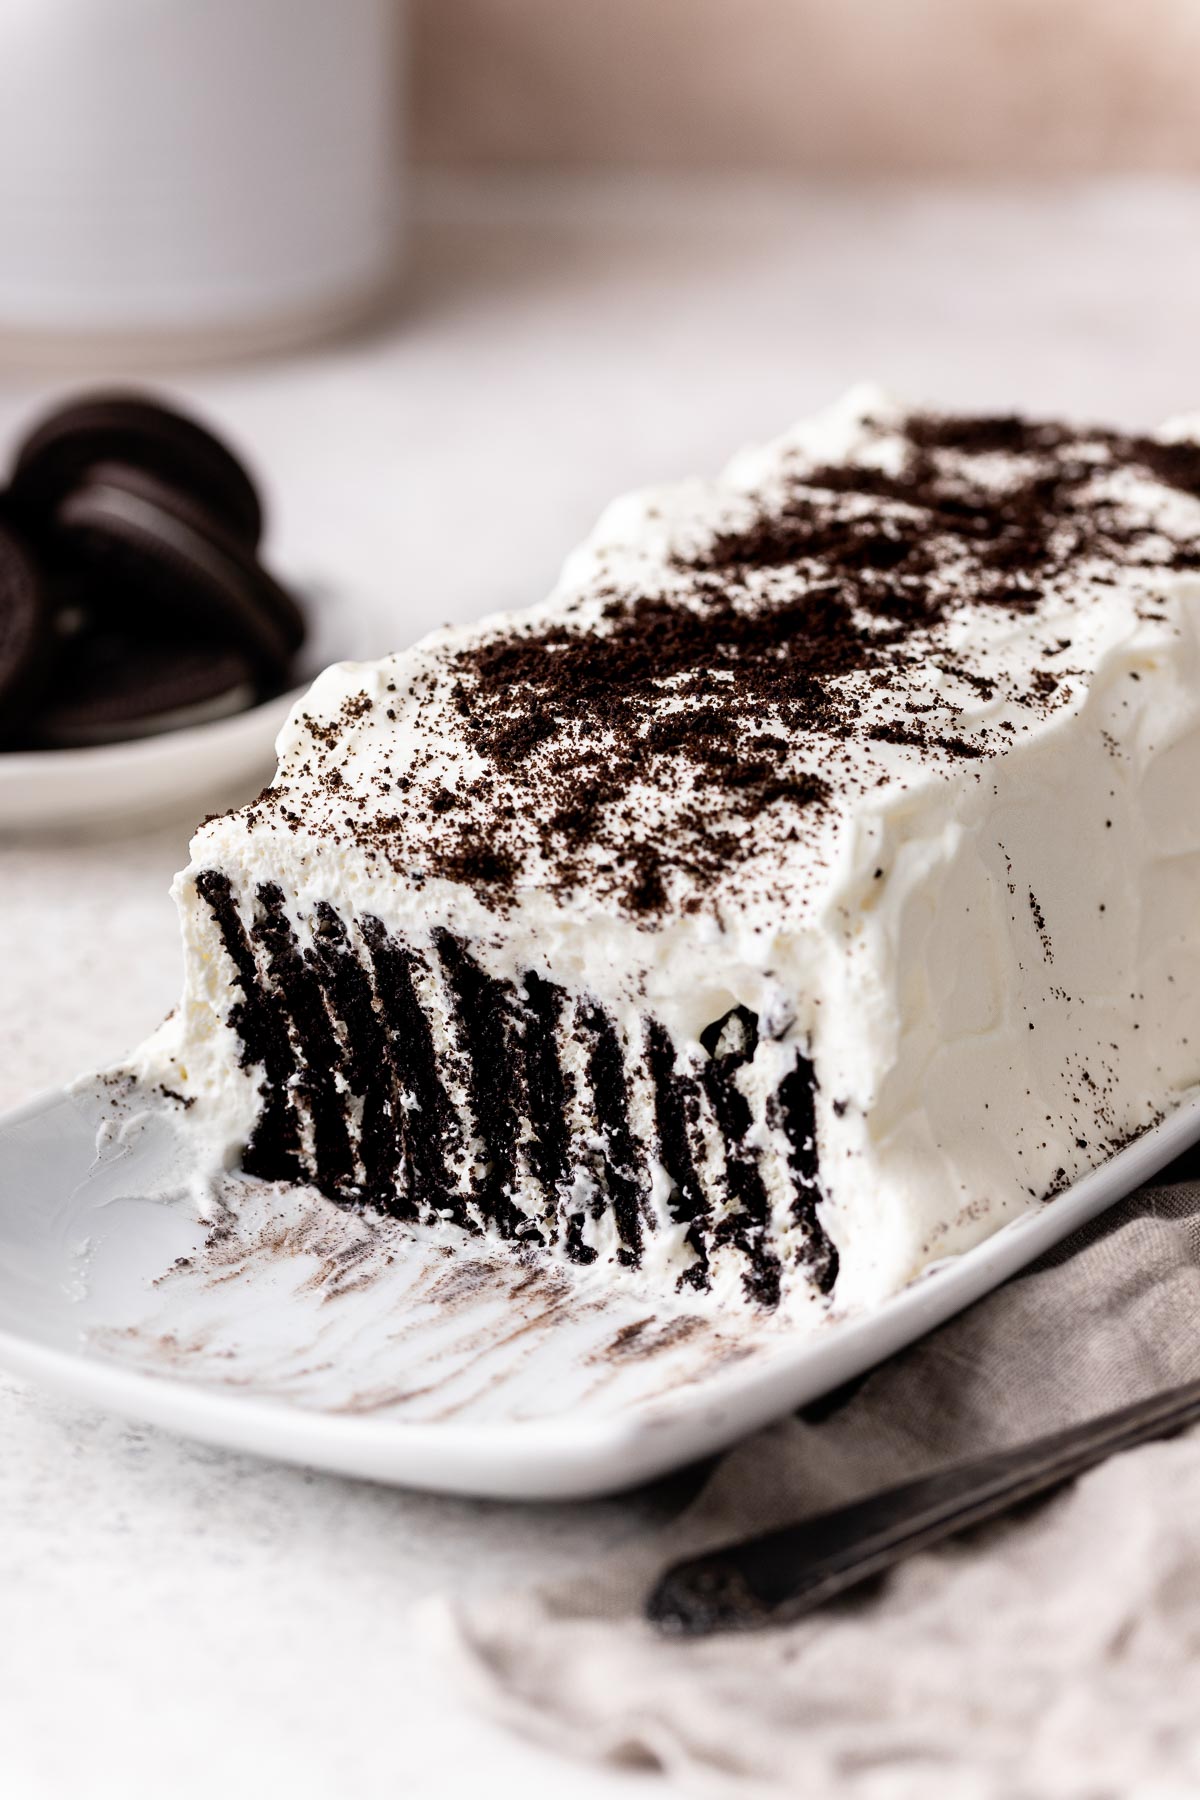
Table of Contents
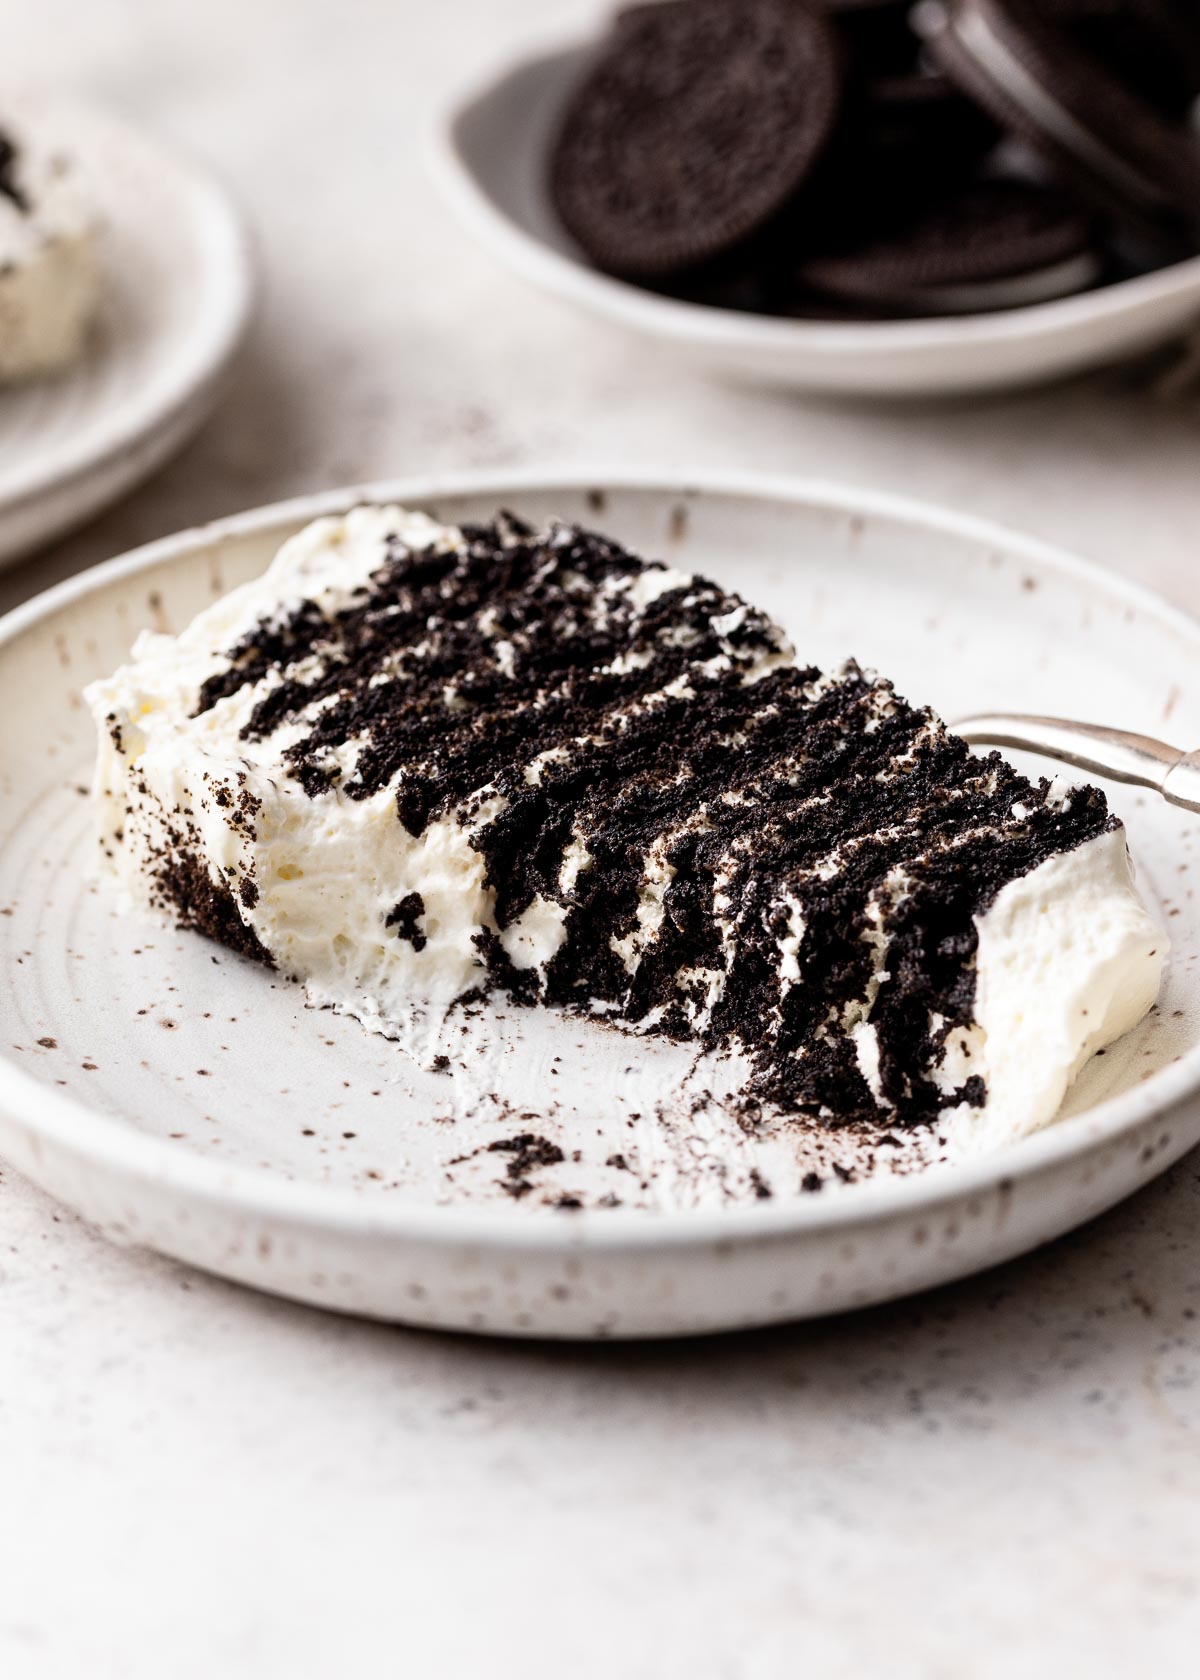
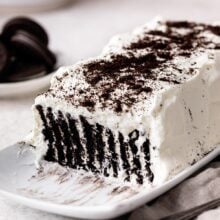
A classic Icebox Cake is made with layers of cookies and homemade whipped cream, covered in whipped cream and topped with crushed cookies.
This easy dessert has a cake-like texture as the cookie layers absorb some moisture from the cream filling, but there’s no baking required!
It’s one of my favorite desserts when I want something that looks impressive but took no time to make.
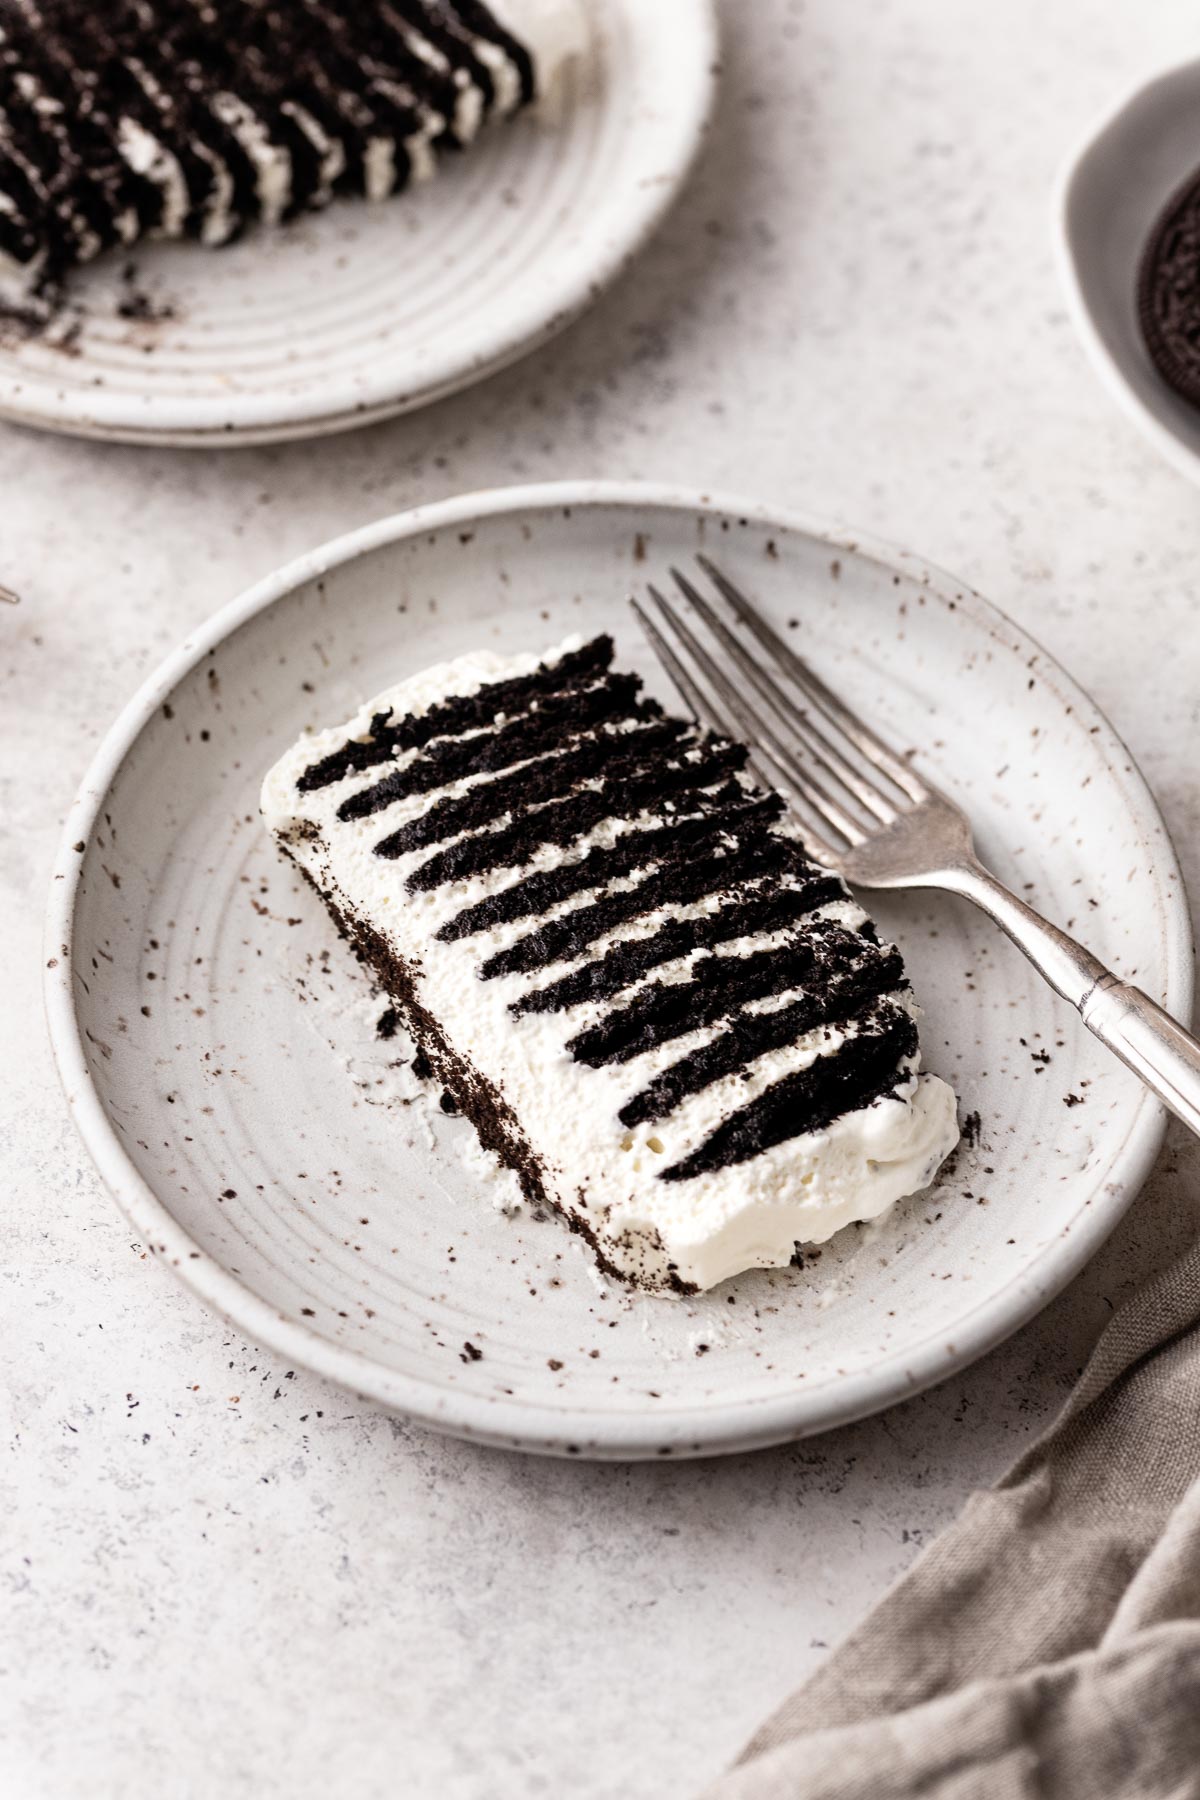
Plus, there are so many different ways to make an icebox cake!
They’re a versatile no bake dessert that can be switched and changed depending on what you’ve got in the pantry.
We LOVE experimenting with Icebox Cake recipes, but some of my favorites are this Caramel Apple Icebox Cake and my No Bake Black Forest Icebox Cake.
Also check out my Funfetti Icebox Cake, my No Bake Pumpkin Pie Ice Box Cake, and my No Bake Lemon Raspberry Icebox Cake for more inspiration!
Ingredients Needed:
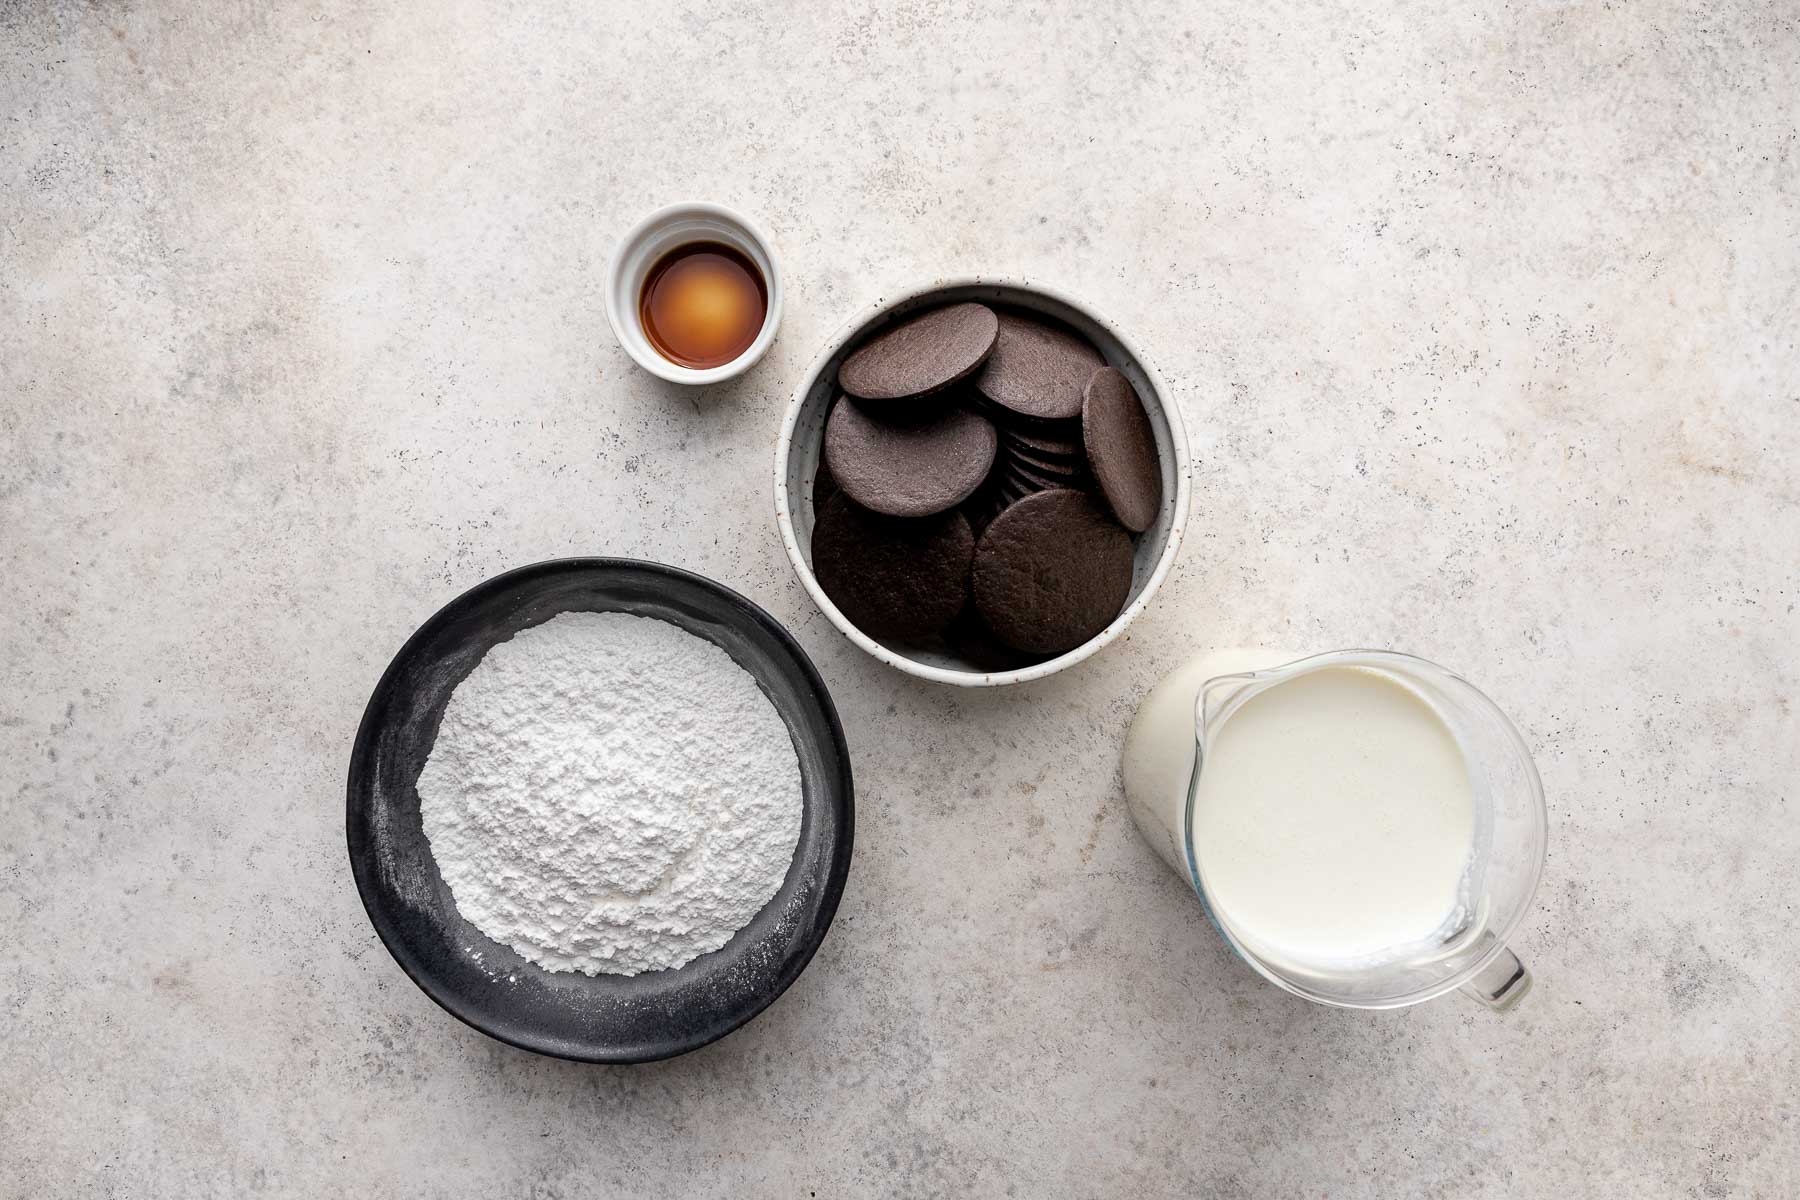
- Whipping Cream: use full-fat heavy whipping cream for the best flavor and texture. A lighter cream will not whip. You may substitute store bought whipped topping if you need, but homemade whipped cream is the best way!
- Powdered Sugar: to sweeten the cream and add a bit of substance to it for it to thicken well.
- Vanilla Extract: this will add a subtle, warm sweetness to the cake.
- Cookies: I’ve used plain chocolate wafer cookies but you can use any kind of single-layer cookie.
How to Make an Icebox Cake
This recipe is quick to assemble but takes a bit of time to chill and set before you can slice and serve. Full instructions are included in the recipe card below.
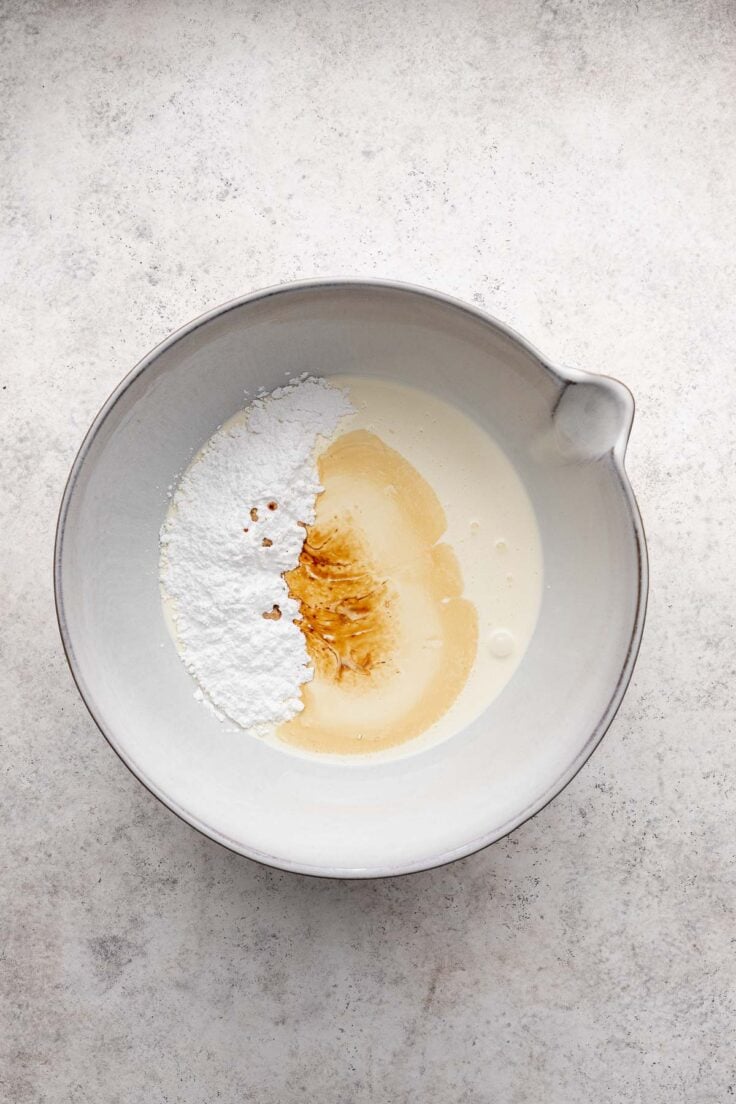
- Whip cream mixture. Whip together the cream, sugar, and vanilla until stiff peaks form.
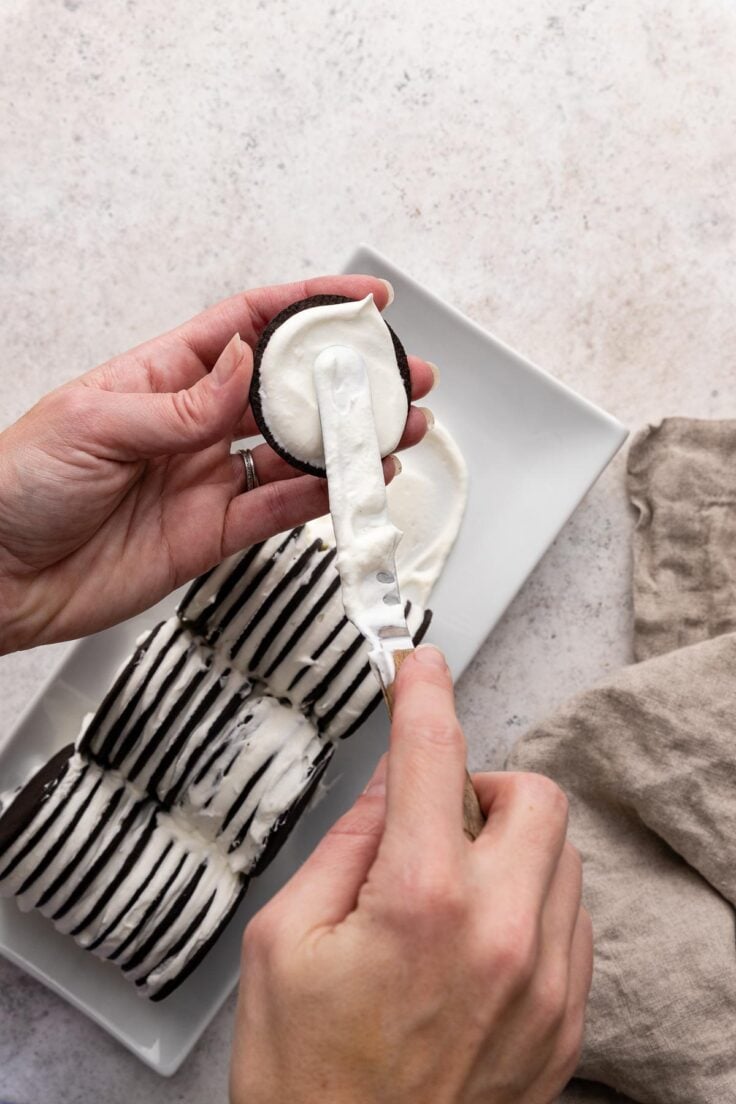
- Make first row. Take one cookie and spread a bit of whipped cream on it. Place another cookie on the whipped cream and put it on your serving plate. Repeat until you’ve used all 11 cookies for your first row.
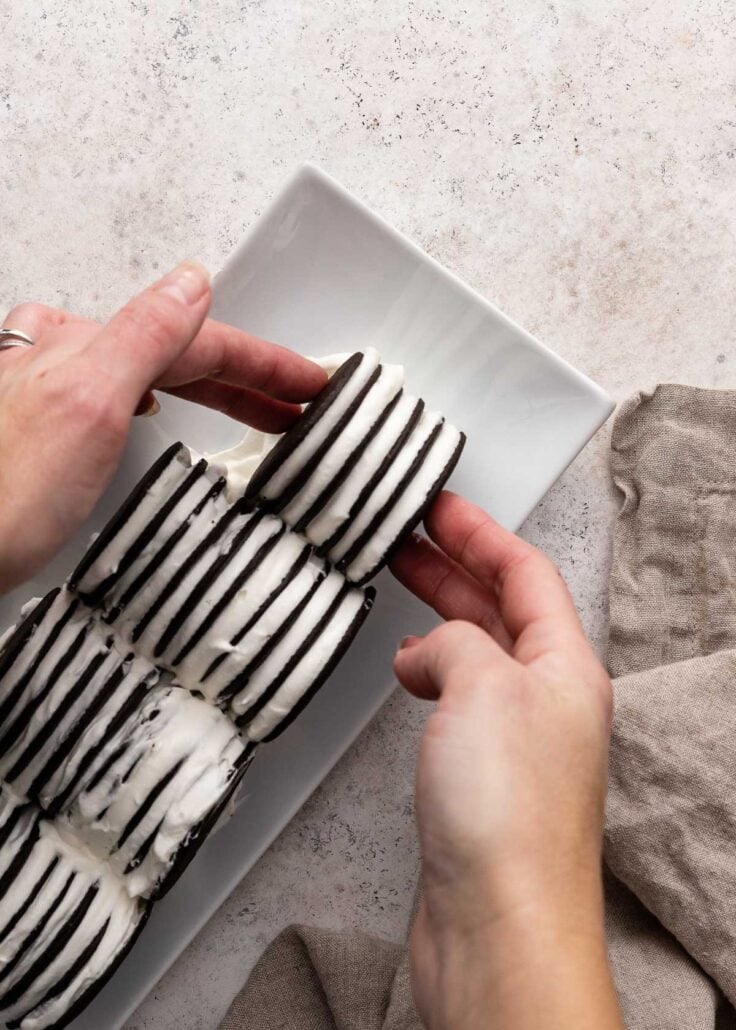
- Complete rows. Repeat, making 3 more rows of 11 cookies each, until a long rectangle forms.
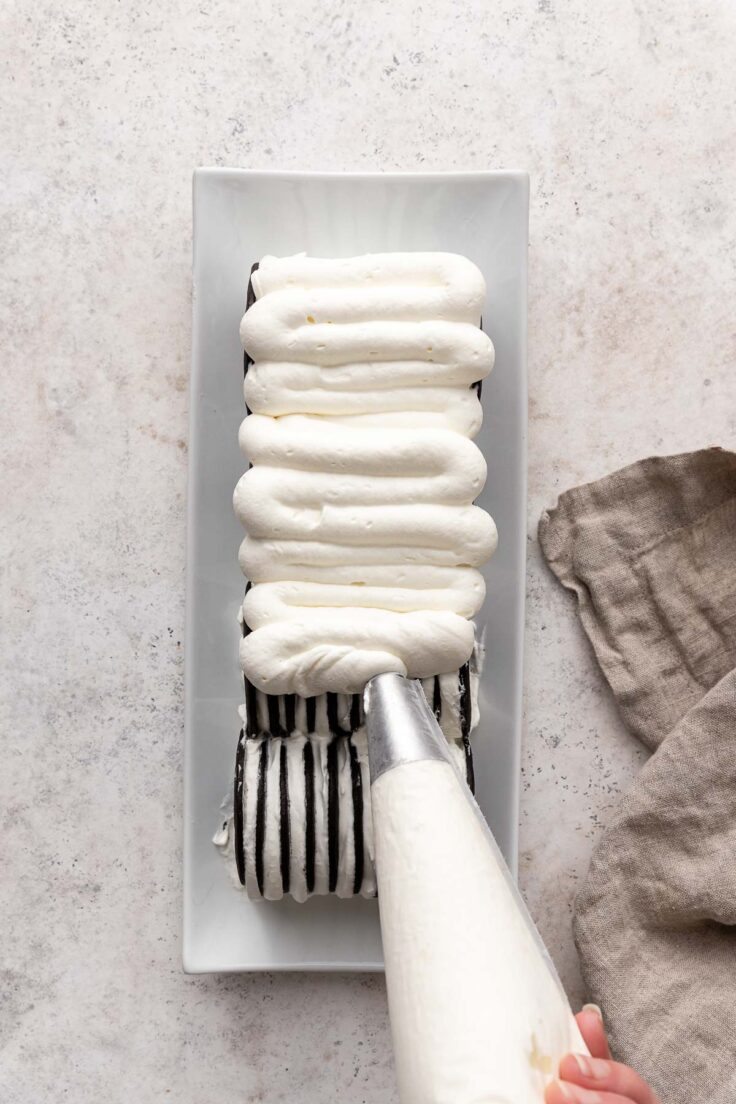
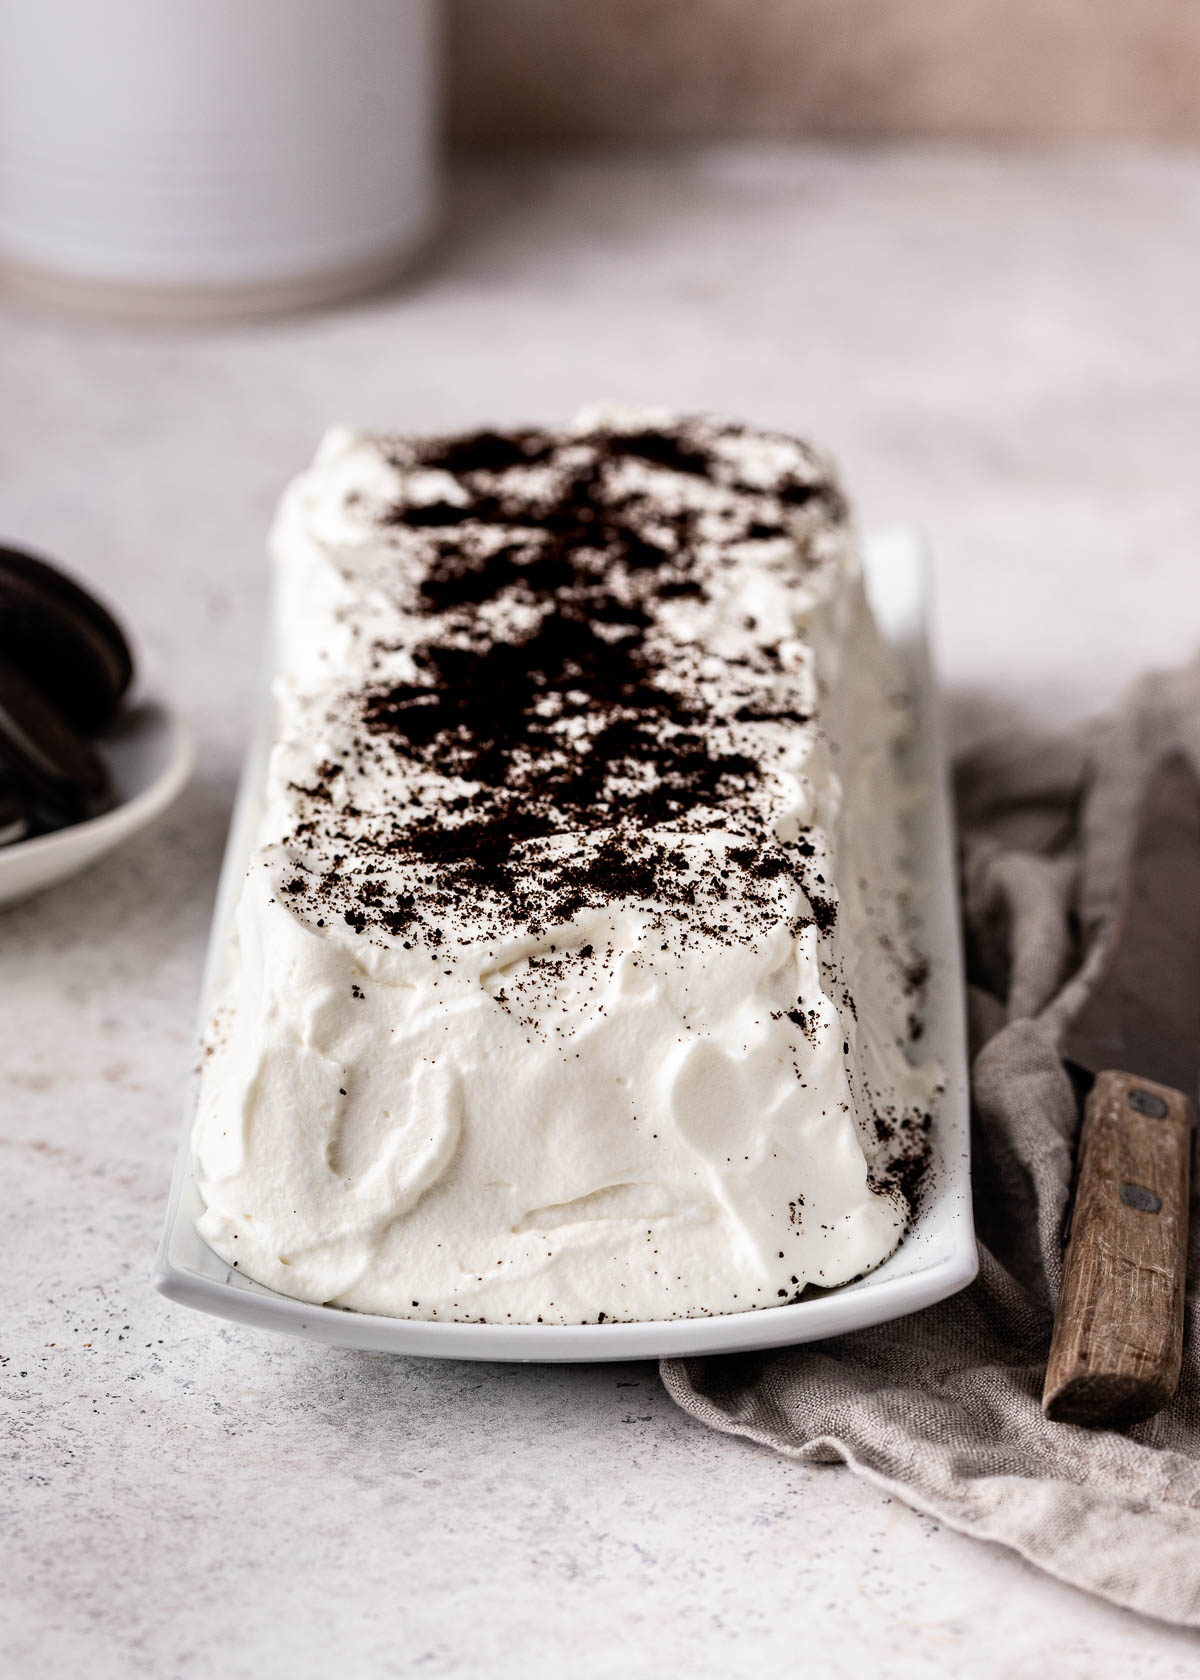
- Add toppings. Once you have completed your rows, cover them with the remaining whipped cream, and smooth it out on top if desired. Decorate with crushed cookies and chill.
Icebox Cake FAQs
Icebox Cakes were first introduced to the US during the 1920s to help promote the icebox kitchen appliance. They became more popular in the 1930s when the Icebox appliance became more popular in homes.
This cake will last a few days in the fridge, but the whipped cream will start to droop after a couple of days. See how to make stabilized whipped cream with gelatin here.
This cake can be frozen if you’re making it ahead of time for a party or gathering. If you do this, you will want to serve it half-frozen, as the whipped cream may become thin after freezing it.
Tips and Notes
- How to make a neat rectangle: Make sure to gently press the cookies and cream layers together after each addition to form a neat rectangle shape. The nice thing is that you can squish and rearrange the cookies as much as you want before you put on the final layer of whipped cream!
- Loaf pan. You can make the icebox cake in a loaf pan rather than making it freehand if you prefer. I recommend lining the pan with plastic wrap for easy removal.
Icebox Cake Variations
- Change up the Cookies: you can likely make this cake with any thin, single-layer cookie from the grocery store. I use Mr. Christie’s brand chocolate wafers. I don’t recommend regular Oreo Cookies as they are thick and will take some time to soften. You could use layers of Graham Crackers, vanilla wafers, or even Oreo thins!
- Whipped cream. Sure, you can use whipped topping like Cool Whip or Vanilla Pudding. But why?! This recipe is made with so few ingredients, I like to use the best ones possible.
- Whipped cream flavors. Feel free to add a bit of cocoa powder, peanut butter, strawberry jam, or extracts to flavor your whipped cream. Check out my post on How To Make Whipped Cream for hints and tips!
- Garnish. Top your Cake with more crushed cookies, chocolate chips, chocolate curls, rainbow sprinkles, or even fresh berries to make your cake extra special.
Serving Suggestions
Serve on its own or with an extra dollop of whipped cream, a chocolate drizzle, or even fresh fruit!
If you’re looking for summer desserts that are a bit different, check out my Frozen Ice Cream Dessert Pizza (Treatzza Pizza), these Blueberry Cheese Cake Ice Cream Cupcakes, or my individual Ice Cream Sandwiches!
More Easy Dessert Recipes to Try
Easy Icebox Cake recipe
Ingredients
- 3 cups heavy whipping cream
- ½-¾ cup powdered icing sugar
- 1 teaspoon pure vanilla extract
- 200 g of plain chocolate wafer cookies (my box had about 45 cookies in it)
Instructions
- In a medium bowl with a hand mixer, or using the bowl of a stand mixer, whip together the cream, sugar, and vanilla on high speed until stiff peaks form (this will take a few minutes). Taste and adjust sweetness as desired.
- Before forming your cake, figure out what size you want to make it. You can make it round, in a springform pan, or a free-form log on a serving plate. I made mine in free form, in a rectangle with 4 rows of 11 cookies.
- Take one cookie and spread a bit of whipped cream on it. You want there to be enough whipped cream between cookies so you can see the layers and don’t have gaps. Place another cookie on the whipped cream.
- Repeat until you’ve used all 11 cookies for your first row. Place on a serving plate (this is one short end of our rectangle).
- Repeat, making 3 more rows of 11 cookies each, until a long rectangle forms. It’s okay if your stacks are not perfect — you can wiggle everything around on the plate before you cover it in whipped cream.
- Once you’re done with your cookies, cover them with the remaining whipped cream. The easiest way to do this without disturbing your cookies is to use a large plastic bag or a freezing bag.
- Pipe the whipped cream in a single layer all over the cake, then use a spatula to smooth it if desired.
- Decorate with crushed cookies as desired. Chill for at least 6 hours so the cookies will soften before slicing.
Notes
- Refrigerator: This cake will last a few days in the fridge, but the whipped cream will start to droop after a couple of days. See how to make stabilized whipped cream with gelatin here.
- Freezer: This cake can be frozen if you’re making it ahead of time for a party or gathering. If you do this, you will want to serve it half-frozen as the whipped cream may become thin after freezing it.
Nutrition Information
Want to save this recipe?
Create an account easily save your favorite content, so you never forget a recipe again.
Tried this recipe?
Tag @thereciperebel or hashtag #thereciperebel — I love to see what you’re making!
Tag @thereciperebelThese photos were taken by Ashleigh Scott Creative.



Charla says
My mom use to make this for us growing up, thank you for bringing back a favorite we forgot about.
The Recipe Rebel says
Hope you enjoy it Charla!