
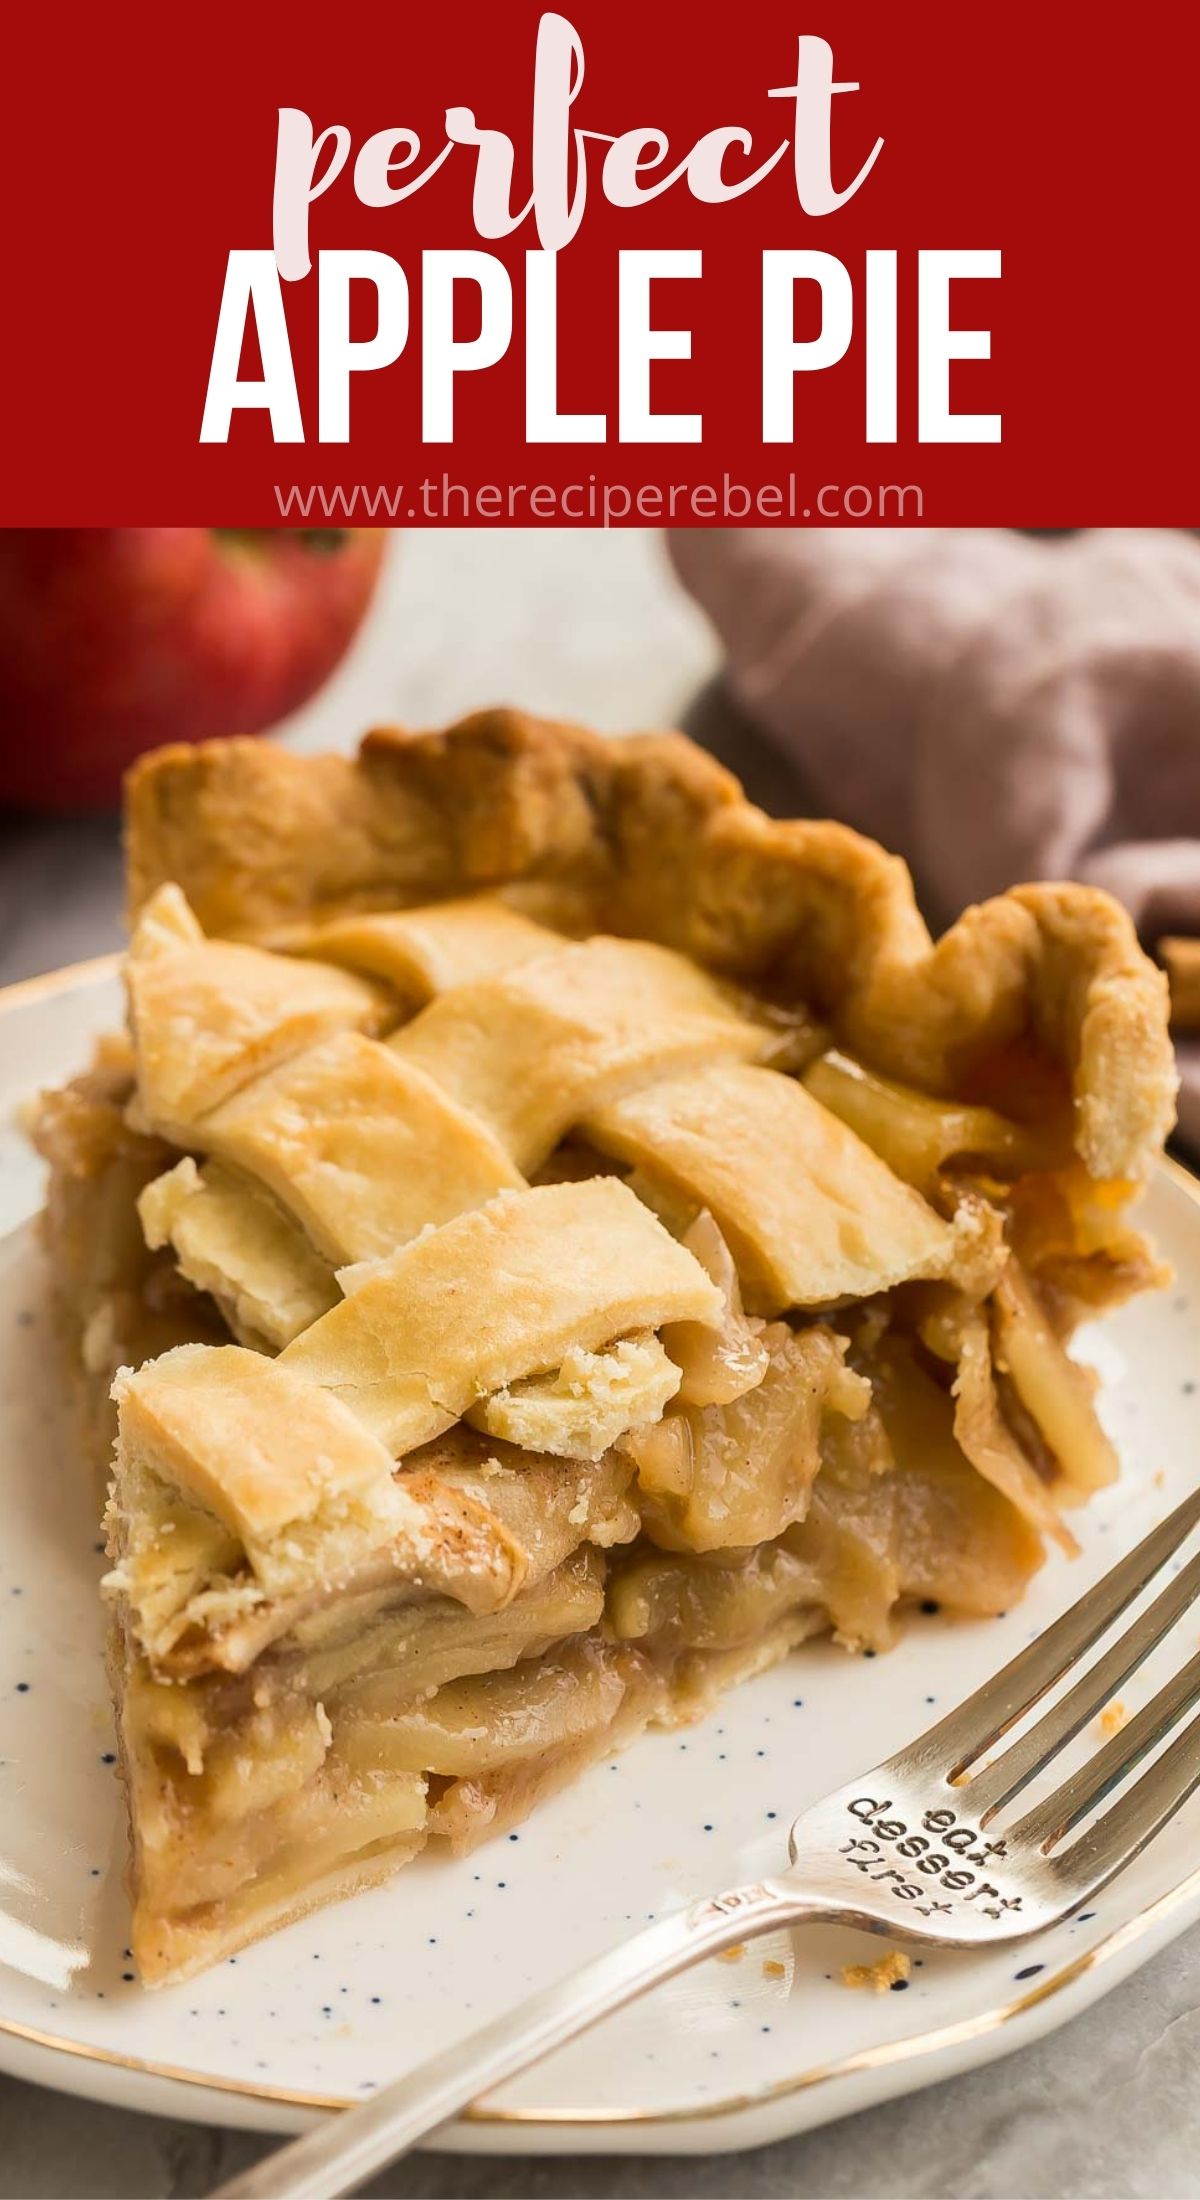
This really is the Perfect Apple Pie! Thick, gooey, and sweet apple filling is baked in a soft, buttery homemade pie crust.
Serve warm and with a generous scoop of vanilla ice cream!

When I think of fall, I think of apple desserts.
Apple crisp cookies, cinnamon apple bread, apple crisp blondies, apple crumble pie, apple muffins, apple pie bars and of course, apple pie!
If you’ve spent your life searching for the perfect apple pie recipe, which I’m sure you all have, then look no further. This. Is. It!
Seriously. I don’t think this apple pie could be any better.
It’s warm, gooey, sweet, tart, and made with a perfectly soft, buttery, flaky, and golden-brown homemade pie crust.

Love warm apple desserts? Try this Easy Apple Crisp or Apple Fritter Cake next!
Apple pie ingredients:
- Pie Crust: I use a double batch of my homemade pie crust recipe which I think is totally worth the extra time. If you’re low on time, though, you can use store-bought pie crust instead.
- Baking Apples: I recommend using Granny Smith, Honeycrisp, Fuji, Pink Lady, or Gala for the best results.
- Brown Sugar and Granulated Sugar: sweetens the filling and dissolves into the moisture from the apples to create that classic ooey-gooey apple pie filling.
- All-Purpose Flour: helps absorb the moisture from the apples as they cook
- Cinnamon and Nutmeg: adds warm, sweet spiciness to the filling.
- Unsalted Butter: provides flavor depth and warmth.
- Egg wash: a combination of egg and water brushed over the top crust will give you that perfect, glistening golden color. It’s not necessary but really does make it pop!
How to make the perfect Apple Pie
- Prepare your pie crusts according to the recipe and preheat the oven to 375ºF.
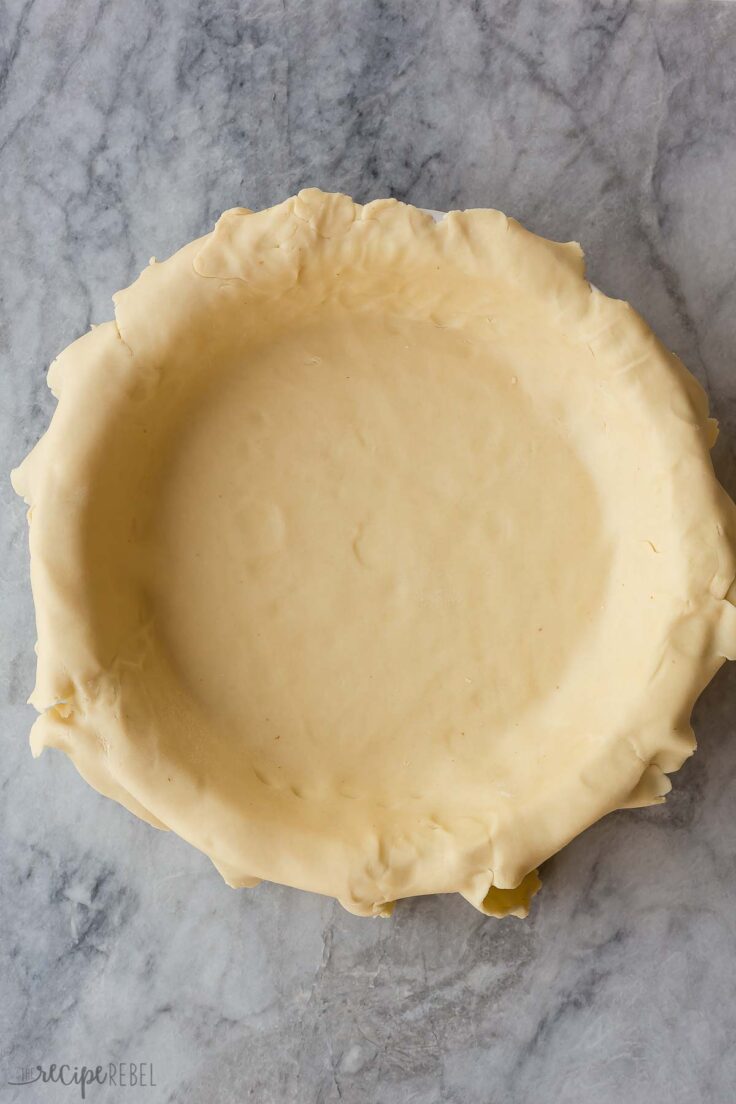
- Roll out one pie crust so it’s larger than the pie plate you are using, then place into the pie plate.
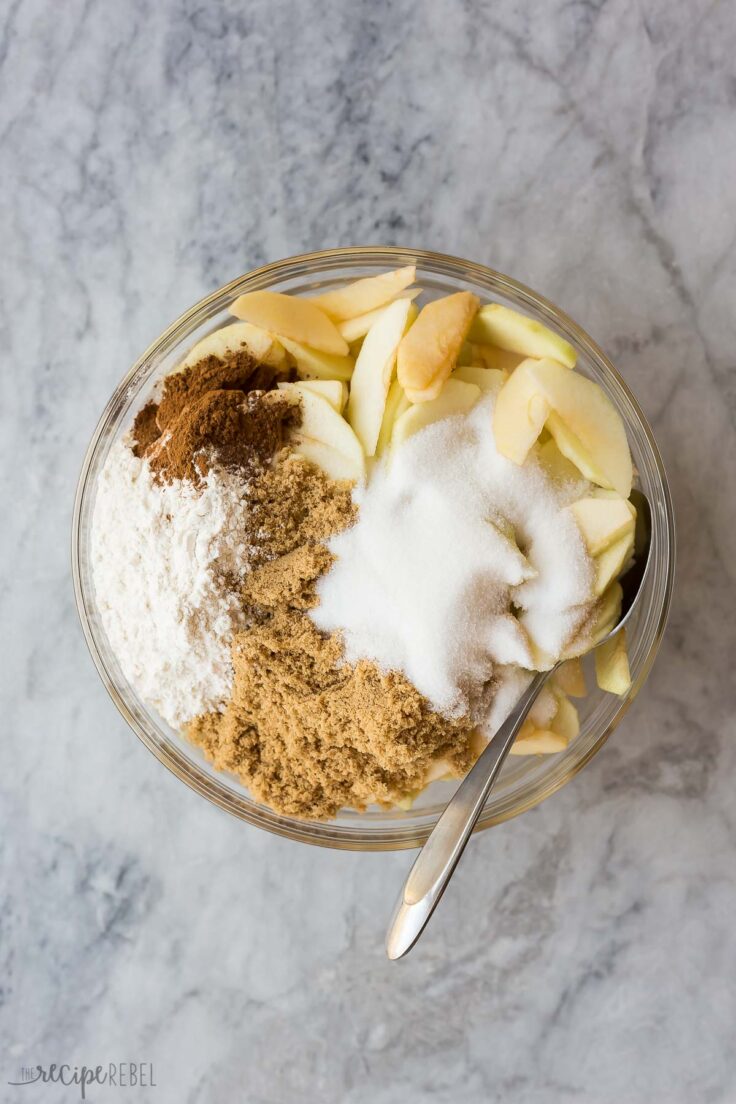
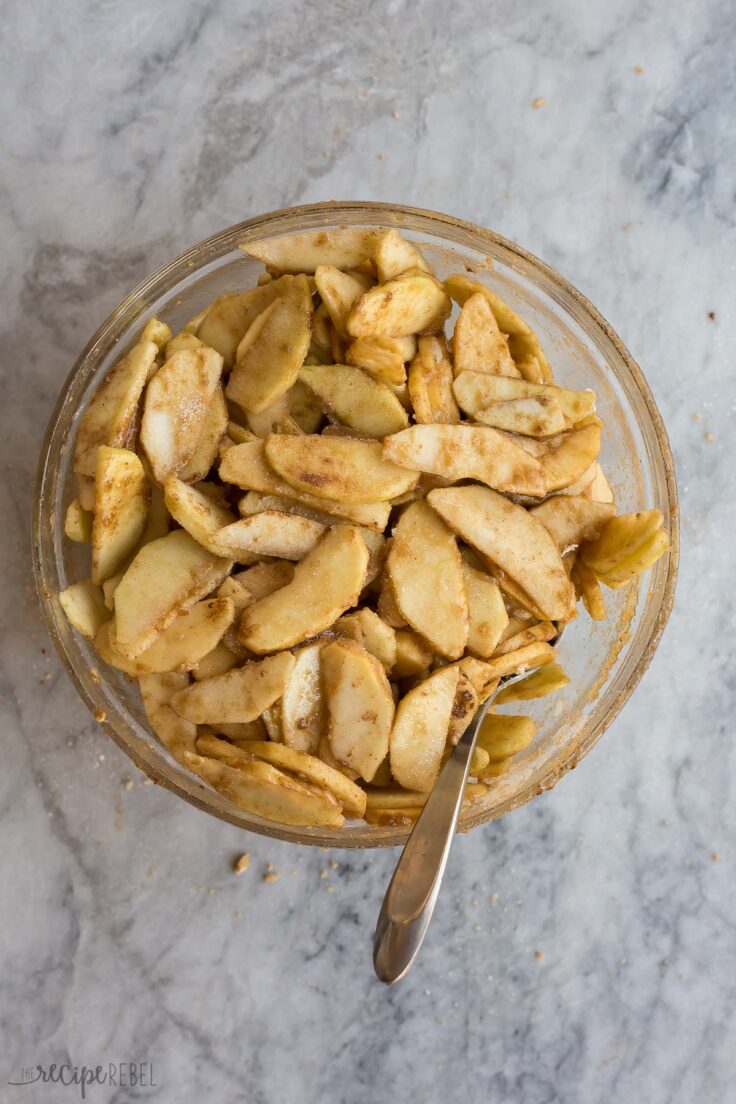
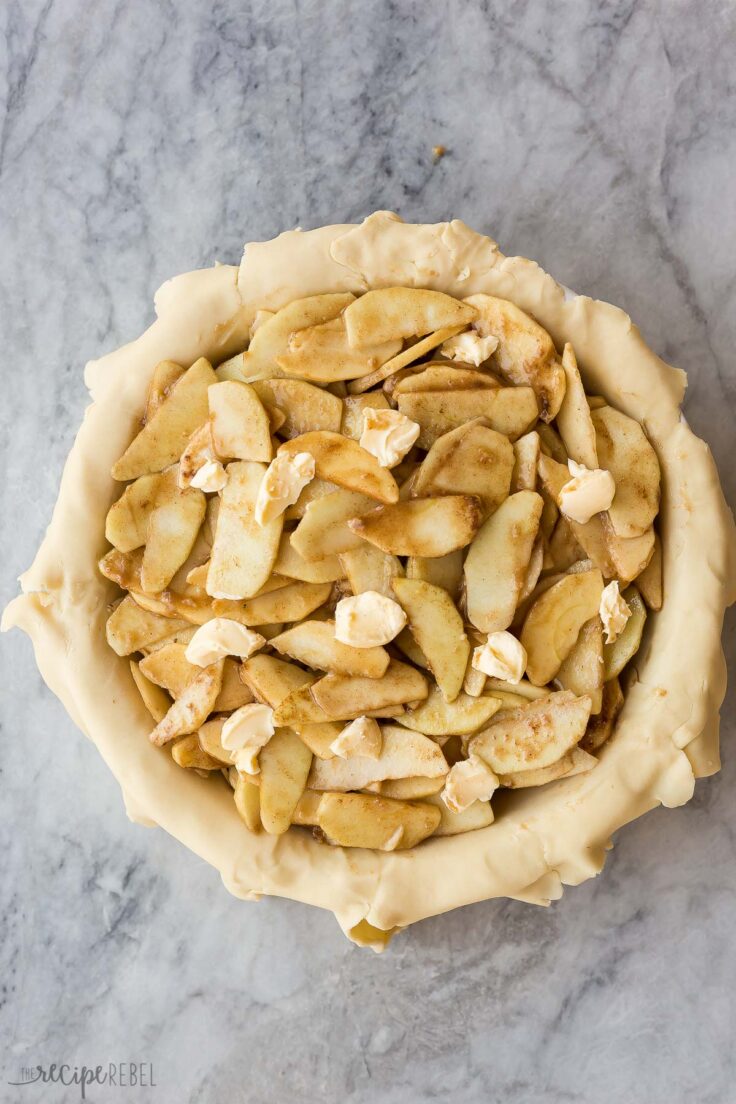
- Place peeled and sliced apples, brown sugar, granulated sugar, flour, cinnamon, and nutmeg into a large bowl and stir to combine.
- Spread the apple mixture into the bottom pie crust.
- Roll out the second pie crust and place it over the top of the apples, then cut a few slits in the top so that the steam can escape. Fold the bottom and top crusts together to create a very thick edge.
- Cover the pie gently with foil (bend the edges slightly and place it over the top. Don’t pull it tight.) Bake for 40 minutes, placing a pan under the pie plate to catch any drips.
- Remove the foil and continue baking until the top is golden-brown and the filling is thick and bubbly, then remove from the oven and cool for 2-3 hours before slicing and serving.
What crust to use
If you have time, I highly recommend whipping up a double batch of my homemade pie crust. It takes just 10 minutes to prep and has a delicious buttery flavor and flaky texture that really can’t be beat.
If you’re low on time and want to go the slightly more convenient route, feel free to use store-bought pie crusts instead.
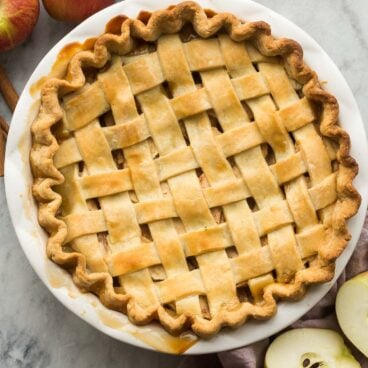
How to make a lattice crust:
To make a lattice pie crust, roll out your top pie crust as you would normally.

Cut into thin strips, and lay half of them out all in the same direction across the top of the pie.
Then, alternate with pie crust strips going the opposite direction, but tucking them under and then on top of the first strips as you go.
Sound confusing? It’s not that bad!
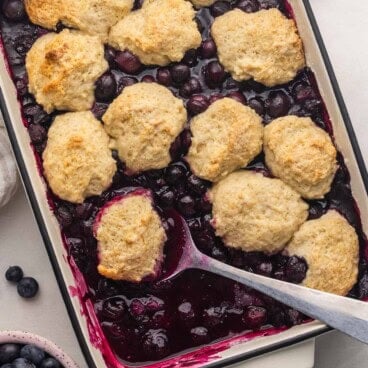
See my Blueberry Pie post here for full step by step photos and a video!
What type of apples make the best apple pie?
That’s up to you! If you love tart apples paired with the sweet filling, you can use Granny Smith or Pink Lady apples. If you prefer sweeter apples in pie, use Honeycrisp, Fuji, or Gala!
Should you peel apples for apple pie?
Yes! I definitely recommend peeling the apples before slicing them. The skin of unpeeled apples can take on a weird, chewy texture when baked.
Don’t worry. Peeling apples is super easy. Just use a vegetable peeler!
Do you cook the apples first?
Nope! Sometimes apple pie recipes do require you to cook the apples first, but it’s not necessary for this recipe.
Instead, the excess liquid from the apples mixes with the sugars and flour to create that gooey texture you want in apple pie filling.

Tips and tricks for making perfect apple pie
- Use homemade crust. Yes, this takes slightly more time but I promise it’s worth it!
- Make the crust ahead of time. Homemade pie crust will last in the refrigerator for 3-4 days or in the freezer for up to 3 months! This is a great way to save time later on.
- Thinly slice the apples so they cook all the way through. You want soft apples in the filling, not crunchy!
- Vent the top pie crust by cutting small slits in the center so the steam has a place to escape as the pie bakes, or use a lattice or other design.
- Cover with foil. Place foil over the top of the pie before baking so the top crust doesn’t burn — remove it about half way through to ensure perfect, golden color.
- Cool before slicing. I recommend letting the pie cool for 2-3 hours before slicing (or overnight in the fridge for an even cleaner cut) so the filling has a chance to thicken.
How to store
Apple pie can be stored at room temperature for 1-2 days, in the fridge for up to 5 days, or in the freezer for 3-4 months.
To enjoy again, serve at room temp, from the fridge, or warm in the microwave.
Perfect Apple Pie recipe
written by Ashley Fehr
Ingredients
- 2 pie crusts
- 8 tart baking apples, (Granny Smith, Honeycrisp, Fuji, Pink Lady or Gala are best, about 3 pounds) peeled and thinly sliced
- ½ cup brown sugar
- ½ cup granulated sugar
- ¼ cup all purpose flour
- 1 teaspoon ground cinnamon
- ⅛ teaspoon ground nutmeg
- 1 tablespoon unsalted butter
- 1 egg
- 1 tablespoon water
Instructions
- Prepare pie crusts according to recipe. Wrap and refrigerate 1-2 hours for best results.
- Preheat oven to 375 degrees F.
- Roll out one pie crust larger than the pie plate you are using (deep dish is best!).
- Place apples (peeled and thinly sliced), brown sugar, granulated sugar, flour, cinnamon, and nutmeg in a large bowl and stir to combine thoroughly.
- Spread apples into bottom pie crust. Dot with butter.
- Roll out second pie crust and place over top of the apples (or follow the tutorial in the pie crust recipe to make a lattice crust), making sure to cut a few slits for steam to escape. Pinch bottom and top crust together and crimp or decorate as desired. *NOTE: a thick side crust is best in this case, as the long bake time can result in burnt edges if side is too thin. Fold the bottom and top crusts together to create a very thick edge.
- Whisk together egg and water and brush over the top crust.
- Cover lightly with foil (simply bend the edges slightly and place it over the top, don't pull it tight) and bake for 40 minutes, placing a pan under the pie plate to catch any drips.
- Remove the foil and continue baking until the top is light golden brown and the filling is thickened and bubbly.
- Remove from the oven and let cool for 2-3 hours before slicing, or refrigerate overnight for cleanest slices (you can also dig in right away if it's too hard to resist!)
Notes
- Thinly slice the apples so they cook all the way through. We want soft apples. Not crunchy!
- Vent the top pie crust. Cut small slits in the center of the pie so the steam has a place to escape.
- Cover with foil. Place foil over the top of the pie before baking so the top crust doesn’t burn — remove it about half way through to ensure perfect, golden color.
- Cool before slicing. I recommend letting the pie cool for 2-3 hours before slicing (or overnight in the fridge for an even cleaner cut) so the filling has a chance to thicken.
Nutrition
Nutrition information is automatically calculated, so should only be used as an approximation.
Want to save this recipe?
Create an account easily save your favorite content, so you never forget a recipe again.
Tried this recipe?
Tag @thereciperebel or hashtag #thereciperebel — I love to see what you’re making!
Tag @thereciperebel

nonaquilts@aol.com says
This truly is the perfect apple pie. I used your perfect pie crust (mixing equal amounts of water & vodka for the full water amount) and it is the best crust I have ever made. The pie is perfection! It did take a little longer to bake but I’m sure it’s because I put in too many apples.
Ashley Fehr says
I’m so happy to hear you liked it!