These Hot Cross Buns are sweet, fluffy, lightly spiced buns filled with raisins and marked with a white cross. They are traditionally served at Easter but delicious any time of year!
See the step by step recipe video down in the recipe card.
Table of Contents
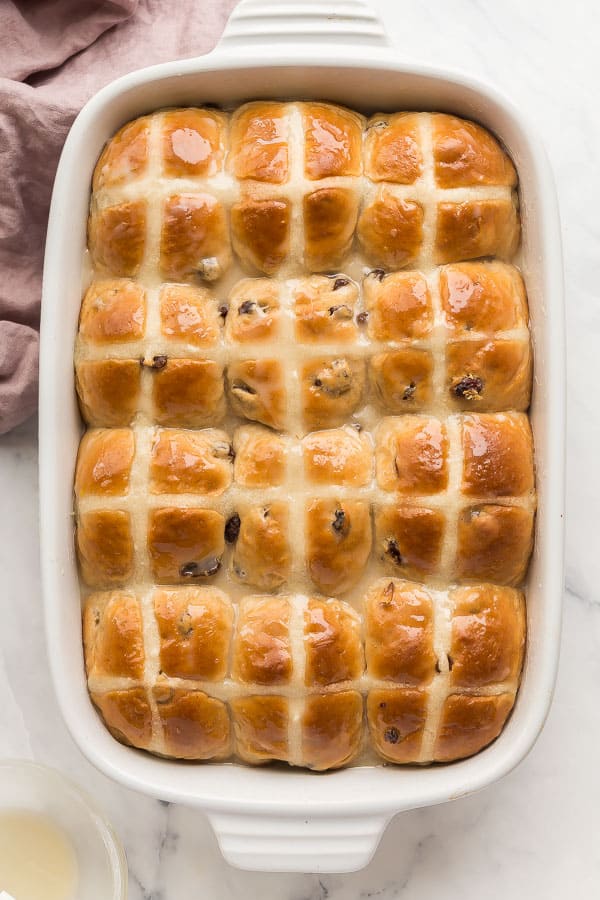
Hot Cross Buns are sweet buns traditionally served around Easter (often on Good Friday), with history that goes back centuries!
Although there are plenty of theories about how they came to be and what they symbolize, today we’re just talking about how to make these sweet, spiced, fluffy little pockets of deliciousness!
For this recipe, I started with my Mom’s Homemade Buns — because they are so light and fluffy and loved by so many already.
I wanted a smaller batch for this recipe — one 9×13″ pan with 12 perfect rolls, since we love to enjoy them fresh out of the oven.
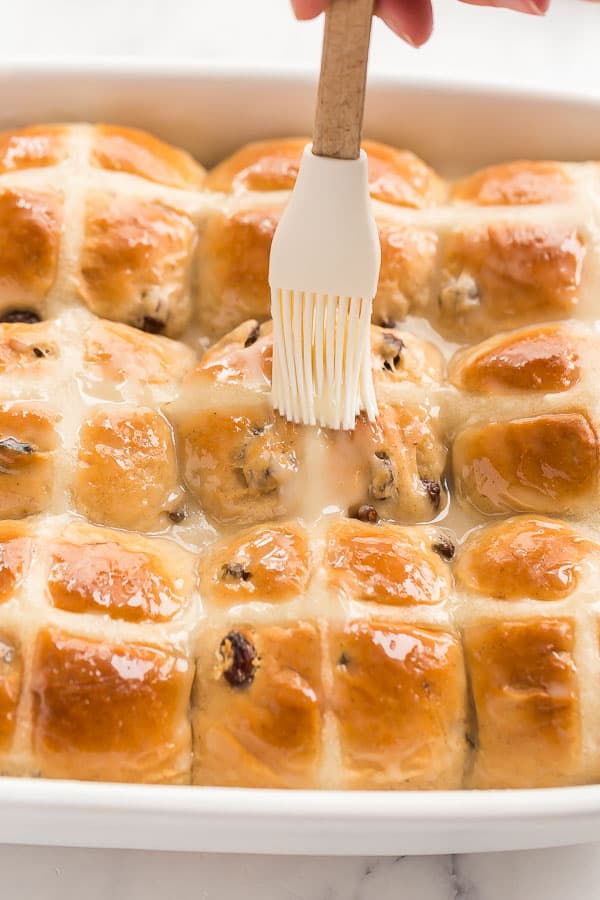
I halved the original recipe, added in some spices, raisins and sweetness, and topped them with an incredible maple glaze. If you want to take them totally over the top, slice and serve with some of this Cinnamon Butter — you won’t regret it!
How is the cross made on Hot Cross Buns?
There are two ways to make the cross on Hot Cross Buns: with a flour paste that is piped on before baking, or with frosting.
I use the flour paste method because, well, because I want to! If you want to use frosting, you can skip the flour paste and pipe your cross on afterwards. (Spoiler: they are also delicious without the cross 🙂 ).
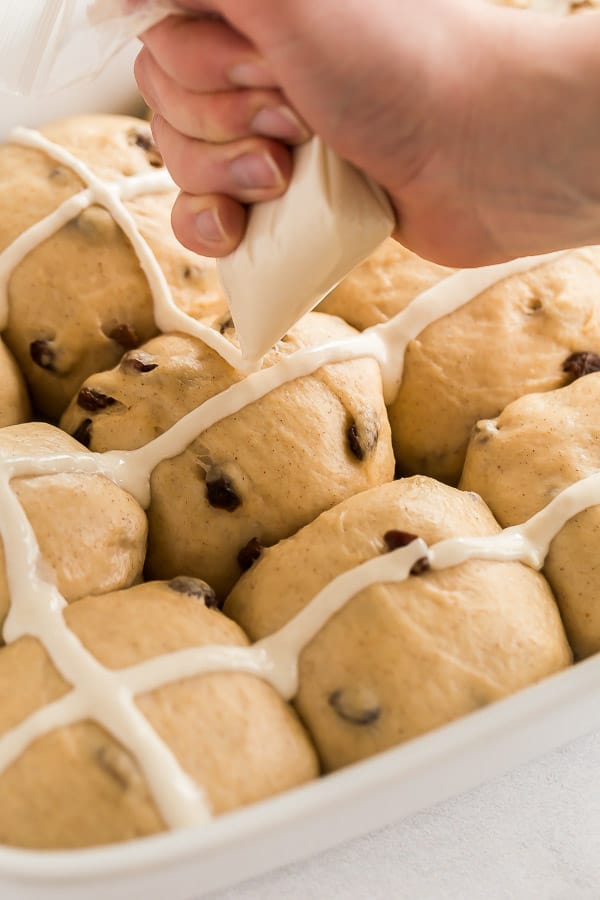
The important thing to remember when using a flour paste is that you don’t want it too thick or thin. It will not be firm like frosting (if it is you will end up with a very dry, hard cross on top once baked), but it shouldn’t be “drizzling” consistency either.
You don’t need any fancy equipment to make the cross: a simple plastic sandwich bag with the end snipped off will do the trick just fine!
Ingredients and substitutions:
- Flour: you can substitute the all purpose flour for some whole wheat flour, but I don’t recommend using 100% whole wheat flour as they will not be very fluffy. Since these are a sweet bun and are a treat to begin with, I go ahead and use all purpose flour.
- Sugar: you can substitute the sugar with brown sugar or liquid (clear) honey — just keep in mind that honey is a wet ingredient and may alter the amount of flour required in the recipe.
- Yeast: I usually bake with quick or instant yeast, because I’m impatient to enjoy my baked goods 😉 You can swap the instant yeast with active dry yeast, but be prepared to wait a little longer for your dough to rise.
- Milk: Milk adds richness and flavor to our dough, but you can swap with water if you need this recipe to be dairy free.
- Butter: I use unsalted butter when baking, which accounts for the higher amount of salt added. You can use salted butter and reduce the salt to 1 teaspoon. You can also swap the butter for a firm dairy-free margarine if you need these buns to be dairy-free.
- Spices: Depending on how “well-spiced” you like your hot cross buns, you can adjust the spices as you desire. These buns as is are mildly spiced, but definitely with lots of flavor! If you would like to add in nutmeg or cloves, I would recommend reducing the cinnamon slightly.
- Raisins: Dried fruit is a traditional addition to Hot Cross Buns, but what you add is up to you! Feel free to swap these out for dried currants or even chopped, dried apricots or cranberries.
How to make Hot Cross Buns:
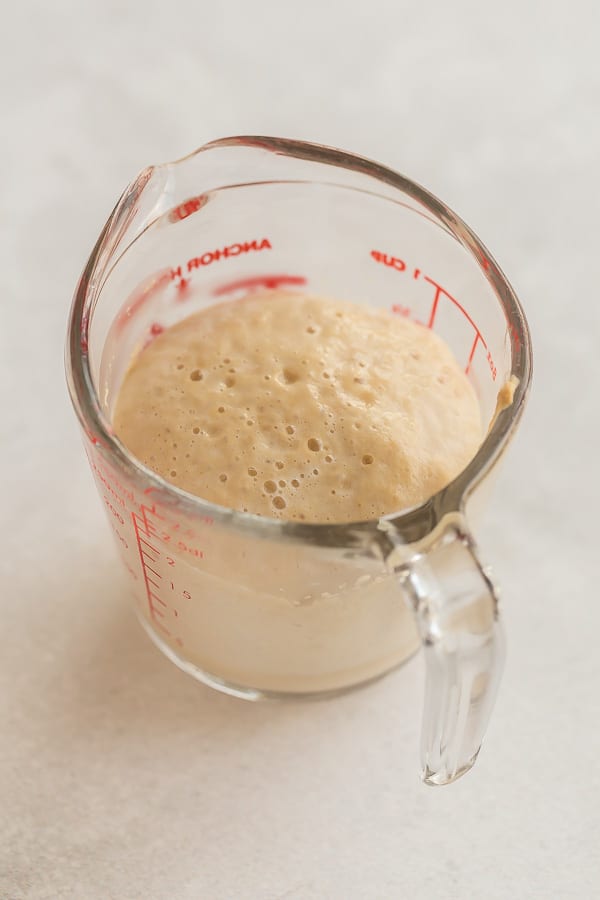
- Proof your yeast: allow your yeast to sit in some warm water and sugar to be sure it is activated. In 5-10 minutes, you’ll see it start to become bubbly.
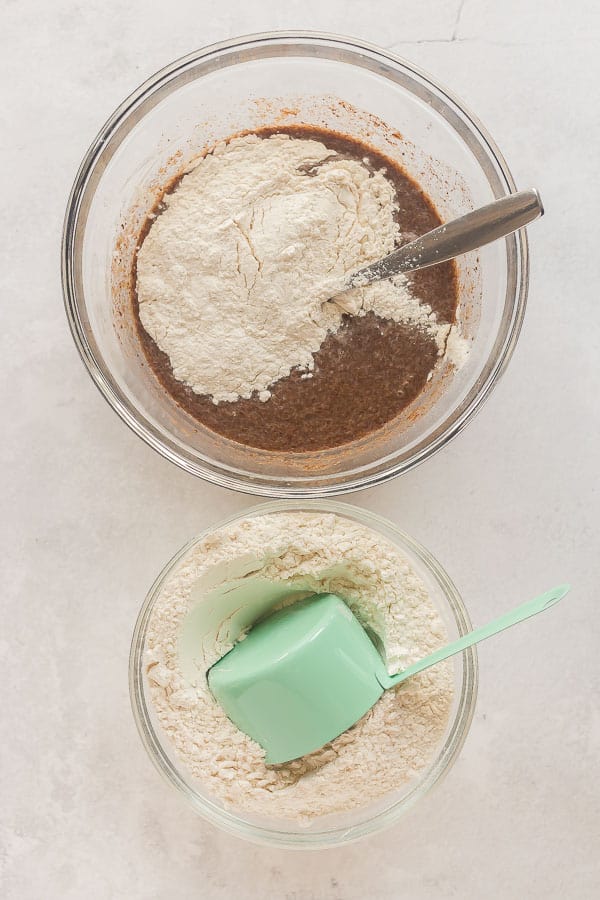
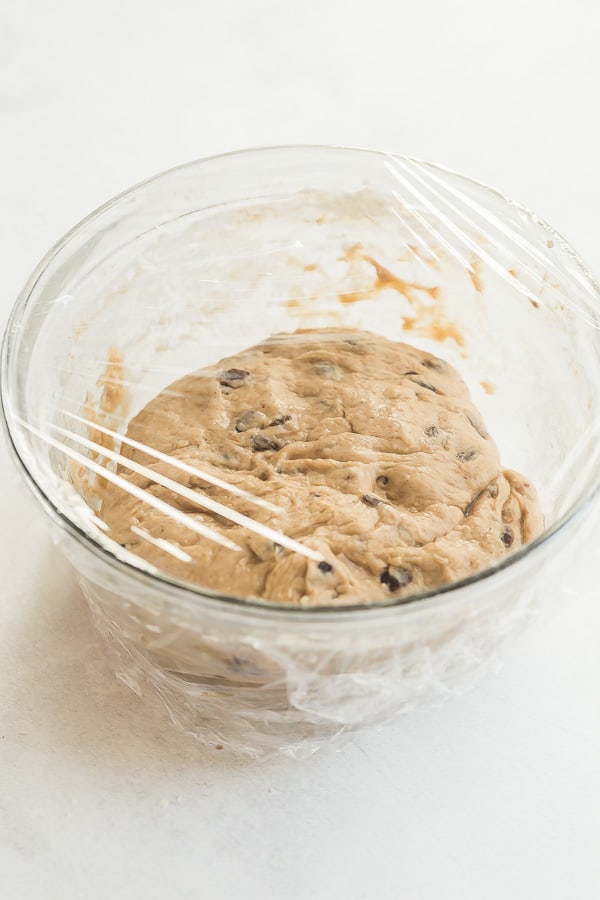
- Mix your bun dough: you can do this by hand (as I did in the video) or with a stand mixer. The most important thing is that the dough is still a little on the sticky side when you’re done — it will still come off a little on your fingers. That’s okay! It means they will be very fluffy when done.
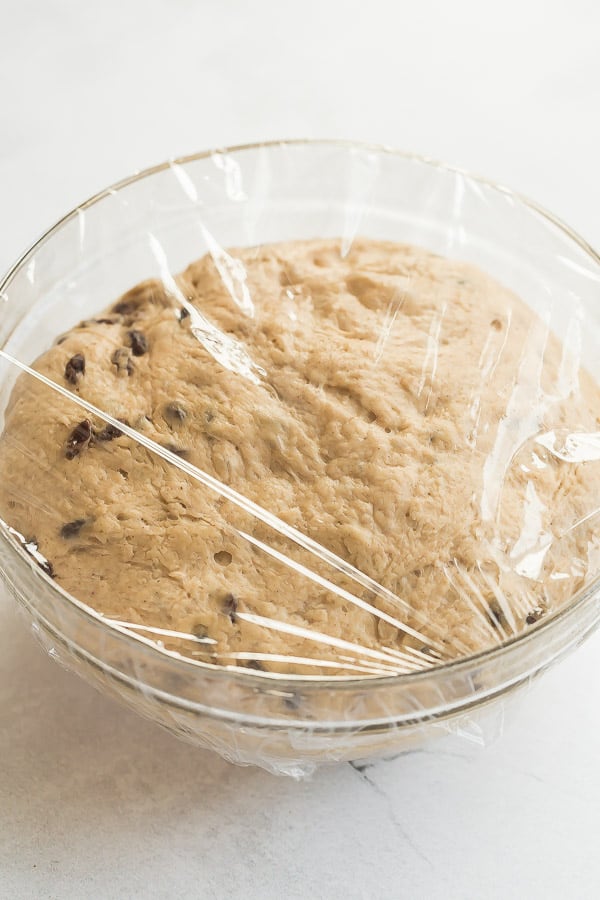
- First rise: the first rise is a little longer, usually 1 and a half hours. You’re looking for the dough to become very puffy and double in size.
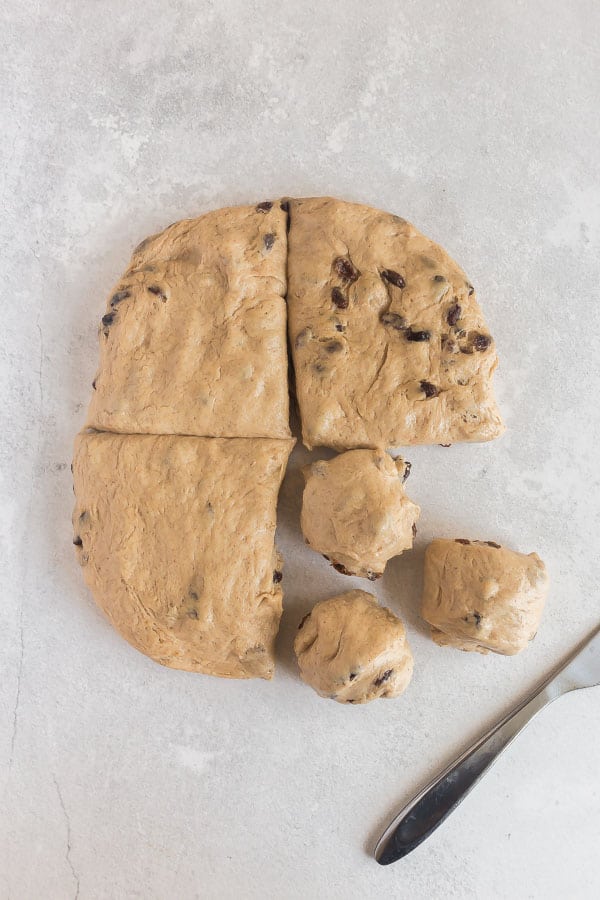
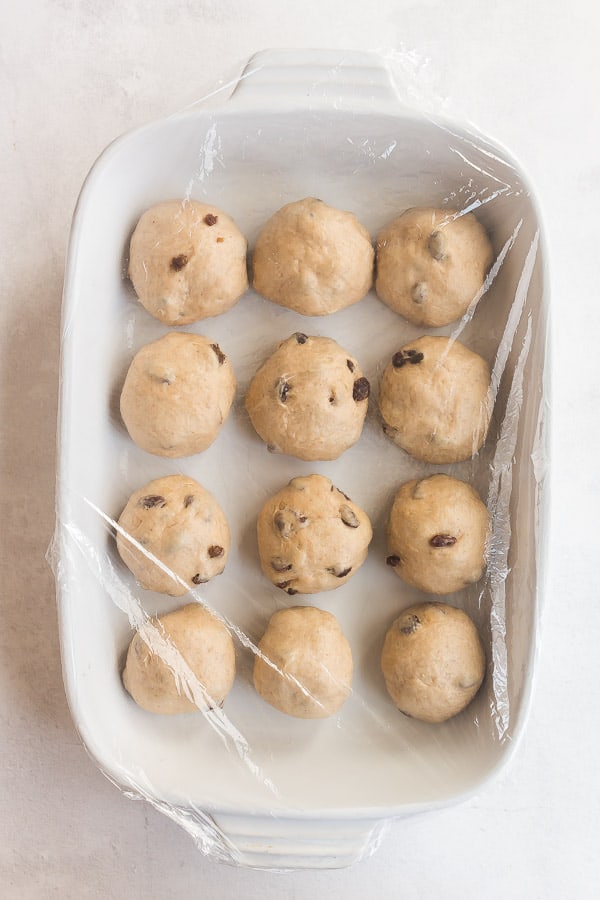
- Divide dough evenly into 12: I do this by first dividing my dough by 4, then each quarter into 3 even balls.
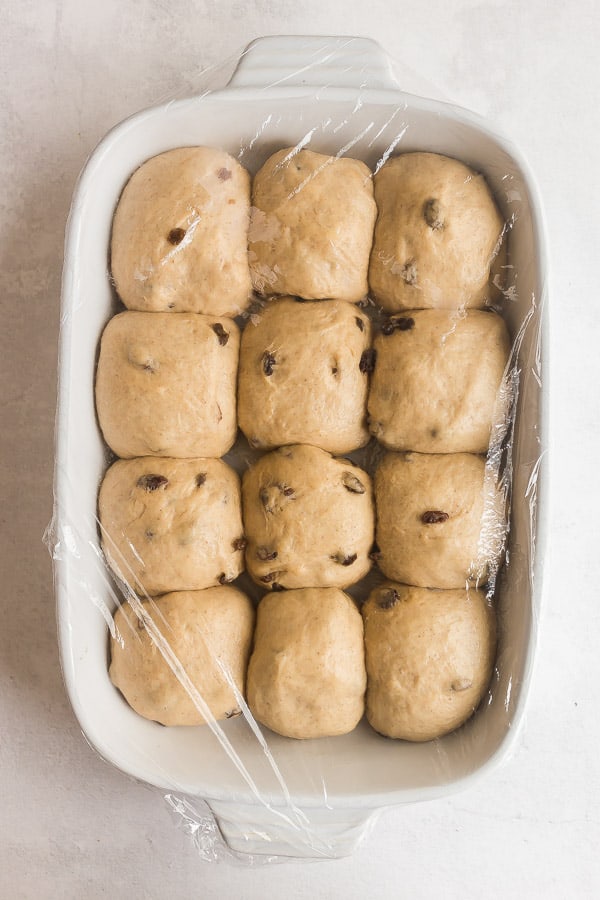
- Second rise: the buns will double again and should fill the pan and all be touching.
- Make your cross (optional): place your flour and water mixture in a small zip-top sandwich bag and snip the end. Use it to draw your crosses across your buns before baking.
- Bake until golden, and brush with glaze before serving as desired.

Can I make these buns ahead?
Absolutely!
One of the great thing about yeast breads is that they are easy to prep ahead so that you can enjoy them fresh out of the oven. Here are a few different ways to make them ahead:
First rise in the fridge:
You can let the dough rise overnight in the refrigerator before rolling out your buns.
Simply cover your bowl tightly, place in the refrigerator and refrigerator overnight.
I like to allow my dough to come to room temperature before rolling, but this isn’t absolutely necessary.
Continue with the rest as listed.
Second rise in the fridge:
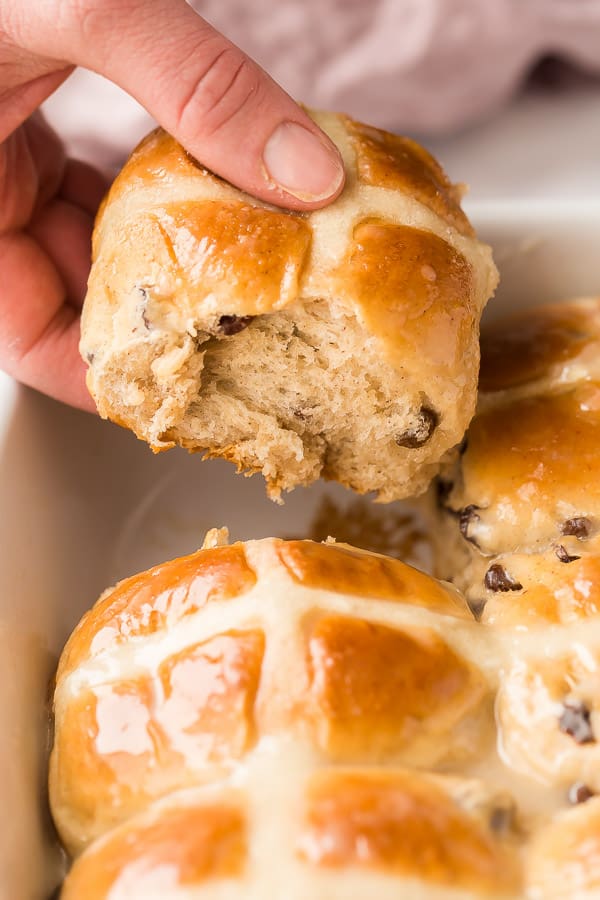
If you want to have these buns ready to bake in the morning for an Easter brunch, you can allow the dough to rise the first time, then roll your buns and place in a greased pan.
Cover with lightly greased plastic wrap (make sure it is airtight! We don’t want them drying out).
Refrigerate overnight (they will continue to rise, but it will be slow). In the morning, pull the pan out of the fridge and allow to come to room temperature and rise until doubled if they have not already — they should look puffed and fluffy and will likely be touching each other.
Continue with baking instructions as listed.
Freezing Hot Cross Buns:
These buns also freeze well!
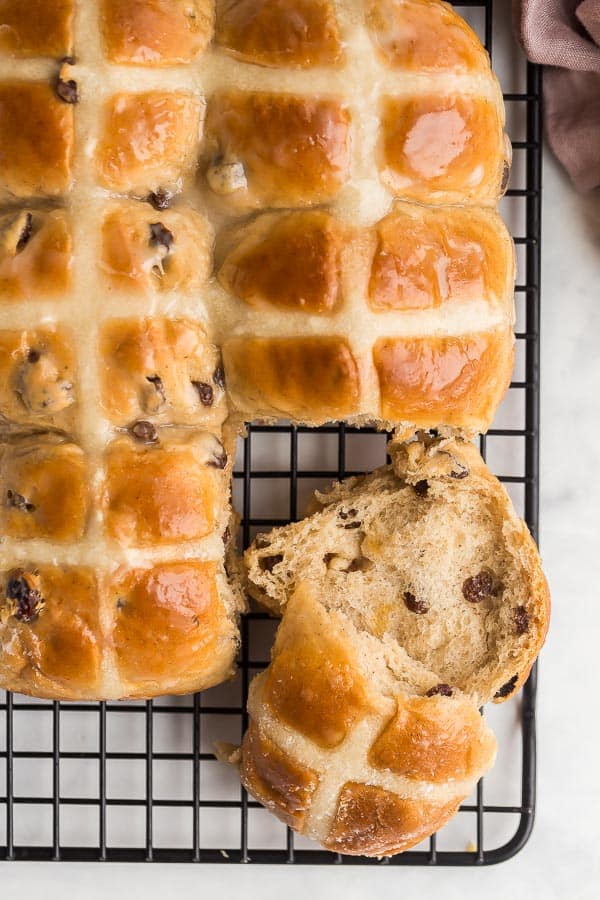
To freeze, follow the recipe and let cool completely on a wire rack — this will take several hours.
Wrap tightly in plastic wrap (I like to use a couple of layers) and place in the freezer where they are not squished by other items.
Freeze up to 3 months.
To serve, allow buns to thaw overnight in the refrigerator and then warm in a 300 degree oven until warmed through.
More Easter brunch recipes!
- Coconut Bread with Cream Cheese Glaze
- Loaded Baked Potato Quiche
- Baked Lemon French Toast
- French Toast Casserole
Hot Cross Buns
Ingredients
To proof yeast
- ¼ cup warm water 105-110 degrees F — warm but not hot
- 2 ¼ teaspoons instant or active dry yeast I use instant, but either works in this recipe one package
- 1 teaspoon granulated sugar
To make bun dough
- 1 cup warm milk I microwave for 40 seconds on high
- ¼ cup melted unsalted butter (57 grams)
- ½ cup granulated sugar (100 grams)
- 2 teaspoons ground cinnamon
- ¼ teaspoon ground allspice
- 1 ½ teaspoons salt
- 1 teaspoon vanilla
- 1 cup raisins
- 3-3.5 cups all purpose flour (390-455 grams)
Cross:
- ¼ cup all purpose flour (32 grams)
- 3-4 tablespoons water
Maple glaze:
- ¼ cup powdered sugar (31 grams)
- 1 teaspoon maple syrup
- 2-3 teaspoons milk
Instructions
Proof the yeast
- In a small bowl or liquid measuring cup, whisk together the warm water, yeast and sugar.
- Let sit for 10 minutes or until bubbly — this is how you know your yeast is working. This step is technically not required when using instant yeast, but I do it always anyways, so that I know my buns will be a success.
Make the dough
- In a large bowl, whisk together the warm milk, butter, ½ cup sugar, cinnamon, allspice and salt.
- Add the bubbly yeast mixture and raisins and stir to combine.
- Add the flour gradually, and mix until nearly combined before adding more. Start with 2 cups and add a little at time, stirring with a spoon or working it in with your hands until incorporated.
- The closer you get to your dough being ready, the less flour you will add at once. We want a soft and slightly sticky dough, never stiff, so we need to watch and stop adding flour at just the right moment.Add up to 3.5 cups flour total.
- Place dough in a large lightly greased bowl (you can use the same bowl and grease it), and cover with plastic wrap or a clean kitchen towel.
- Set in a warm spot (I use the oven with the light on — turn the oven on to preheat for 2 minutes before turning off and adding the dough) and let rise until doubled, about 1.5 hours.
- Uncover dough, punch down, and roll out 12 rounds — smoothing the top and pinching the seam in the back to smooth (see video for additional details). I divide into quarters, then each quarter into 3 even balls.
- Place in a lightly greased 9×13″ baking dish, evenly spaced. Cover with plastic wrap and let rise for 1 hour or until puffed and doubled — they should fill the pan.
Make the cross:
- Whisk together ¼ cup flour and just enough water so that a thick paste forms (It should be piping consistency — too thick and it will be very hard after baking, too thin and it will run all over).
- Place the mixture in a zip top sandwich bag, seal and snip the end of the corner. Use the bag to pipe lines over the buns to form crosses.
- Bake at 350 degrees F for 20-23 minutes, until light golden brown. Let cool in the pan for 15 minutes before removing to a cooling rack to cool completely, or serve warm from the pan.
Glaze:
- Whisk together powdered sugar, maple syrup, and milk and brush over rolls — this is a thin glaze and there is enough to coat all rolls, but you can make it thicker and double if you like a thick layer of frosting.
- Serve.
Nutrition Information
Want to save this recipe?
Create an account easily save your favorite content, so you never forget a recipe again.
Tried this recipe?
Tag @thereciperebel or hashtag #thereciperebel — I love to see what you’re making!
Tag @thereciperebel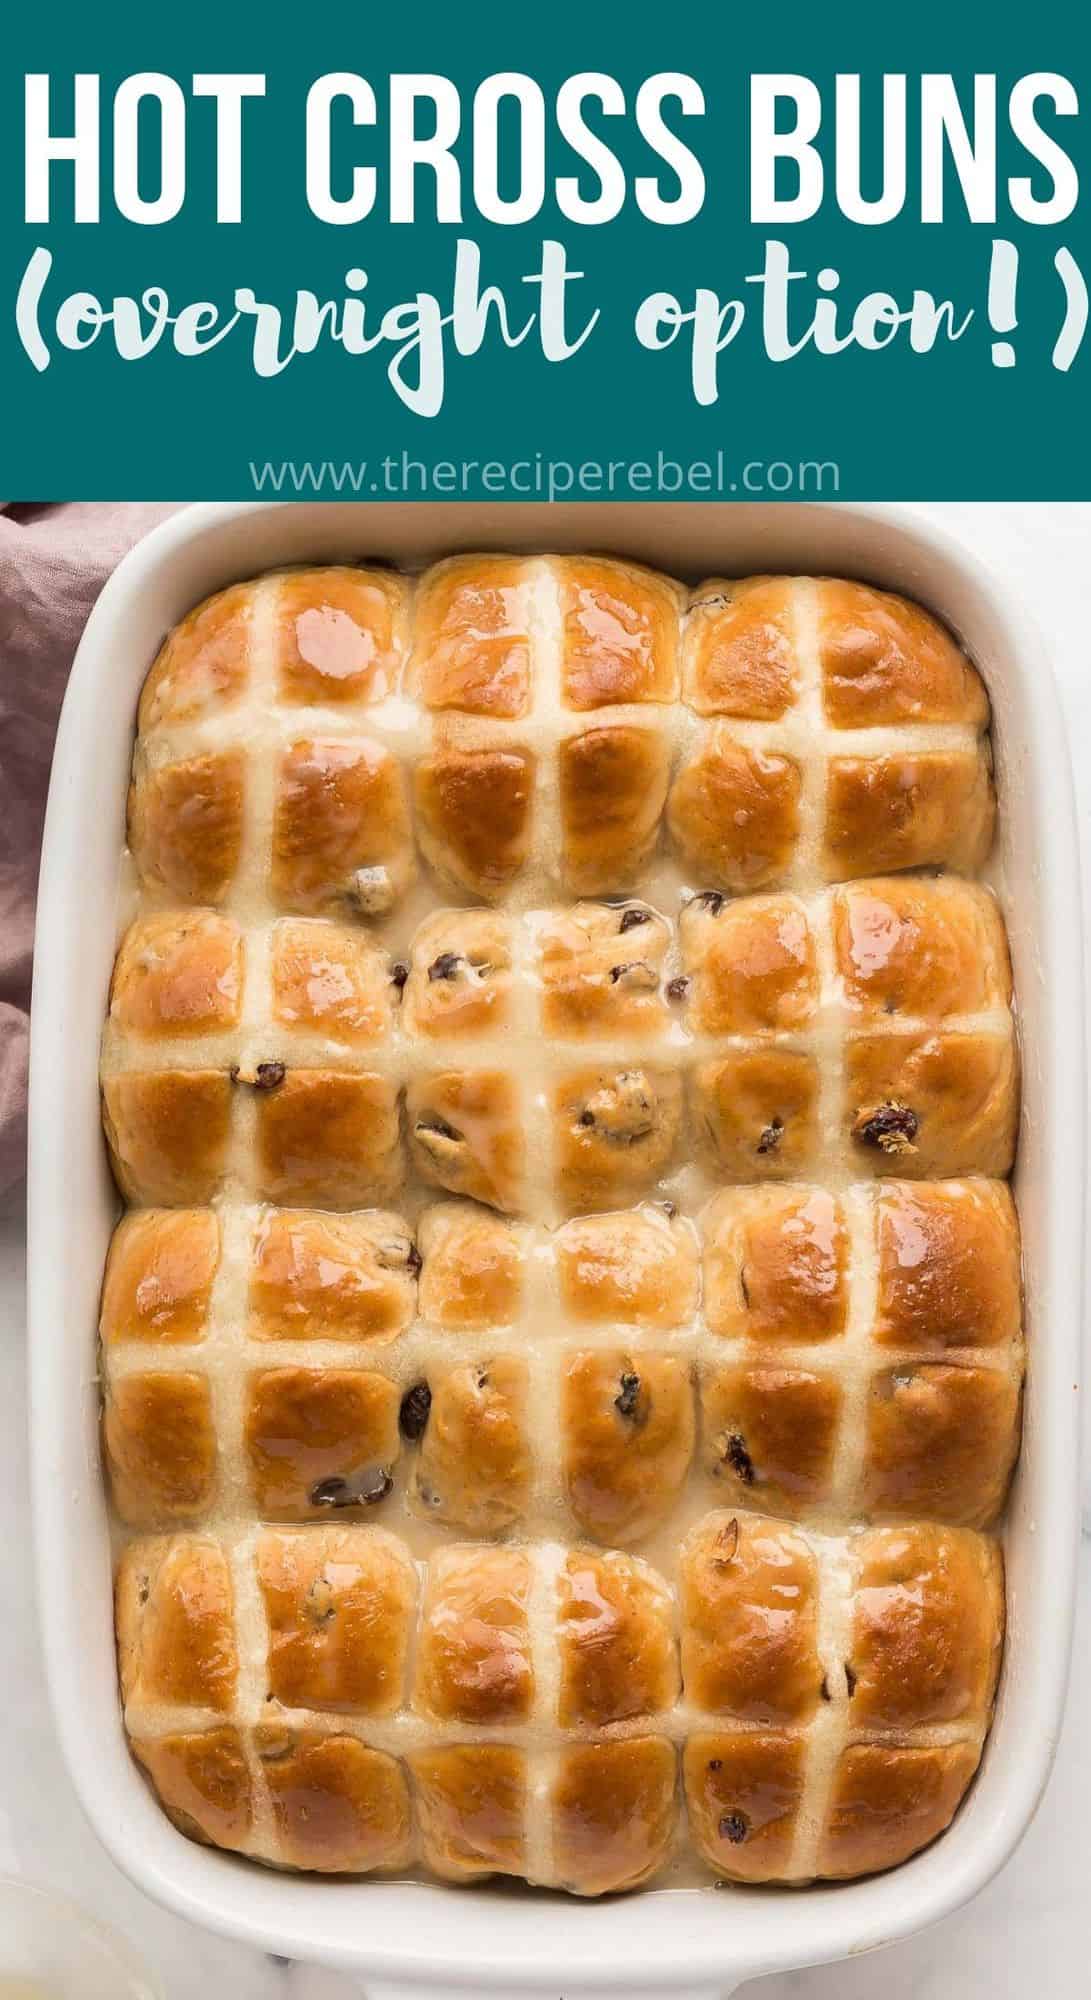


Fiona says
Hi, the video shows oil but the recipe doesn’t. What kind of oil?
The Recipe Rebel says
Hi Fiona, any oil. You’ll use it in Step 5 when greasing the bowl. I typically use canola oil. Enjoy!
Kathy says
Looks great, I don’t see the overnight instructions tho. Do I refrigerate zfter they are rolled and cross added?
The Recipe Rebel says
Hi Kathy! It was in the blog post under the section “First rise in fridge” “You can let the dough rise overnight in the refrigerator before rolling out your buns. Simply cover your bowl tightly, place in the refrigerator and refrigerator overnight.” Hope this helps!
Naresha Singh says
This recipe is truly amazing!!!
Heather says
I have tried several recipes of my hubby’s fave baked treat. THANK YOU. Easy to follow and they turned out wonderfully. He really loves the maple glaze.
The Recipe Rebel says
Hi Heather! So glad you enjoyed it! Thank you for this review!
Angela says
Delicious and easy! Perfect for Good Friday!
The Recipe Rebel says
Hi Angela! So glad you enjoyed the recipe! Thank you for this kind review!
Donna says
I was wondering if this recipe could be made in a stand mixer? I’m looking forward to trying it around Easter. Thanks.
marion says
we love Hot Cross Buns at Easter, but we hate it when they are pushed at us just days after Christmas., then when we finally get to Easter we are sick of them. that is not good..,
So please.. all you great cooks out there.,, for all of December and January we need CHRISTMAS STAR BUNS,. with different coloured stars ———then good old STICKY BUNS with various delicious glazes right up to Easter Week —when we can look forward to our traditional EASTER HOT CROSS BUNS -again.. would that make more sense ???? all we need is “variety” I can think of lots of delicious glazes!!! ,,,, Marion.
The Recipe Rebel says
Hi Marion, thanks for your opinion, hope you enjoy these when you do decide to make them. I encourage you to also check out my cinnamon buns: https://www.thereciperebel.com/best-cinnamon-buns-recipe/
A says
These were delicious! Made for Easter weekend and making again this weekend! I am going to try the overnight instructions this time. Thanks for another great recipe.
Ashley Fehr says
I’m so happy to hear that!
Liz says
The video and the instructions here are a little different?
Ashley Fehr says
Which part are you referring to? The video and the instructions should be the same
Suzanne says
Hello – video shows adding vanilla but the recipe does not include it. Mine were at cross adding phase before I watched the video and noticed
Ashley Fehr says
Sorry about that! I have updated the recipe
Mika Ito says
No need for kneeding? How will it make a difference if I kneed?
Ashley Fehr says
You are gradually kneading the flour in. No additional kneading time is required. The dough should be slightly sticky, and won’t knead well as it will stick all over your hands.