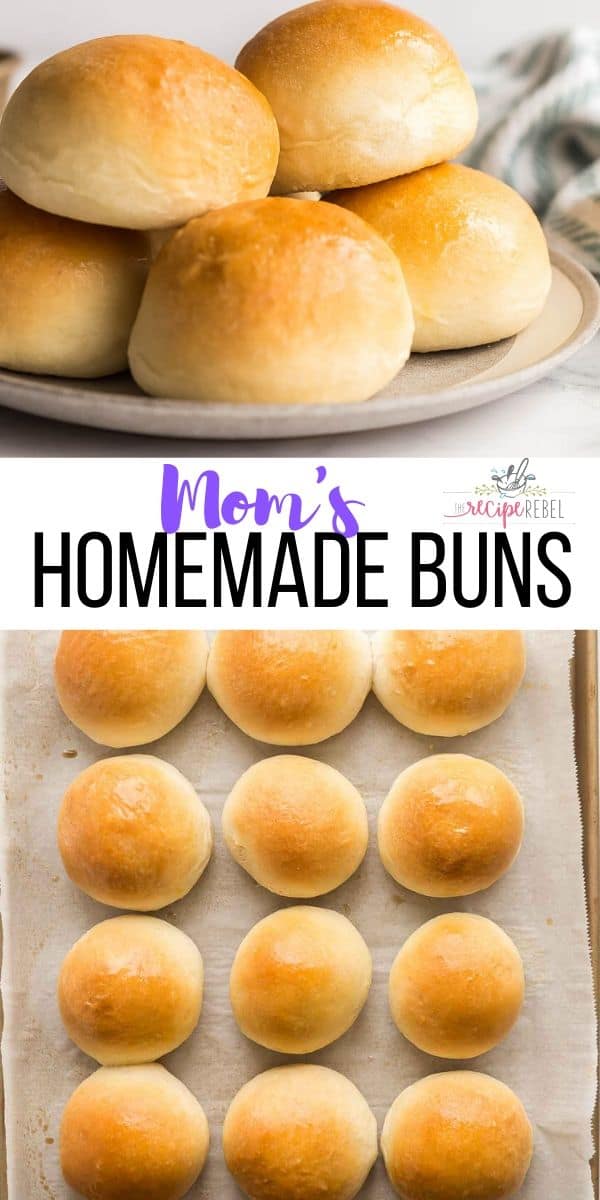
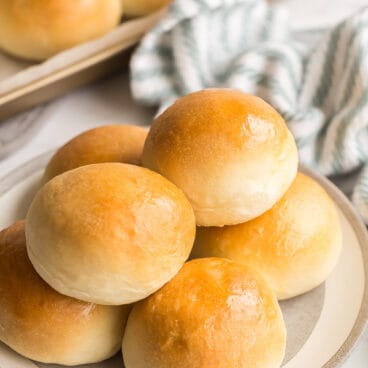
My Mom’s Homemade Buns are the perfect dinner roll for any occasion! Incredibly soft and fluffy, use all purpose or whole wheat flour, make a big batch and freeze for later.

Table of Contents
This recipe is long overdue here, even though I just made my first batch of my Mom’s Homemade Buns a couple weeks ago.
My mom has been well-known for a few reasons for as long as I can remember.
These Chocolate Chip Cookies are one of them.
These Double Chocolate Cookies, (Almost) No Bake Pineapple Squares, and these Peanut Butter Oatmeal Chocolate Chip Cookies are some other reasons.
It took me entirely too long to ask my mom for her recipe for homemade dinner rolls, so once I snagged it and made them for the first time, I knew I had to share it right away!
I had to tweak my Mom’s recipe a little bit — swapping her original lard for butter (you can swap it back if you like or use shortening!), and increasing it to be a nice even amount when I halved the recipe.
I didn’t find that the extra butter made much of a difference, so I’m sticking with it!

This recipe makes 22-24 buns, depending on how large you make them. You can easily double the recipe and save some for later! See my tips below for storing these homemade buns after you’ve made them (although there might not be many left 😉 )
Can I bake these buns in a 9×13″ pan?
I know that most dinner rolls are taller, and baked closer together in a pan with higher edges, like a 9×13″ pan.
We always called them simply “buns” growing up, and we ate them with everything 😉
You can absolutely bake this recipe in a 9×13″ pan if you are going for the same look and height. For this recipe, you will likely need two 9×13″ baking pans and can put 12 rolls in each pan.
The baking time shouldn’t change.
Can I use whole wheat flour for these dinner rolls?
You can definitely use whole wheat flour for this recipe, and I do now all the time when I am making them for our family.
I prefer to first test a recipe with all purpose flour, to see how using whole wheat flour might change it, but we tend to eat mostly whole grains and whole wheat breads.
You can start with 2-3 cups of whole wheat flour for a light whole wheat dinner roll, or use up to 100%.
When I make these for our family, I tend to stick with 50-75% whole wheat flour. I find adding even a bit of all purpose flour makes them fluffier than 100% whole wheat flour.

Use this homemade bun dough for these recipes as well:
This homemade yeast dough is extremely versatile! You can easily make a big batch of dough, bake some plain buns, bake a few cinnamon buns, make some breadsticks, etc. — the options are endless!
By doing it this way, you can make a small batch of many different recipes, which is great if you’re cooking for a small family or you’re an individual.
Here are a few recipes that this dough would work great in:
How to store homemade buns:
Keep at room temperature:
These buns will keep at room temperature in an airtight plastic bag for 4-5 days. I will warn you though — they’re so delicious fresh out of the oven that you might find they don’t last that long!
How to freeze buns and bread:
We often freeze some of these for later, otherwise we would eat buns for every meal and nothing else!
Let cool completely — I usually let mine sit for 4-6 hours on a wire rack on the counter. Place in an airtight plastic bag and freeze up to 3 months.
To thaw, place on a plate lined with paper towel to absorb any extra moisture and let sit at room temperature for an hour or two. You can also thaw at a low temperature in the microwave.

What to serve with homemade dinner rolls:
We love having a side of these homemade buns to dunk in soup and chili! Here are a few of our favorites:
- Cabbage Soup Recipe
- Chicken Gnocchi Soup
- Stuffed Pepper Soup
- Crockpot Potato Soup
- Sausage Tortellini Soup
Mom’s Homemade Buns
written by Ashley Fehr
Ingredients
Proof the Yeast
- ½ cup warm water, (105-110 °F—warm but not hot)
- 1 tablespoon instant or active dry yeast
- 1 teaspoon granulated sugar
Bun Dough
- 2 cups warm water
- ½ cup unsalted butter, melted
- ⅓ cup granulated sugar
- 1 tablespoon salt
- 6-7 cups all-purpose flour
- Salted butter, optional
Instructions
Proof the Yeast
- In a small bowl or liquid measuring cup, whisk together the water, yeast, and sugar.
- Let sit for 10 minutes, or until bubbly. (This is how you know your yeast is working. This step is technically not required when using instant yeast, but I do it anyway so that I know my yeast is active.)
Bun Dough
- In the bowl of a stand mixer (or a very large bowl if you are kneading by hand), whisk together the water, butter, sugar, and salt.
- Add the bubbly yeast mixture and stir to combine.
- Place the bowl in the stand mixer and put the dough hook on the machine.
- Add the flour, 1 cup at a time, and mix until nearly combined before adding more. Start with 4 to 5 cups flour, mixing, until each is incorporated. The closer you get to your dough being ready, the less flour you will add at once. (You want a smooth, soft dough, never stiff, so go slow!) Add up to 6 to 7 cups flour total, just until the dough comes together in a ball and starts to pull away from the sides of the bowl. (It should be slightly tacky but not sticky.)
- Place the dough in a large lightly greased bowl (you can use the same bowl and oil it), and cover with plastic wrap or a clean kitchen towel.
- Set in a warm, draft-free spot (I use the oven with the light on) and let it rise for 1 to 1½ hours, until doubled.
- Line a baking sheet with parchment paper. Uncover the dough, punch it down, and roll out 20 to 24 rounds, smoothing the tops and pinching the seam in the back.
- Place on the prepared baking sheet and let rise (no need to cover them) in a warm spot for 30 to 60 minutes, until doubled.
- Preheat the oven to 350°F.
- Bake for 18 to 22 minutes, or until light golden brown. (The bake time may be longer or shorter depending on the size of your buns.) For beautifully golden tops, brush with a bit of melted butter after pulling from the oven.
- Allow to cool completely before storing.
Video
Notes
- You truly can use either type of yeast in this recipe, and I proof them both. The only difference is that instant yeast will rise more quickly than active dry.
Nutrition
Nutrition information is automatically calculated, so should only be used as an approximation.
Want to save this recipe?
Create an account easily save your favorite content, so you never forget a recipe again.
Tried this recipe?
Tag @thereciperebel or hashtag #thereciperebel — I love to see what you’re making!
Tag @thereciperebel

Emily Ouellette says
This is such a great recipe! I don’t even buy store bought buns anymore! These are my go to every time now!
Ashley Fehr says
Thanks Emily!
Ky says
This was the best bread I have yet to make oh my gosh. I halved the recipie and it worked well (made 8 buns) so so soft, crisp on top, better than a fancy resturant roll 10/10 going to bake again
Ashley Fehr says
I’m so glad you liked them!
Kathy says
What is the difference between this dough recipe and the one in your cinnamon buns? I’m curious why use use different recipes for the dough.
Ashley Fehr says
You can use this dough for cinnamon buns, the cinnamon bun dough is just a little richer.
Mel says
I made 24, my family devoured half of them within a few hours. Reminds me of the kind of buns from an Asian grocery store – delicious!
Ashley Fehr says
I’m so glad they were a hit!
Fiona Manning says
This recipe is so good I physically cannot stop eating them if I make it. I have to freeze them to slow myself down and avoid making them at all costs unless my husband begs me
Ashley Fehr says
Haha, I’m so glad they are a hit! Thanks Fiona!
Becky Seib says
Can bread flour be used
Ashley Fehr says
I don’t typically bake with bread flour so I can’t say how the results would change
Elizabeth says
I only ever use bread flour. I’ve made these twice and they turn out great!
Ashley Fehr says
Thanks for sharing Elizabeth!
james buns says
i love your buns
Mazeera says
I need the recipe in grams