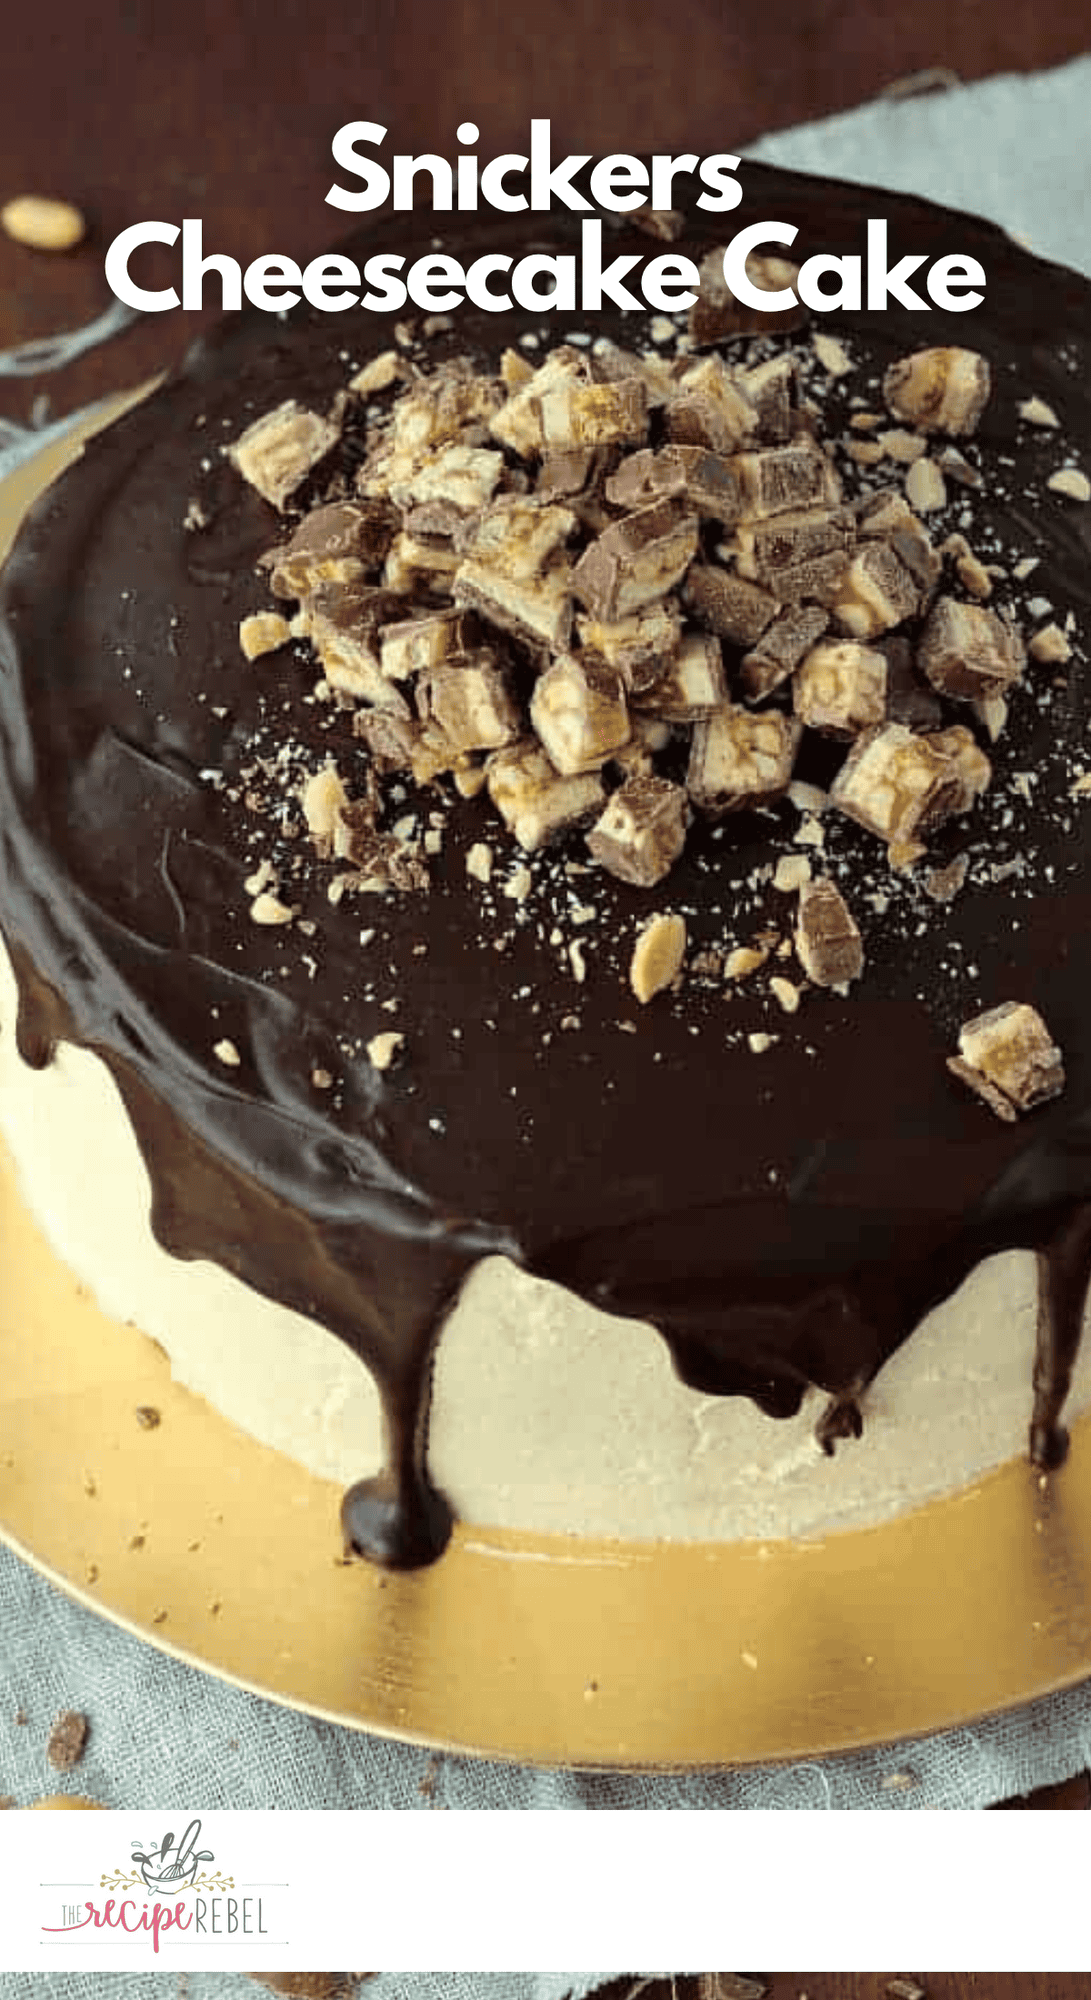
Yep, this Snickers Cheesecake Cake is exactly what it sounds like. Chocolate, peanut butter, caramel, salted peanuts, chocolate ganache, cheesecake… it’s got everything you need (yes, need). And it’s all nestled between layers of soft, fluffy chocolate cake. The perfect combination of two delicious treats!

An Over-the-Top Cake Recipe We All Need
I knew I wanted cake.
Not just any cake — I wanted an over-the-top cake. Something unique, and when I searched “Snickers cheesecake cake” on Pinterest, I got nothing. I got Snickers cheesecakes, and Snickers cakes, but no Snickers cheesecake cakes. So here it is, friends.
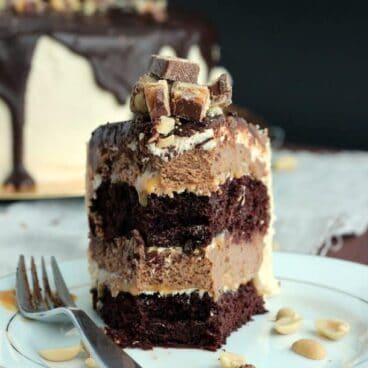
Aren’t you glad you stuck it out this far? The rich chocolate and oozing caramel are just divine.
We’ve got layers of the best chocolate cake ever, a soft and mousse-like chocolate peanut butter cheesecake, peanut butter frosting, caramel, salted peanuts, chocolate ganache, and chopped Snickers bars. Because why not?
There are a few steps, and it can be a bit time-consuming. It’s not hard though, and it’s totally worth it! I recommend making the cake over the course of a few days, and I highly recommend freezing the cakes and cheesecakes solid before assembling.

Ingredients for Snickers Cheesecake Cake
- Condensed milk: Make sure you use sweetened!
- Chocolate cream cheese: You can also use regular full-fat cream cheese if you prefer.
- Sugar: We’ll be using both granulated sugar and powdered sugar for this recipe.
- Peanut butter: The smooth kind works best here.
- Cocoa powder: Use the unsweetened kind as we’ve got plenty of sweetness already.
- Strong coffee: Hot, freshly brewed coffee is ideal, but water is fine too.
- Butter: Make sure it’s at room temperature before you start!
- Chocolate: I like to use semisweet chocolate chips for this recipe, but you can use any kind of chocolate you like.
- Peanuts: Salted and roasted for the ultimate flavour!
- Snickers bars: A few regular-sized bars, chopped up.

Helpful Tips for Snickers Cheesecake Cake
- Let the ganache cool for 5 minutes before you pour it. This helps it thicken up a bit, giving you more control for that perfect drip effect.
- Save time on baking day by making the caramel a few days in advance.
- Don’t overmix the batter after you’ve added the eggs, or your cheesecake might crack while it’s baking.
- Assemble the cake while the layers are frozen. This is super important for keeping the layers stable and stopping them from sliding around.
How to Store Snickers Cheesecake Cake
This decadent dessert can be stored in the refrigerator for up to 3 days. Simply cover it with plastic wrap or place it in an airtight container to keep it from drying out. If you plan on storing it for longer than 3 days, we recommend freezing individual slices instead.
To freeze, first place it in the freezer uncovered until the top layer of ganache hardens. Then, wrap each slice tightly with plastic wrap and place them in the freezer.

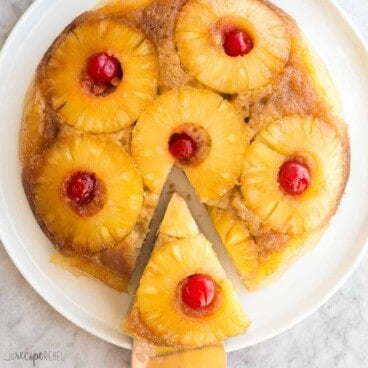
Love chocolate and peanut butter? Try these next:
Snickers Cheesecake Cake
written by Ashley Fehr
Ingredients
Caramel:
- 14 oz can sweetened condensed milk
Cheesecake:
- 24 oz chocolate cream cheese, or regular, 3 packages
- ¾ cup sugar
- 1 tsp vanilla
- 3 Eggs
- ½ cup smooth peanut butter
Cake:
- 2 cups sugar
- 1 ¾ cup all-purpose flour
- ¾ cup cocoa
- 2 tsp baking soda
- 1 tsp baking powder
- 1 tsp salt
- 2 Eggs
- 1 cup buttermilk
- 1 cup strong coffee, or water
- ½ cup vegetable oil
- 1 tsp vanilla
Peanut Butter Frosting:
- 1 cup butter, room temperature
- ½ cup peanut butter
- 1 tsp vanilla
- 3 cups powdered sugar
- 3-4 tbsp milk or cream
Chocolate Ganache:
- 1 cup semisweet chocolate, chopped
- ⅓ cup milk or cream
- ½ cup salted, roasted peanuts, chopped
- 3 Regular sized Snickers bars, chopped
Instructions
Caramel:
- Peel label off can of sweetened condensed milk. Place in a large pot of water (can must be covered – at least 1” of water above the can) and bring to a boil. Boil for 3 hours, topping up the water if needed to keep the can covered.
- Cool to room temperature and store in the fridge or the cupboard until needed.
Cheesecake:
- Line two 9” springform pans with parchment paper (I like to cut a circle to fit), spray the inside of the pan and parchment with non-stick spray and wrap tin foil around the outside to catch any possible leaks. Preheat the oven to 350℉.
- In the bowl of a stand mixer, add cream cheese and beat until smooth.
- Add sugar, eggs, vanilla and peanut butter and beat until smooth. Divide evenly between the two pans.
- Bake for 20-25 minutes until the center is set, though it might have a slight jiggle to it. Let come to room temperature before removing from the pan. Wrap in plastic wrap and freeze until ready to use. (*Note: the cheesecake is light and mousse-like, even when baked. I like to wrap in plastic wrap and put it back on the bottom of the springform pan to freeze so that it freezes in a flat layer)
Cake:
- Line two springform pans with parchment. Spray parchment and pan with non stick spray and wrap outside with tin foil. Preheat oven to 350°F.
- In a large bowl, combine sugar, flour, cocoa, baking soda, baking powder and salt with a whisk.
- Add eggs, buttermilk, coffee, oil and vanilla and whisk until totally smooth (batter will be thin).
- Divide evenly between the two pans and bake for 25-30 minutes until toothpick inserted in the center comes out clean or with moist crumbs (not batter).
- Set aside to cool to room temperature. Remove from the pan, wrap in plastic wrap and freeze until ready to assemble.
Frosting:
- *I recommend making the frosting right before assembling, because it will be easiest to spread before refrigerating.
- In the bowl of a stand mixer, beat butter until smooth. Add peanut butter, powdered sugar and vanilla and beat until smooth, scraping down the sides of the mixer if necessary. Add in milk or cream, one tablespoon at a time and beating after each addition, until you reach the desired consistency. Frosting can be left on the counter at room temperature for several hours before frosting cake if need be.
Assembly:
- *Prepare ganache after cake is assembled.
- Place one cake layer on your cake plate. Spread with a very thin layer of frosting, ⅓ of the caramel and ⅓ of the peanuts.
- Place one cheesecake layer on top of the peanuts. Spread with a very thin layer of frosting, ⅓ of the caramel and ⅓ of the peanuts.
- Place the second cake layer on top of the peanuts. Spread with a very thin layer of frosting, remaining caramel and peanuts.
- Place second cheesecake layer on top. Freeze for 2-3 hours before frosting.
- Frost cake with remaining peanut butter frosting.
Ganache:
- In a small pot over low heat, melt together the chocolate and milk or cream, stirring constantly, until melted.
- Remove from the heat and set aside for 5 minutes before pouring evenly over the cake.
- Top with chopped snickers bars and additional peanuts if desired.
- Store in the fridge up to 4 days or freeze for up to a month.
Nutrition
Nutrition information is automatically calculated, so should only be used as an approximation.
Want to save this recipe?
Create an account easily save your favorite content, so you never forget a recipe again.
Tried this recipe?
Tag @thereciperebel or hashtag #thereciperebel — I love to see what you’re making!
Tag @thereciperebelChocolate cake recipe from Hershey.
Laila says
Hello!
This cake looks lovely. I know this is an old recipe but I would love to make it – I can’t get my hands on chocolate cream cheese (didn’t know that was even a thing!) but I would love for the cheesecake part to still have chocolate instead of just using plain cream cheese. Could I stir some melted chocolate into it as a substitute? What would you recommend?
Ashley Fehr says
You could definitely add in melted chocolate but I can’t say exactly how much would do! I would add additional sugar as well because the chocolate cream cheese is quite sweet.
Renee says
Scrumptious cheesecake! Happy belated blog birthday and thanks for sharing the recipe. Pinned.
Sophia says
Thank you for sharing this amazing recipe. I was asked to make my niece’s birthday cake, she wanted snickers but also told me that she really like cheesecakes so this one was exactly what she wanted. It turned out exactly like the photo and it tasted just as good. I started two days ago. First day I made the cakes. Second day the cheesecakes and the third day the frosting and assembly. Although are many steps it was very easy to prepare in that way. Thank you again this was excellent!!!
Ashley Fehr says
Thank you so much for letting me know! I’m so glad it was a hit!
Po @ Frost and Serve says
Happy blog anniversary! I am a new food blogger, and I am still crawling my way to understanding things. But thank you very much for being an inspiration not just to me but to other bloggers as well!
And about that cake — oh my goodness. It looks so heavenly! I can really see that it’s a meticulous process, but I would still try this! I love the amount of effort you put on this. It makes the cake extra special 🙂
Ashley Fehr says
Thanks so much Po! There is sooooo much to try to figure out when it comes to blogging, and I had many frustrating moments along the way! But I’m kind of addicted now and don’t think I’ll ever stop. I’m sure you will figure everything out along the way! Thanks!
Vihan says
Superb cake, Just Awesome cake. I often order chocolate cakes from monginis online cake shop, but this time i will try your recipe, Ashley. Thanks for the recipe.
Ashley says
Thanks! Hope you like it!
Priti says
Nice cake.
Ashley says
Thanks!
La Cuisine d'Helene says
Happy blog anniversary! I love the pics of your cake, beautiful.
Ashley says
Thanks Helene!
Anna (Hidden Ponies) says
Yay, happy birthday to the blog!! What a stunning and delicious way to celebrate 🙂
Ashley says
Thanks Anna!
Jocelyn @BruCrew Life says
Happy blog birthday! It is so fun to see how far you have come in a year!! and I can’t wait to see where you go this year! And this cake? Holy cow!! It is amazing looking! Love all those layers!!!
Ashley says
Thanks Jocelyn! It’s been an amazing year! And, yes, always, always cake!
Ayngelina says
What an epic cake! happy blog birthday!
Ashley says
Thank you!
Rachel @ Bakerita says
Happy blog birthday, lovely lady!!! This cake is so stunning and delicious looking, and those cheesecake layers…heavenly. Can’t wait to see what you do in the next year!
Ashley says
Thanks Rachel!