
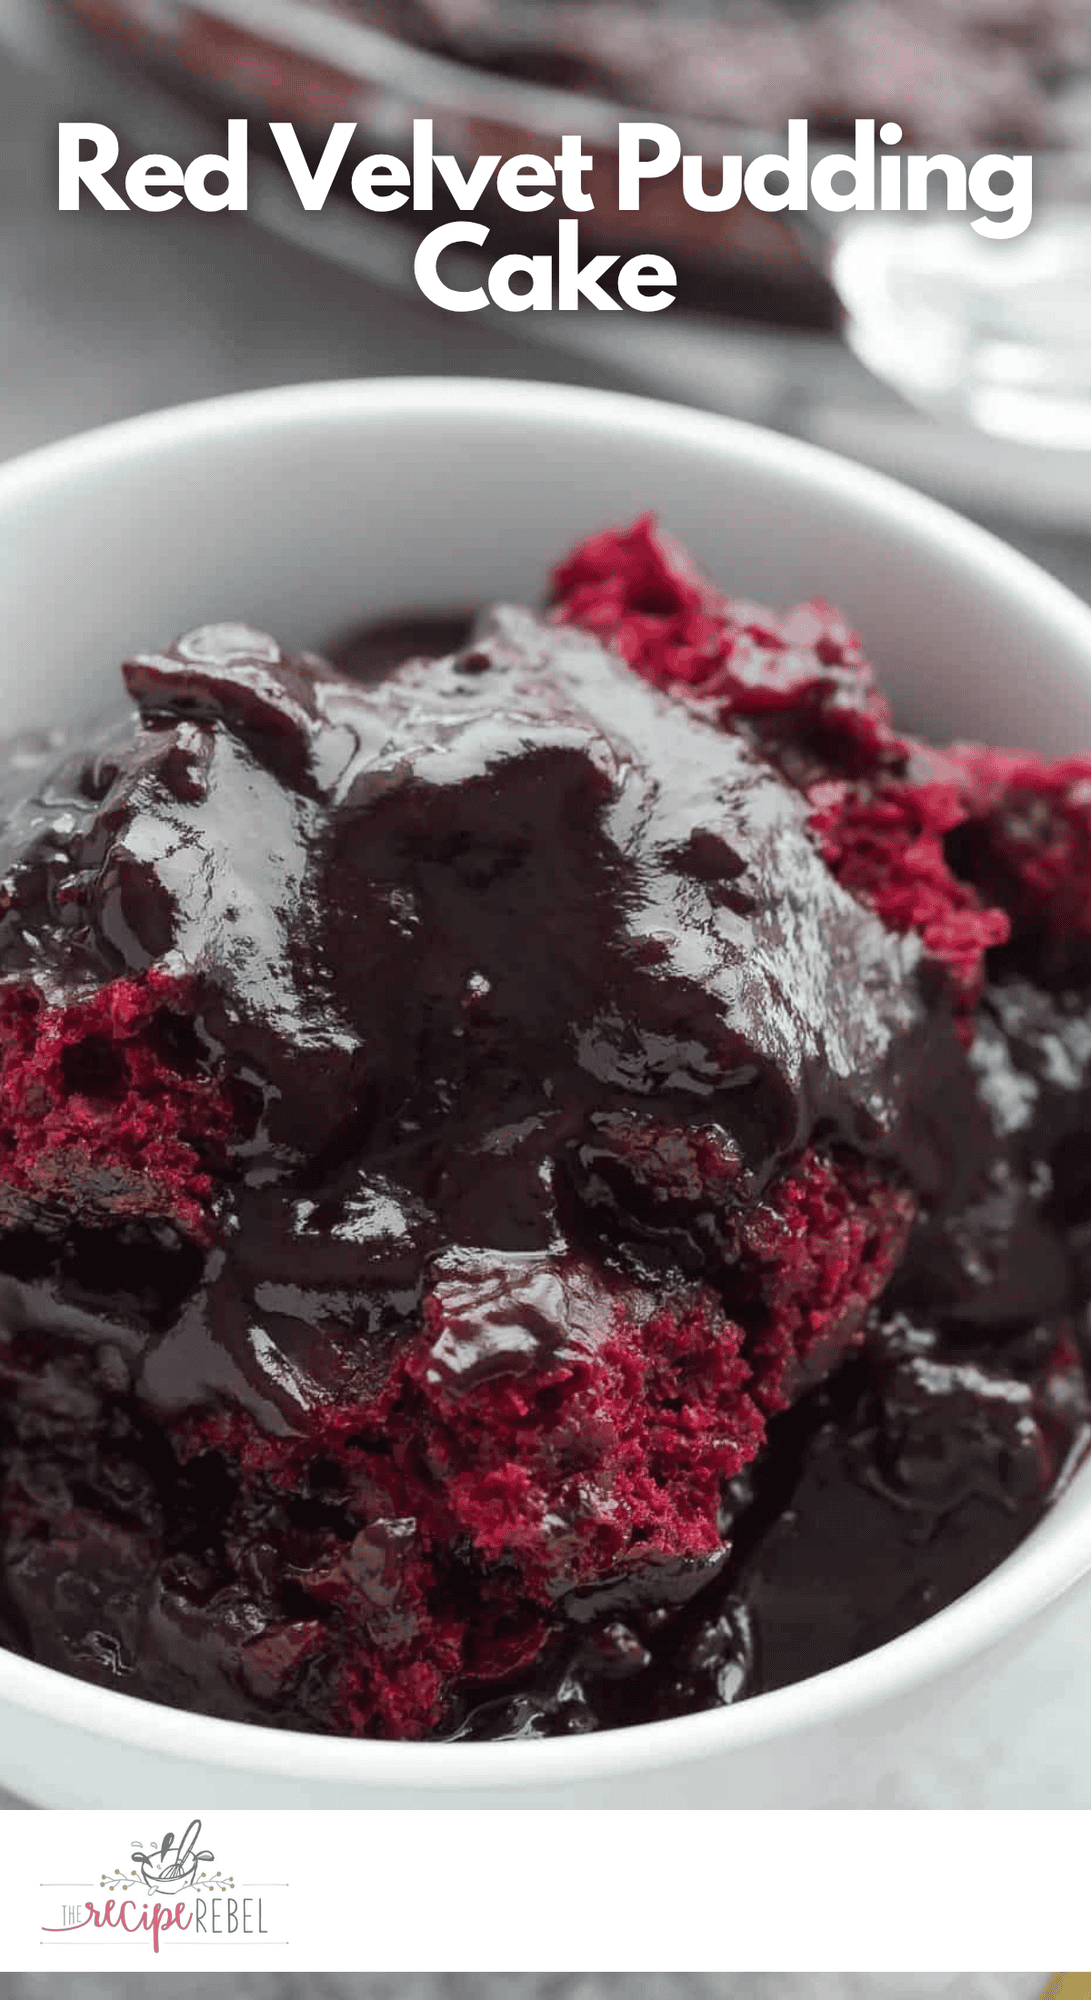
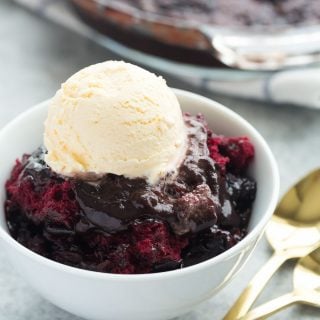
This Red Velvet Pudding Cake is unbelievably easy, requiring just 10 minutes of prep time. It features a rich, moist chocolate cake base that cleverly creates its own decadent hot fudge sauce as it bakes. For the ultimate indulgence, I highly recommend topping it with a generous scoop of ice cream!

Your New Favorite Gooey Dessert
If there is one thing I can never get enough of, it’s a hot, gooey dessert with a scoop of vanilla ice cream.
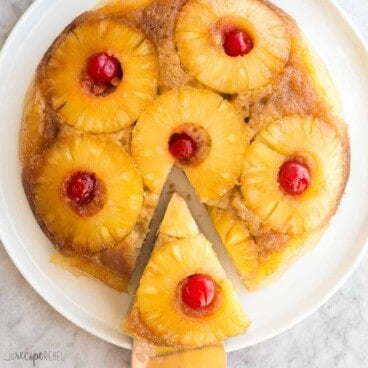
I swear I could just sit there and eat the whole thing. When the ice cream starts to get all melty…. seriously you guys!? I could be persuaded to do a lot of things if a hot dessert was dangled in front of me. (Try this Pineapple Crisp, Berry Cherry Crisp, Hot Fudge Sundae Cake, or Gingerbread Pudding Cake and see!)
Since my Grandma’s Hot Fudge Sundae Cake has always been really popular, I thought, “Well, why not a red velvet version??”
I didn’t change the original recipe that much. I swapped the milk for buttermilk to get that classic tangy red velvet taste we all love. It’s the perfect dessert for Valentine’s Day, Christmas, or any special occasion — but there’s no reason you can’t enjoy it on a Tuesday, too. 😉

Ingredients for Red Velvet Pudding Cake
- Flour: Regular all-purpose flour works great, but you can also use whole-wheat flour.
- Sugar: You’ll need both granulated sugar and packed brown sugar for this recipe.
- Cocoa powder: Grab the unsweetened kind.
- Buttermilk: If you don’t have any, you can make your own by adding 1 tablespoon of vinegar or lemon juice to 1 cup of regular milk!
- Red food coloring: For that signature look! If you are opposed to this, skip the food coloring. It won’t change anything other than the color. If you’re not, great! Carry on.
- Hot water: I use 1¾ cups. With this amount, the sauce is very runny when it comes out of the oven, but if you let it sit 10-15 minutes, it will be thick and glorious.

No 9-inch Pie Plate? Here’s What to Use:
I used a 9″ pie plate for this recipe, and it will be VERY full with the batter. If you don’t have this, I recommend something only slightly larger … like an 11″ plate. You could also use a square dish (like an 8×8 or 9×9) if you don’t have a round pie dish. Just adjust the baking time accordingly.
Tips for the Perfect Red Velvet Pudding Cake
- Make sure your buttermilk and other cold ingredients are at room temperature. This helps everything mix together smoothly!
- Pour the hot water over the back of a spoon. This will help you gently place it on top without messing up the cocoa and sugar mixture underneath.
- To check if the cake is done, stick a wooden skewer into the cakey top part. If it comes out clean, it’s ready! Just be careful not to poke all the way through to the sauce at the bottom.

How to Store Red Velvet Pudding Cake
I recommend enjoying this red velvet pudding cake fresh out of the oven while it’s still warm and gooey, but if you have leftovers or want to make it ahead of time, here’s how to store it:
- Let the cake cool completely before storing.
- Cover tightly with plastic wrap or transfer to an airtight container.
- Store in the fridge for up to 3 days.
- To reheat, just microwave individual portions for about 30 seconds until warmed through. You can also reheat the entire cake in a 350°F oven for about 10 minutes.
Red Velvet Pudding Cake
written by Ashley Fehr
Ingredients
- 1 cup flour, all purpose or whole wheat
- ¾ cup granulated sugar
- 2 tablespoons + ¼ cup unsweetened cocoa powder
- 2 teaspoons baking powder
- ¼ teaspoon salt
- ½ cup buttermilk
- 2 tablespoons canola oil
- 1-2 tablespoons red food coloring, optional
- 1 cup packed brown sugar
- 1 ¾ cup hot water*
Instructions
- Preheat oven to 350°F and lightly grease a 9" pie plate (it will be very full, so if you have something slightly bigger feel free to use that instead).
- In a large bowl, stir together flour, sugar, 2 tablespoons cocoa powder, baking powder, salt, buttermilk, oil and food coloring if desired until smooth. Spread into prepared pan — it will be thick! Set aside.
- In a medium bowl, combine brown sugar and ¼ cup cocoa powder. Sprinkle over cake batter in pan — DO NOT STIR. Top with hot water — DO NOT STIR.
- Place pie plate on an old baking sheet (in case it bubbles over) and bake for 35 minutes until top is dry and puffed — the sauce underneath will be runny (see notes). Let sit 10-15 minutes to thicken before serving warm with ice cream.
Notes
Nutrition
Nutrition information is automatically calculated, so should only be used as an approximation.
Want to save this recipe?
Create an account easily save your favorite content, so you never forget a recipe again.
Tried this recipe?
Tag @thereciperebel or hashtag #thereciperebel — I love to see what you’re making!
Tag @thereciperebel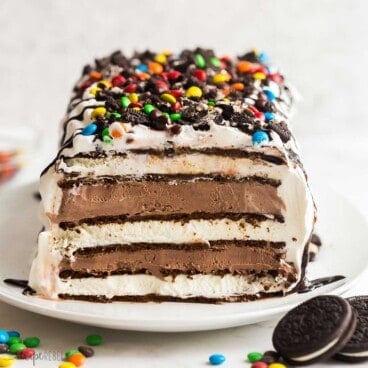
Dee says
Can you make this earlier in the day and reheat?
The Recipe Rebel says
You sure can Dee! Hope you enjoy it!
Jon says
What do you mean “1-2 tablespoons red food coloring”? Seems like a lot of food coloring.
Ashley Fehr says
It is not a lot of food coloring for anything red velvet
Tania says
What are the options if you don’t have buttermilk?
Ashley Fehr says
Regular milk will work fine!
Lois C Fleck says
I would add 1Tb of white vinegar per cup of milk. It will help activate the baking powder.
The Recipe Rebel says
Great tip! Thanks Lois!
Fey says
Can I steam it? Because there is no oven in my boarding house
Thankyou
Ashley Fehr says
I have never tried steaming it, sorry
Caroline says
Can I use milk to replace the buttermilk?
Ashley Fehr says
Yes, definitely!
Betsy @ Desserts Required says
LOVE this recipe and your video is fabulous! Sharing on Desserts Required’s FB page manana.
Ashley Fehr says
Thank you so much!
Melissa says
i dont ever use oil..i always use butter….what will happen if i use butter instead of the oil???
really looking forward to trying this recipe 🙂
Ashley Fehr says
I honestly haven’t ever tried! It should probably work fine, but I can’t say for sure. Let me know how it goes if you try it!
Ann says
Followed the recipe. Went to dish the dessert was watery. Had cooled for about 30 minutes.
Ashley Fehr says
The dessert is quite saucy, but it works every time. I’ve made the recipe and variations hundreds of times, as have family members. If you would like less sauce, just cut back on the hot water 1/4-1/2 cup.
Lynsey says
Is it possible to switch out the all purpose flour with gluten free baking flour?
Ashley Fehr says
It probably is, but I have never tried it myself
Laura @ Laura's Culinary Adventures says
This is definitely Valentine’s Day appropriate! So fun!
Ashley Fehr says
Thanks Laura!
Christie says
Can you double this and cook in a 9×13?
Ashley Fehr says
Yes, I’ve done that before!
Ami@NaiveCookCooks says
This looks amazing Ashley!! I have never made/eaten pudding cake so I seriously need to give this a try!
Sarah @Whole and Heavenly Oven says
Oh my gooooosh! Ashley, you outdid yourself with this pudding cake. Chocolate pudding + red velvet = I’m swooning. This looks absolutely insane and I’m totally craving it for breakfast!
Erica says
Is there anyway that this could be made with box cake mix? 🙂
Ashley Fehr says
I’m really not sure. I don’t know why you would because it’s super simple and takes just 10 minutes to get in the oven!
Sandra says
What kind of food colouring do you like to use? I love how red your cake turns out!
The Recipe Rebel says
Hi Sandra! I pretty much just use whatever I can find in my local grocery store. Hope you enjoy it!
Manju |Cooking Curries says
Oh yes! I love those hot gooey desserts with vanilla ice cream melting on top, too. The way you described it makes me wanna have some right away! Great recipe!
Ashley Fehr says
Thanks Manju!
Jess @ Sweetest Menu says
Stop it Ashley, I can’t take it! A gorgeous red velvet pudding cake?! AMAZING! Love your work and your video. Pinnned!!
Gayle @ Pumpkin 'N Spice says
Mmm pudding cakes are my FAVORITE! I’ve never had a red velvet kind before, so I can only imagine how delicious this must taste with a big scoop of vanilla ice cream. Sounds like the ultimate treat!
Ashley Fehr says
It is SO addicting! Thanks Gayle!