


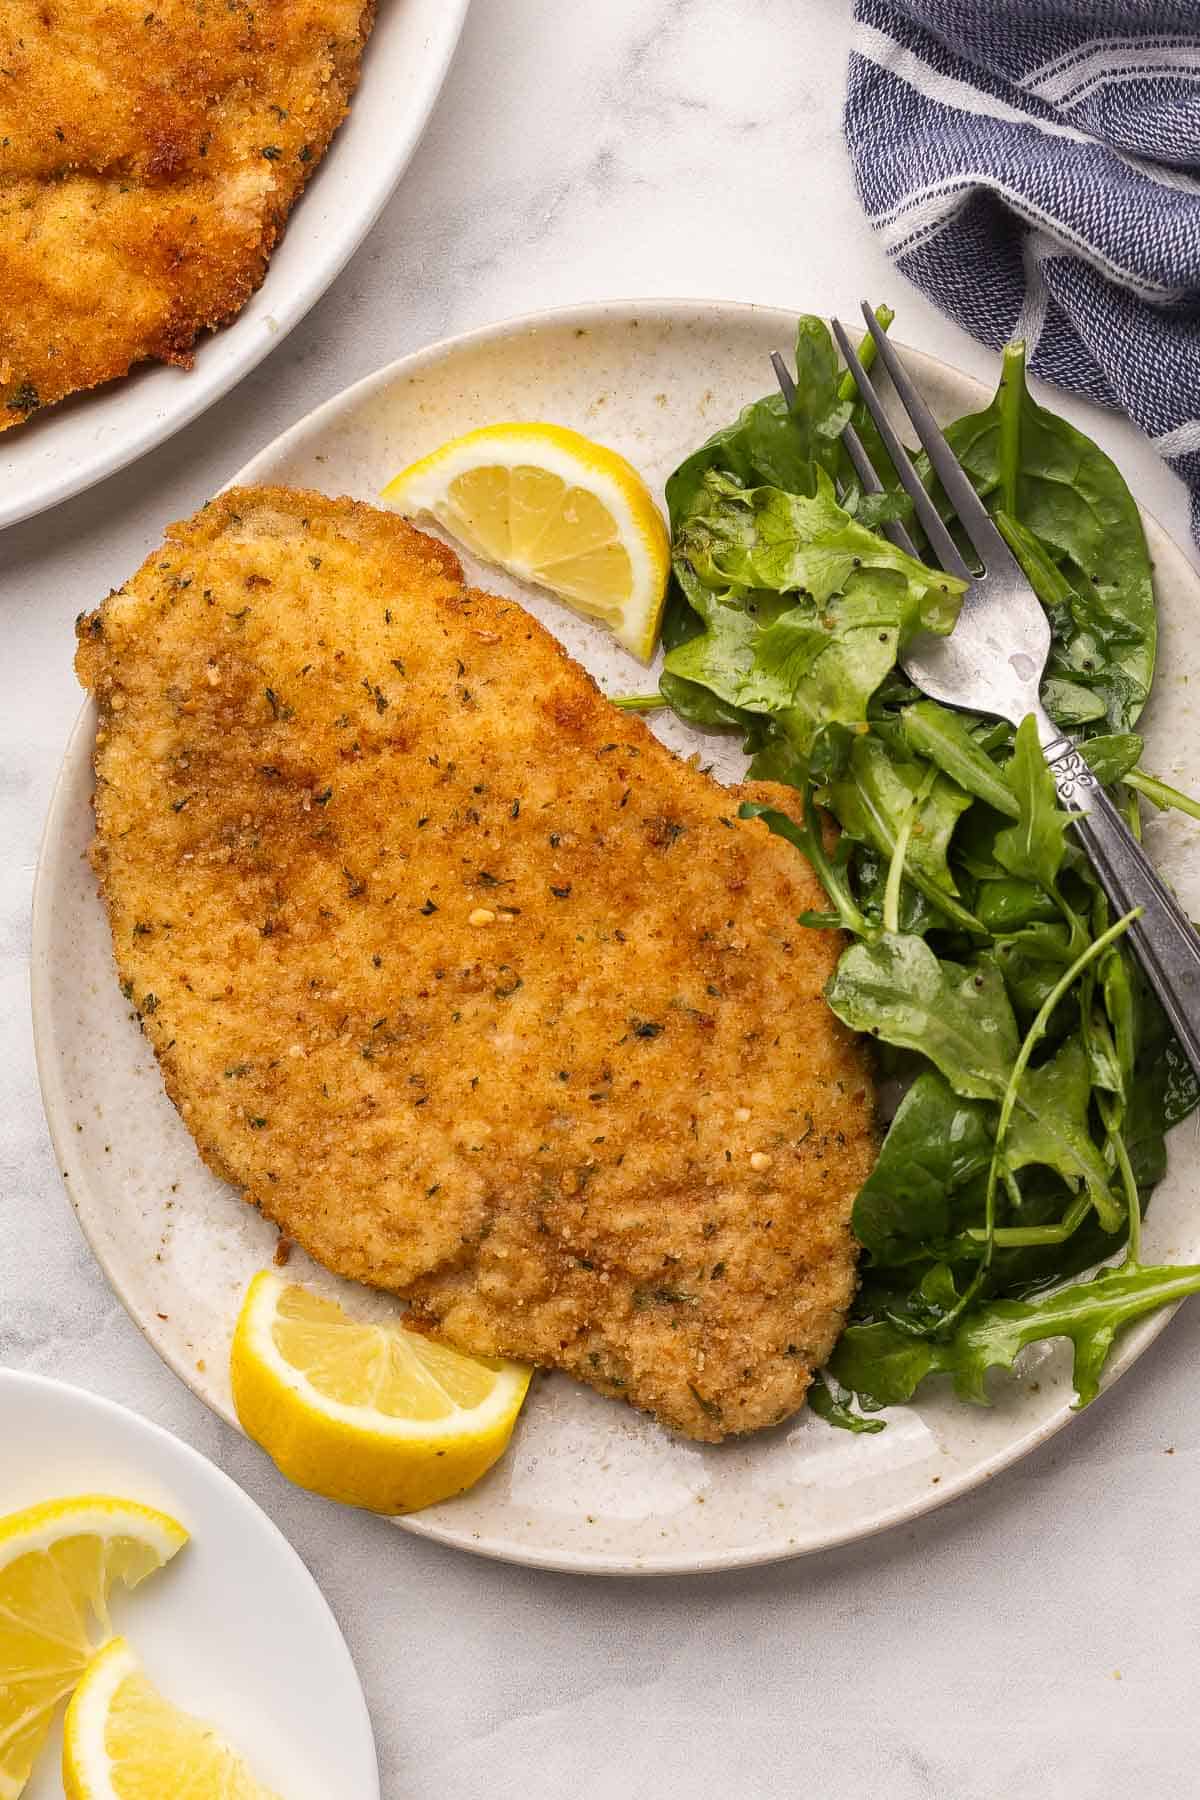
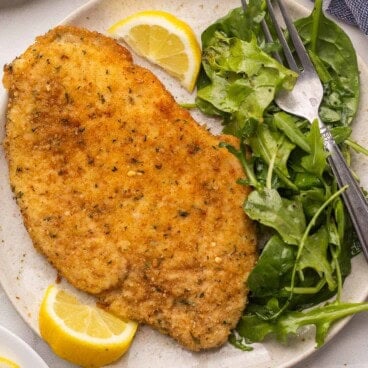
Crispy Chicken Milanese is golden, crunchy, and ready in 30 minutes! Thin chicken cutlets coated in breadcrumbs and pan-fried until perfectly crisp. Perfect with a squeeze of lemon and some fresh greens!
Try these comforting Italian chicken recipes next: Chicken Florentine, Chicken Parmesan Recipe, and Creamy Tomato Basil Chicken Breasts!
Crispy Chicken Milanese might sound like something you’d order at a fancy Italian restaurant, but don’t be fooled. It’s totally doable on a weeknight with ingredients you probably already have in your kitchen!
The trick is pounding that chicken nice and thin so it cooks up crispy on the outside, juicy in the middle, and downright irresistible.
Then you’ll add a quick squeeze of lemon over the top. It’s bright, fresh, and perfect for a busy weeknight or a quick date night!
Chicken Milanese Ingredients:
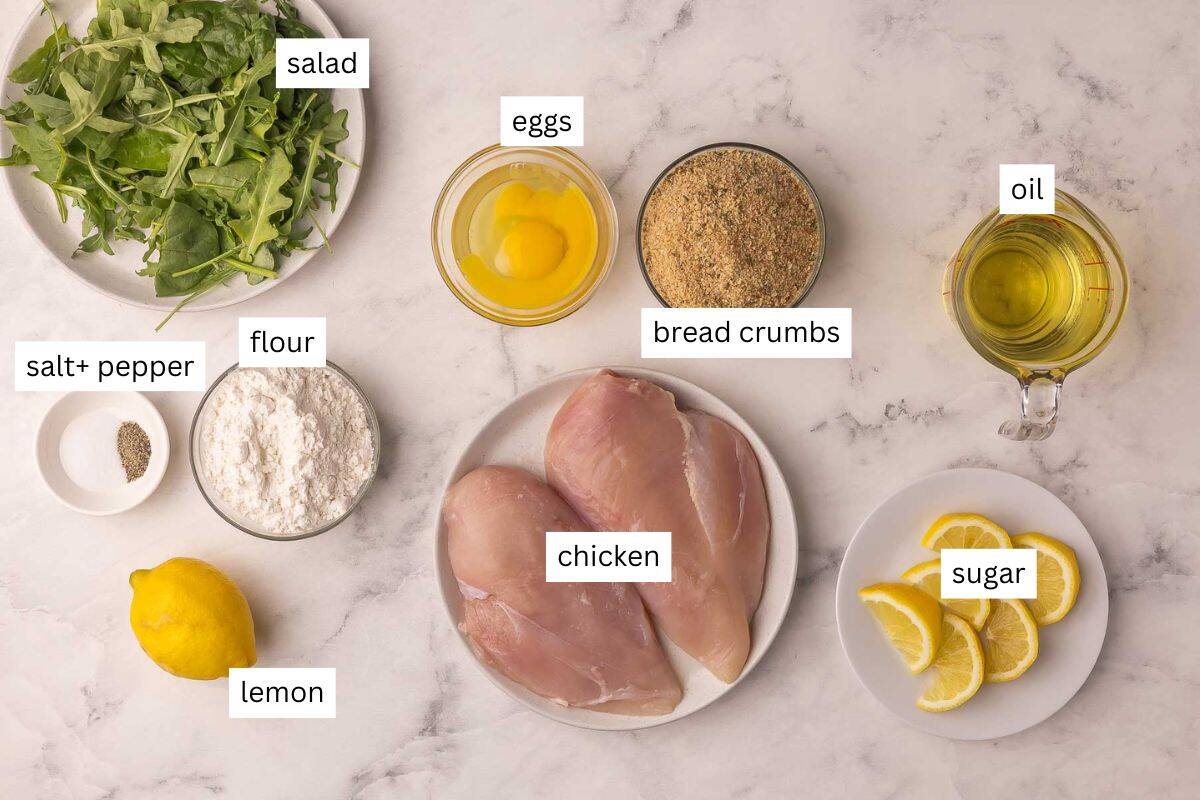
- Boneless, skinless chicken breasts: Butterfly and slice into thin cutlets for fast, even cooking.
- All-purpose flour: Helps the coating stick and gives the crust structure.
- Lemon zest (optional): Adds a subtle lemon flavor throughout the crust. This isn’t traditional but I love the extra pop of lemon!
- Eggs: The key to helping the breadcrumbs cling.
- Fine seasoned breadcrumbs: For that light, crispy golden coating. I prefer these over Panko in this recipe, but you can use either!
- Canola or vegetable oil: Choose a neutral oil that handles frying well.
- Lemon wedges: For serving; that bright finish makes all the difference!
How to make Chicken Milanese:
Chicken Milanese is a super easy recipe you’ll come back to on those days when you want something delicious and simple! Don’t forget to check the recipe card for all the details.
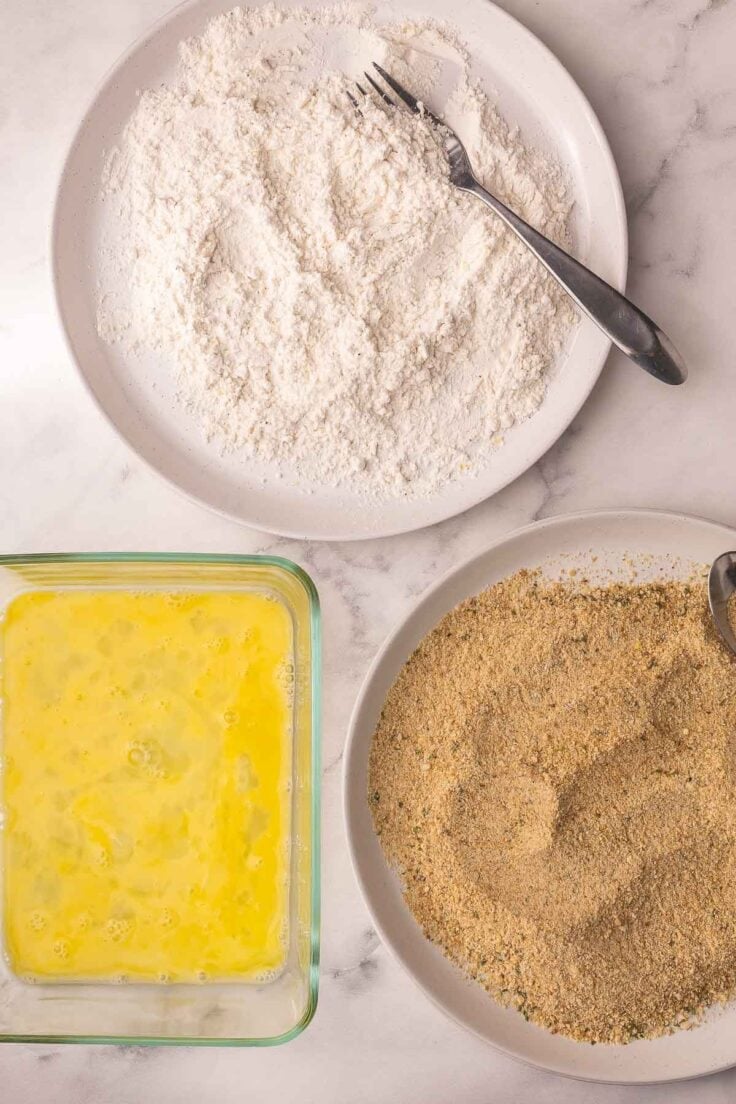
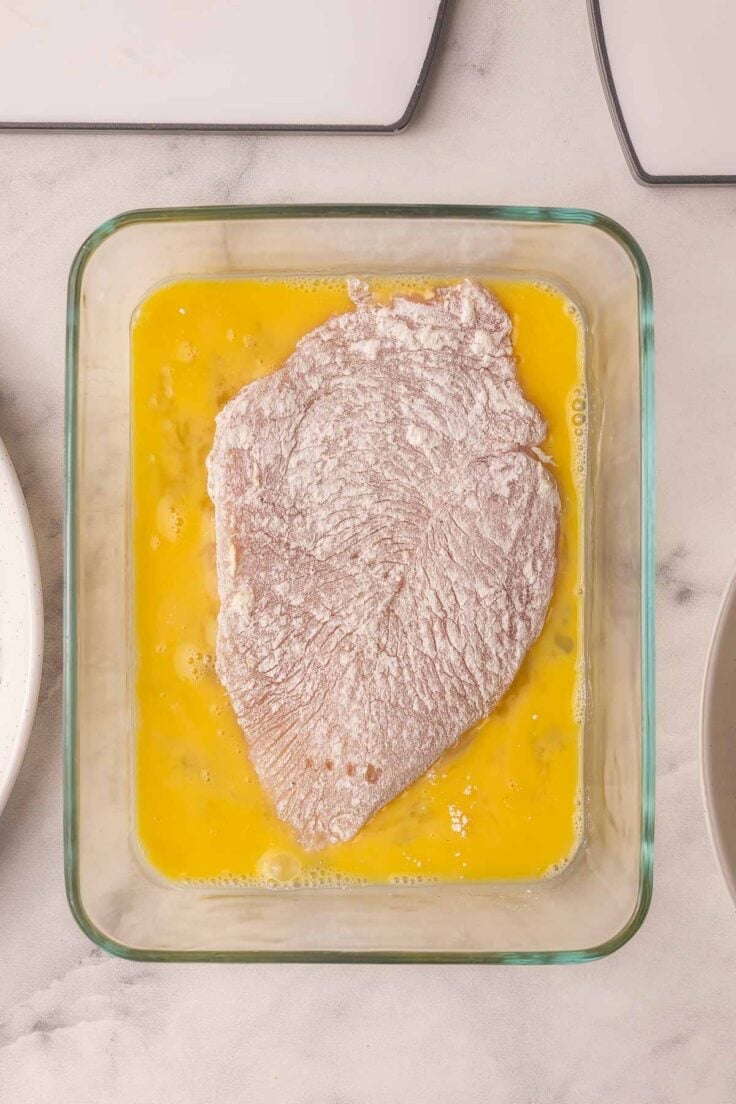
- Set up your breading station with three bowls: one for seasoned flour, one for whisked eggs, and one for breadcrumbs.
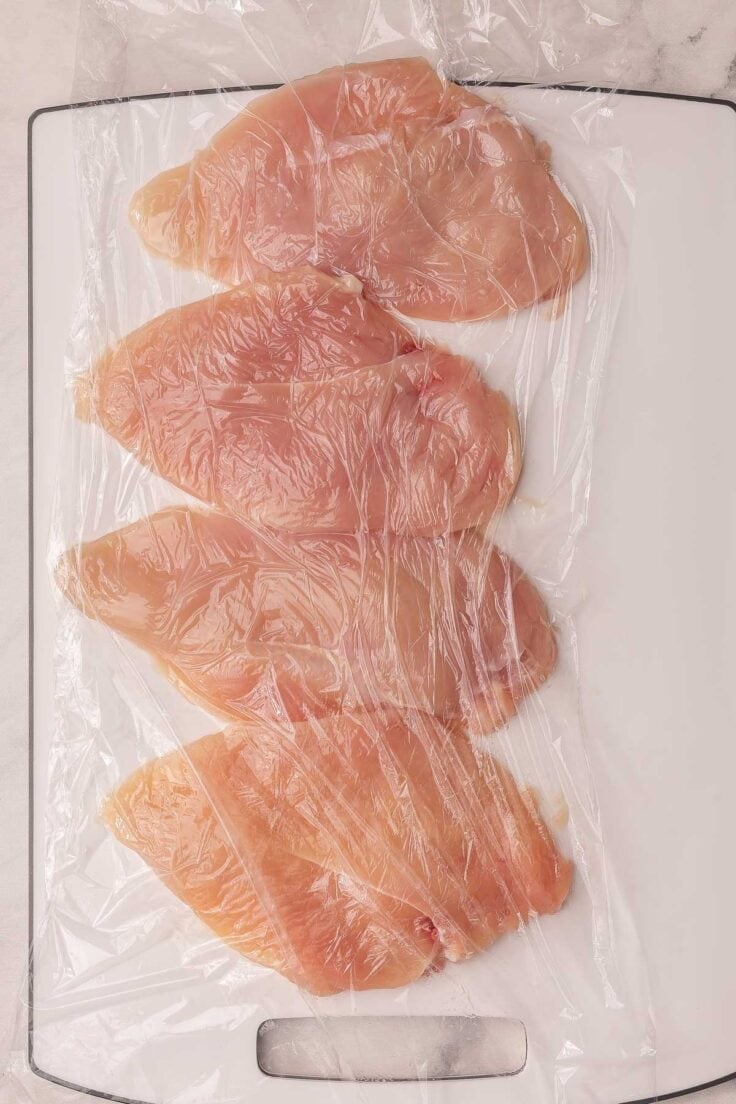
- Slice and flatten the chicken thin so it cooks quickly and evenly.
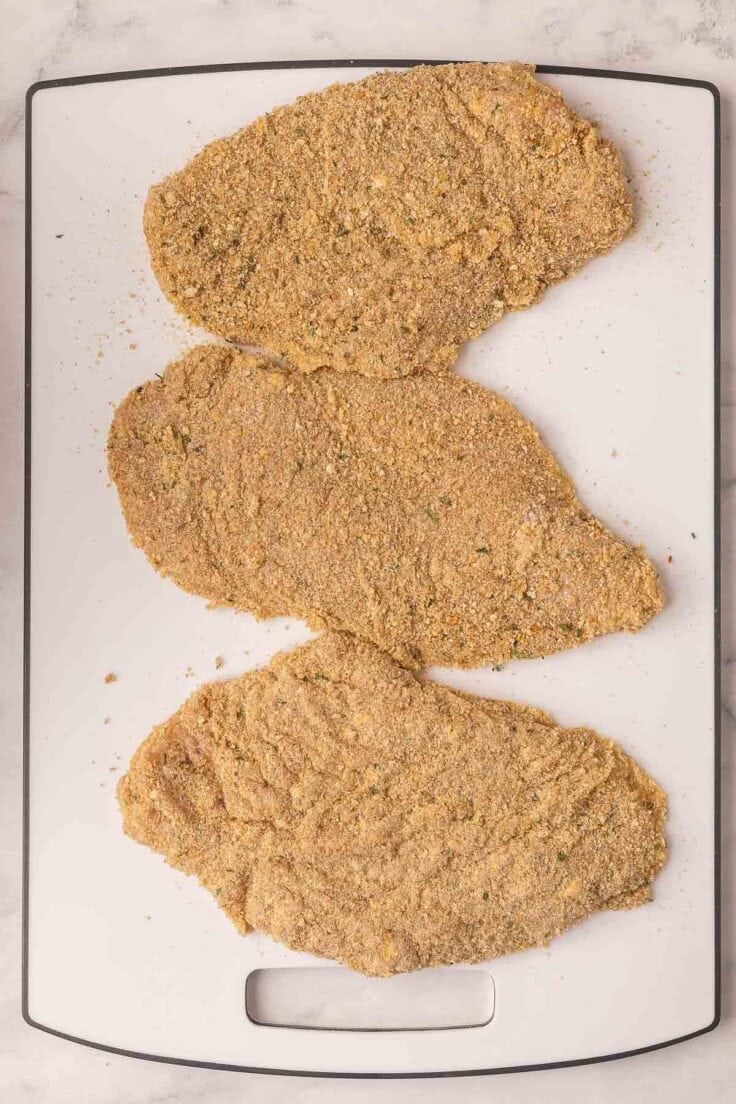
- Dip each piece of chicken in the flour, then the egg, then the breadcrumbs, gently pressing to help them stick.
- Lay the cutlets on a cutting board until you’re ready to fry them.
Tips for the crispiest chicken:
- Dry chicken well before breading: Moisture is the enemy of crispness. Patting dry ensures the flour adheres properly. The flour helps with this!
- Breading strategy: Keep one “wet hand” and one “dry hand” when breading to avoid coating your fingers.
- Test the oil: A few breadcrumbs should sizzle when added. That’s your cue it’s ready!
- Fry in a stainless-steel or cast-iron skillet instead of nonstick: They hold heat better for even browning.
How to store leftovers:
Once cooled, store leftovers in an airtight container in the fridge for up to 3 days.
To keep that signature crunch, reheat on a wire rack on a baking sheet in a 400°F oven until hot and crisp again.
For longer storage, freeze cooked cutlets flat on a baking sheet, then move to a freezer bag.
Reheat straight from frozen in the oven for crispy, just-fried texture. You don’t even have to thaw the chicken!
Serving suggestions:
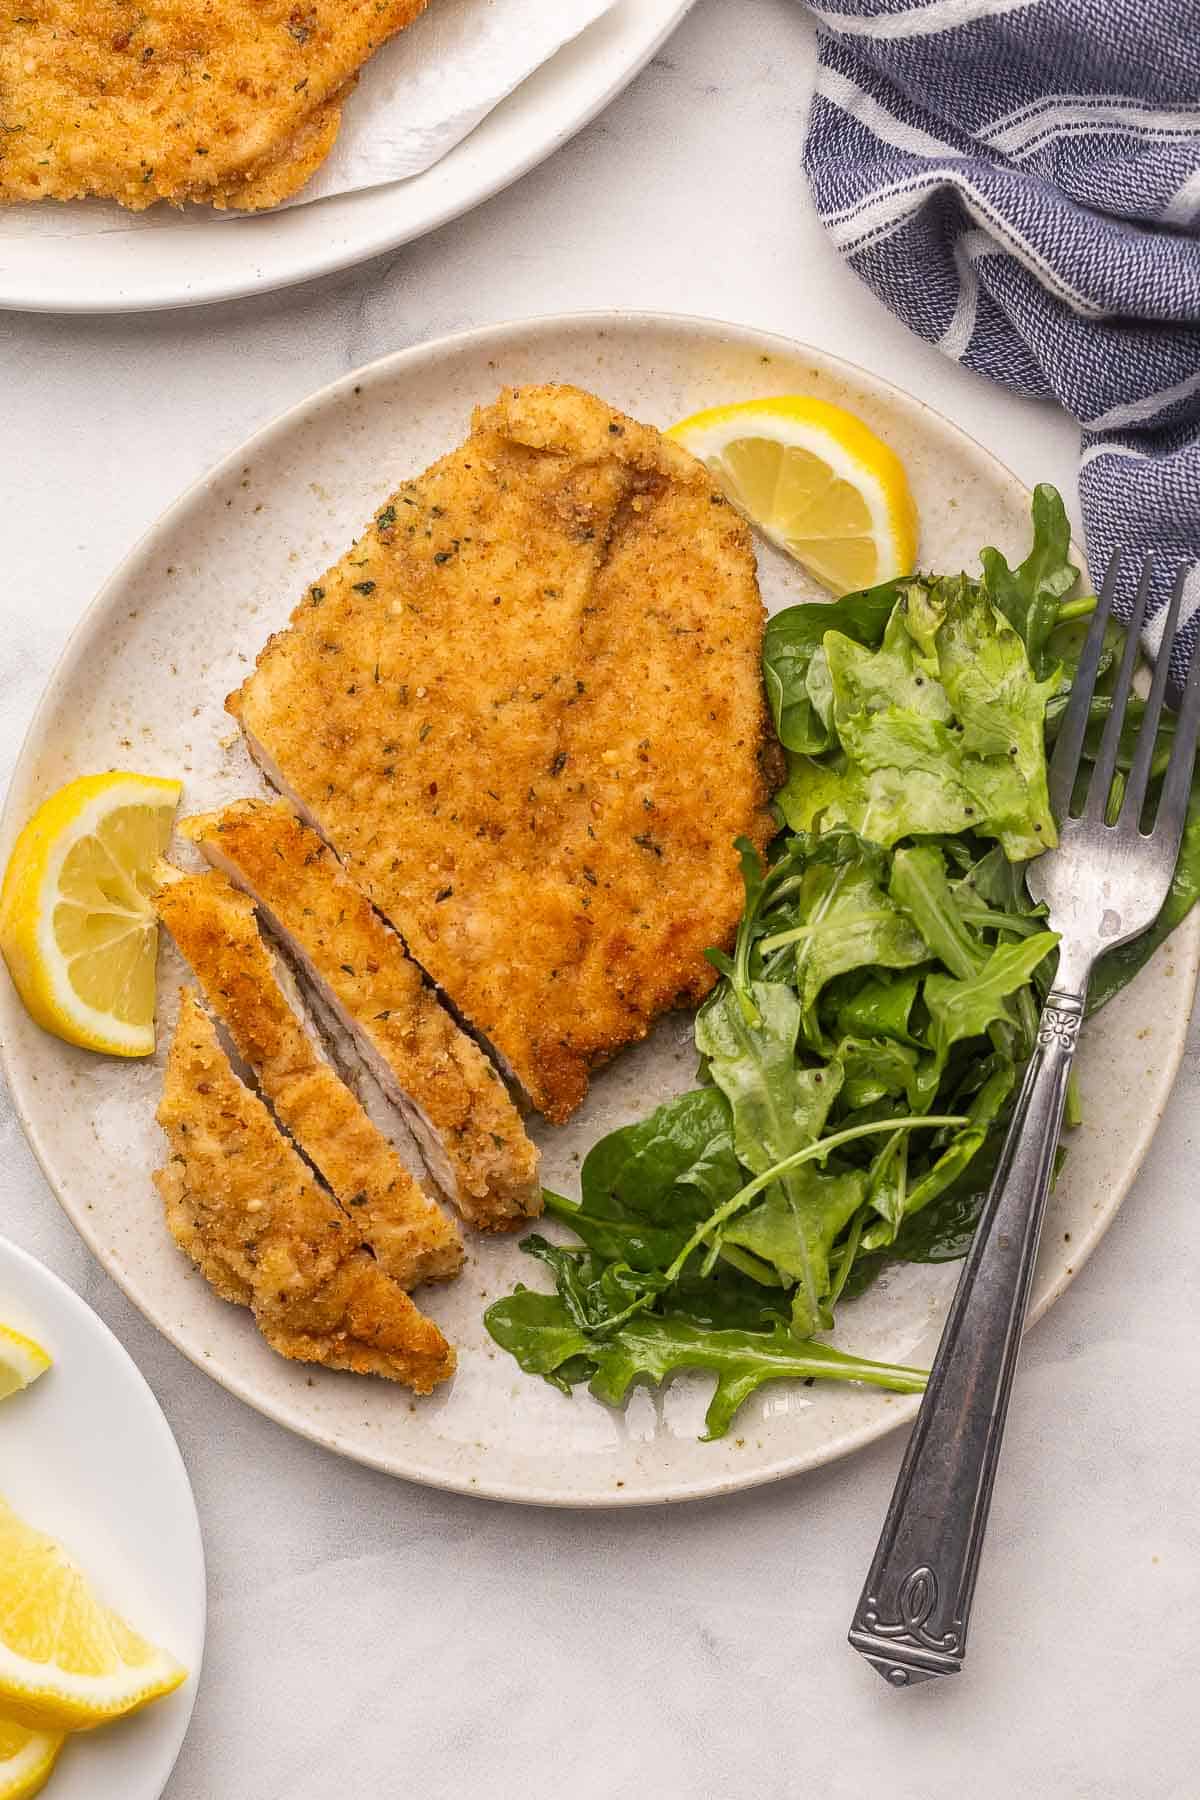
For something classic, serve it the traditional Italian way with a fresh squeeze of lemon and a simple arugula salad tossed with olive oil and shaved Parmesan.
If you’re cooking for the family, it’s hard to beat the comfort of pairing it with Garlic Mashed Potatoes, Buttered Noodles, or even Mac and Cheese. All kid-approved and totally satisfying!
For a cozy night in, add a side of Roasted Veggies or Roasted Green Beans, and maybe drizzle a little balsamic glaze for something extra.
Crispy Chicken Milanese Recipe
written by Ashley Fehr
Ingredients
- 2 boneless, skinless chicken breasts
- ¾ cup all purpose flour
- 1 teaspoon salt
- ¼ teaspoon pepper
- 1 lemon, zested, (optional)
- 2 eggs
- 1 cup fine seasoned bread crumbs
- ¼ cup canola or vegetable oil, (plus more if needed)
- lemon wedges for serving
Instructions
- Butterfly chicken breasts and slice through completely, turning each into two thin pieces. Lay flat on a large cutting board and cover with plastic wrap. Pound until very thin.
- Gather 3 shallow bowls. In the first, combine flour, salt, pepper and lemon zest if using. The zest of 1 lemon zest will add subtle lemon flavor throughout — you can skip it if you prefer!
- In the second bowl, whisk the 2 eggs.
- In the third bowl, place the bread crumbs.
- Heat the oil in a large skillet over medium heat. (You want enough oil in the pan that it will come about halfway up the sides of the chicken, and this will depend on the size of your pan. Feel free to add a bit more if needed).
- Coat each piece of chicken completely in the flour, then the egg, then the breadcrumbs, gently shaking off excess in between each step. Place on a plate until the oil is ready — do not overlap.
- Cook the chicken in the oil, about 3-4 minutes on each side depending on how thin your chicken is, until golden brown and cooked through to 165℉. Be careful not to crowd the chicken, working in multiple batches if necessary (you may need an extra splash of oil for the second batch).
- **To keep chicken warm if working in multiple batches, place a wire rack on a sheet pan and keep the cooked chicken warm in a 300℉ oven. If chicken browns before it is cooked through, you can place on a wire rack in the oven at a 350℉ temperature until cooked through.
- Serve with lemon wedges as desired.
Notes
- The ingredients in this recipe are simple and there’s not a lot of room for customization. Feel free to leave out the lemon zest or add in some of your favorite seasonings to spice things up.
- Bread crumbs: I prefer fine breadcrumbs over Panko in this recipe but you can use Panko if that’s your preference.
Nutrition
Nutrition information is automatically calculated, so should only be used as an approximation.
Want to save this recipe?
Create an account easily save your favorite content, so you never forget a recipe again.
Tried this recipe?
Tag @thereciperebel or hashtag #thereciperebel — I love to see what you’re making!
Tag @thereciperebelWhat’s the best way to pound chicken breasts?
For the crispiest Chicken Milanese, thin chicken is key! Lay your chicken between two sheets of plastic wrap or parchment, then gently pound it with a rolling pin or meat mallet until it’s about ¼ inch thick.


Leave A Reply