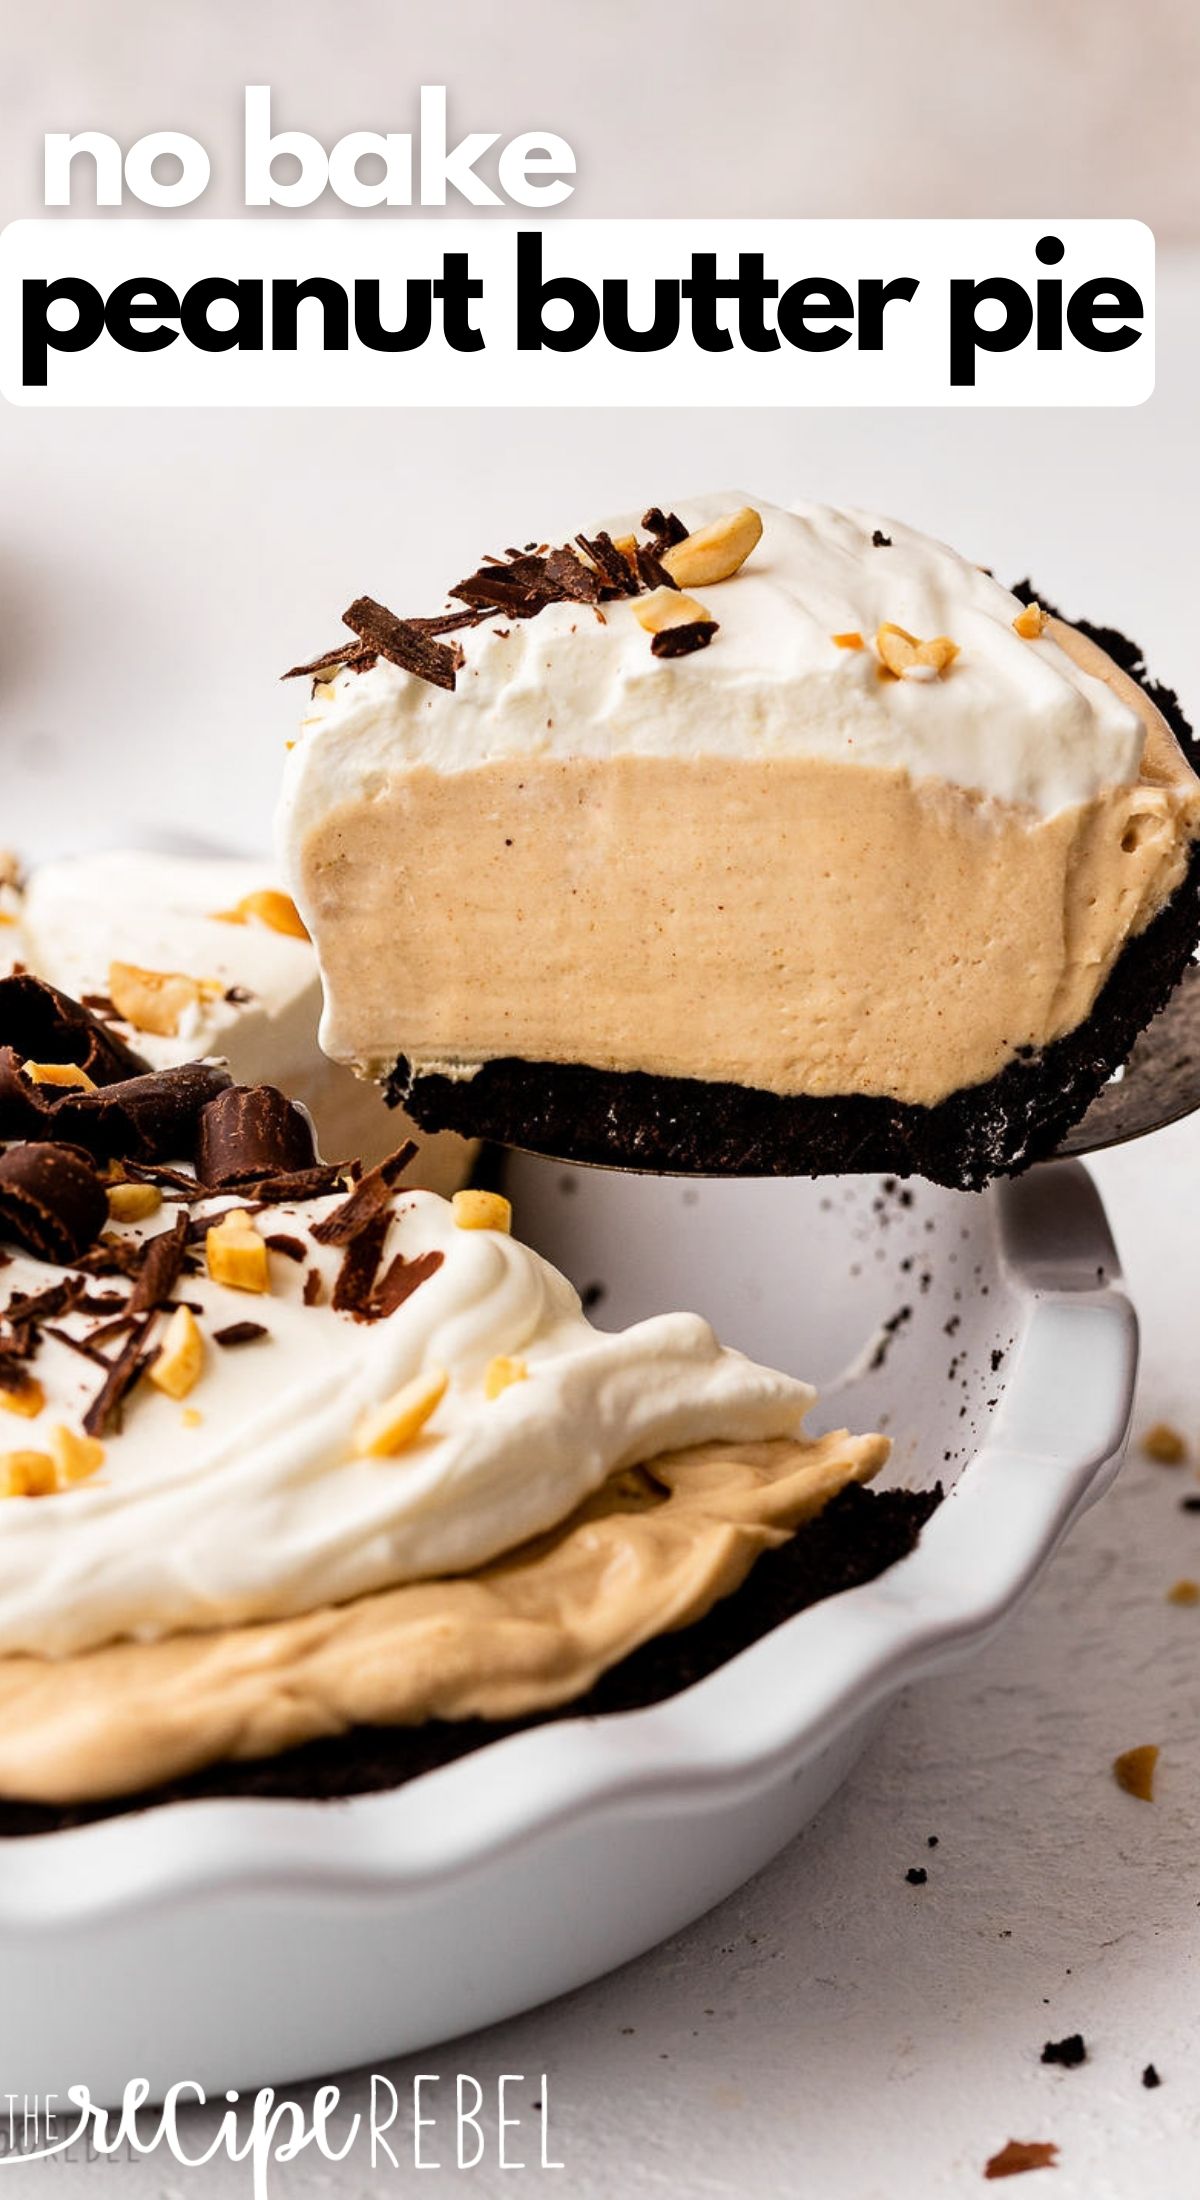
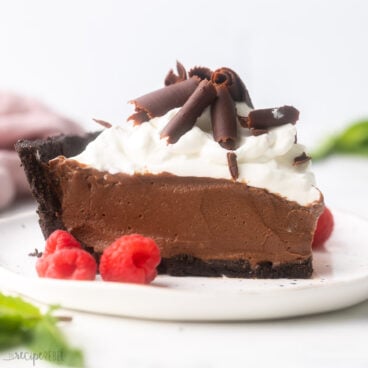
This Peanut Butter Pie is completely no bake and made with a chocolate Oreo crust, peanut butter cream cheese filling, and topped with more chocolate! Step by step recipe video down below.

Table of Contents
This Peanut Butter Pie has been a long time coming.
It’s not as seasonally acceptable as this Apple Crumble Pie, or as traditional as this Banana Cream Pie.
But it’s the kind of recipe that I know we are all going to obsess over here, that is just as amazing in the summer as it is in the winter, and I guarantee you will be the first one gone at any holiday potluck.
I always figured, you know, what’s so hard about sticking peanut butter, cream cheese and and cream together and whipping them up?
Anyone can do that.
And yet here I am today, doing it.
Just because I want to! (Sometimes, running your own corner of the internet is pretty swell 😉 )

This no bake Peanut Butter Pie is simple to throw together. It’s light and fluffy and creamy, and just sweet enough (the saltiness of the peanuts balances the chocolate perfectly!).
You’re going to want to add it to your repertoire soon!
What’s to love about this Peanut Butter Pie?
- It’s totally no bake! This makes it the perfect easy dessert to whip up for a holiday party or a summer treat (spoiler: it’s even great frozen!)
- Peanut butter
- Chocolate
- Cream cheese
- Do I really have to say anything else? These are pretty much my 3 favorite things in the universe. Combine them all into one no bake dessert?! My dreams all just came true.
Ingredients Needed:

- Chocolate baking crumbs and melted butter: form our crust. I use unsalted butter, but you can use salted butter if that’s all you have.
- Cream cheese: full fat cream cheese forms the base for our pie, making it more cheesecake-like than pie-like but who is complaining? You might be able to substitute light cream cheese or non-dairy but it may not hold up as well.
- Peanut Butter: I have only used smooth, regular (not natural) peanut butter in this recipe. I do not recommend swapping for natural peanut butter as it may be too runny.
- Powdered Sugar: powdered sugar sweetens and thickens our pie, helping it to hold up perfectly.
- Whipping Cream: heavy whipping cream (30% fat or higher) is the only way to go! A lighter cream will not whip up firmly and will create a too-soft pie. You may be able to substitute with cool whip but I haven’t tested this recipe that way.
How to make Chocolate Peanut Butter Pie:
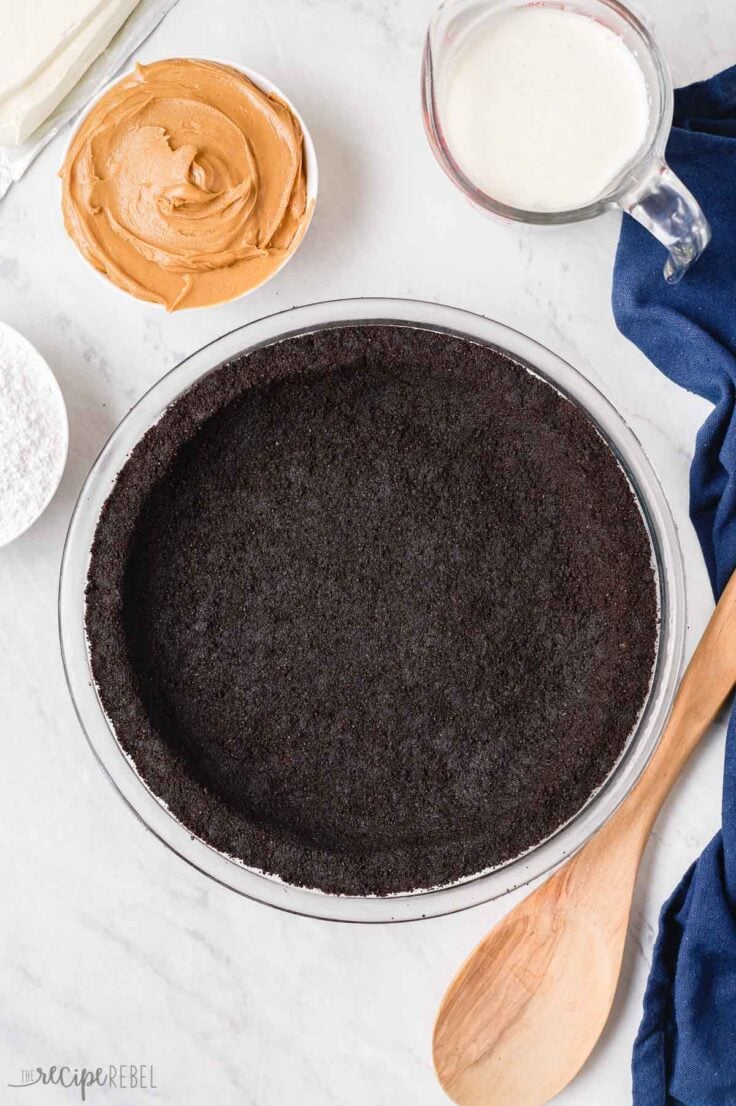
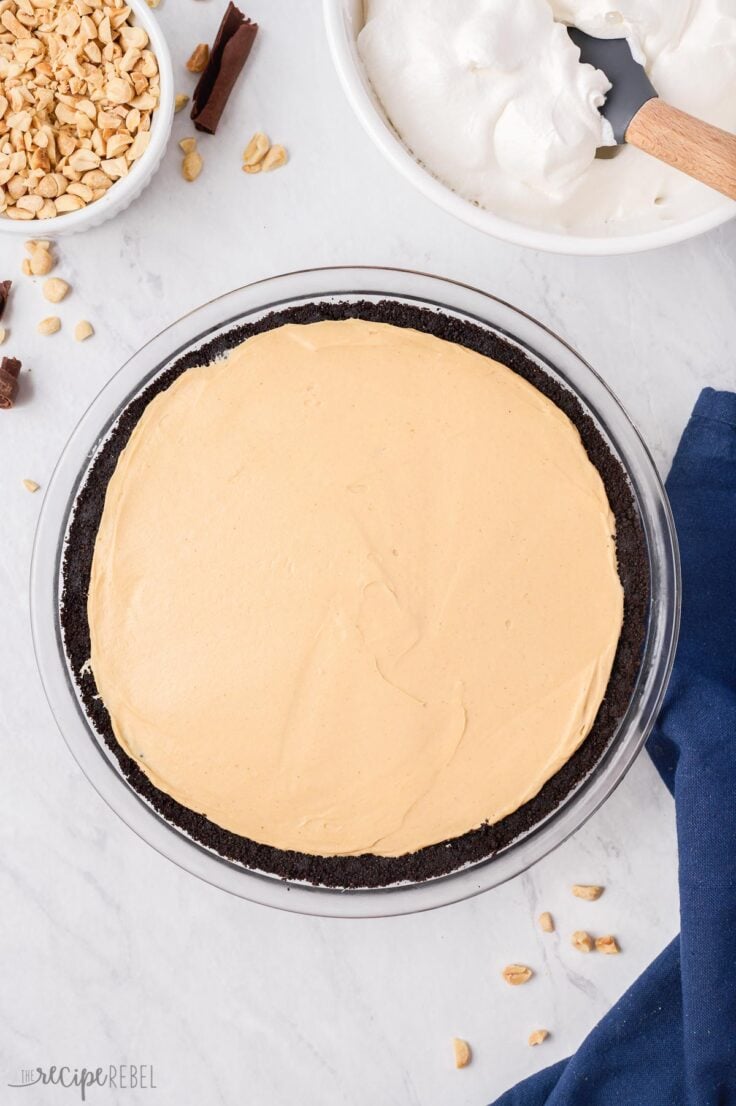
- Start with your crust: just chocolate cookie crumbs and some melted butter! I buy the chocolate baking crumbs whenever I can find them because they make recipes like this so easy — no need to bust out the food processor!
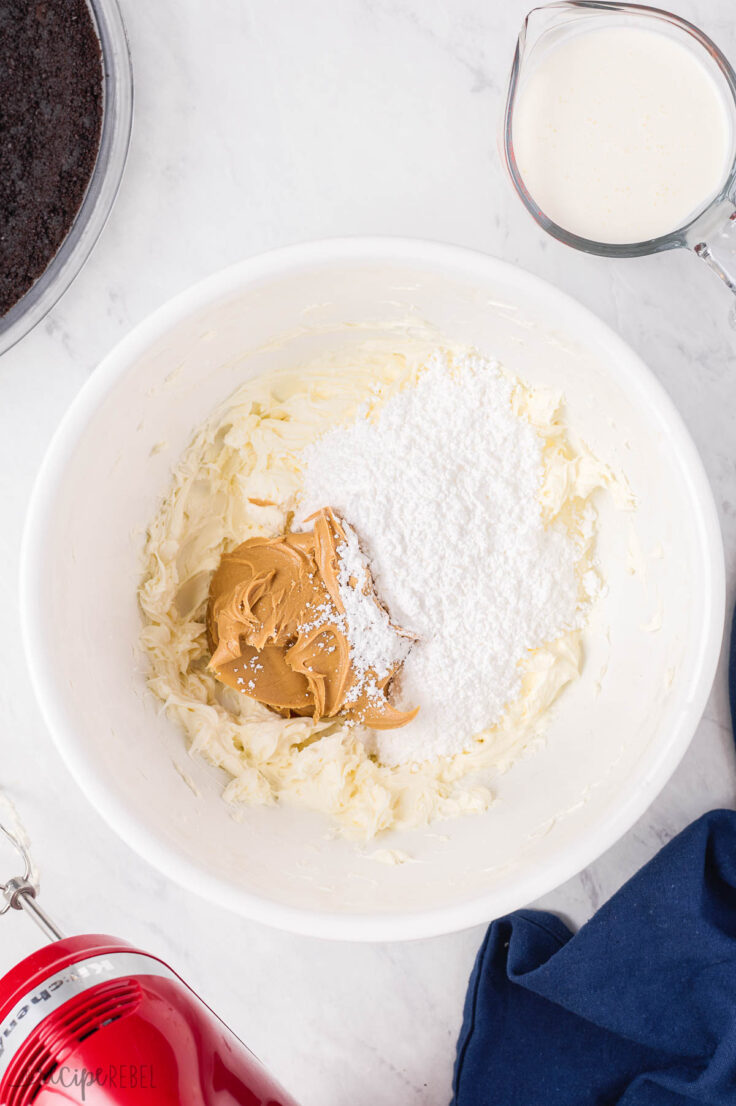
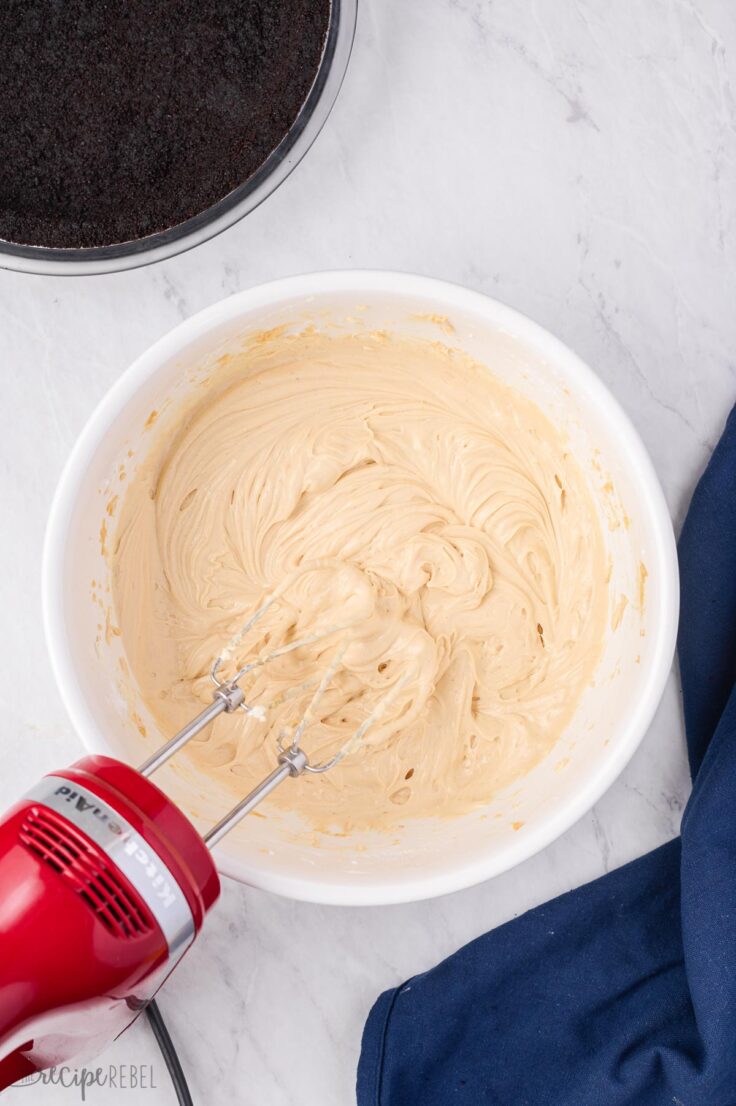
- Whip up the filling: always make sure your cream cheese is room temperature and beat it first until smooth to ensure there are not lumps! From there, add in your remaining ingredients and whip until light and fluffy (it can take some time, so don’t give up!)
- Let chill (for a good long time – no cheating!) and then top! Do it up as I’ve done below, or make your own rules! Anything chocolatey or peanut buttery goes here on this Peanut Butter Pie, so go a little nuts (no pun intended) if you like 😉
Variations on Peanut Butter Pie – how to make it your own!
- Chocolate chocolate peanut butter pie: Add in a tablespoon of cocoa powder or some melted chocolate to the filling for even more chocolate!
- No chocolate peanut butter pie: Swap the chocolate crumbs for graham crumbs if you love peanut butter minus the chocolate.
- Peanut butter marshmallow pie: Add in a big scoop or two of marshmallow fluff when beating your filling.
- Frozen peanut butter pie: throw it in the freezer! It’s just as good frozen, you may just want to let it sit for 10-15 minutes before slicing.

How to store this Chocolate Peanut Butter Pie:
Keep it in the refrigerator:
You can keep this Peanut Butter Pie in the refrigerator for 5-6 days, provided your dairy products were fresh when you started.
However, I can guarantee you it won’t last that long 😉
Keep it in the freezer:
You can freeze this Peanut Butter Pie and serve it completely frozen if you prefer, or thaw partially or completely.
Simply leave the whipped cream off until serving, and wrap tightly in plastic wrap. Freeze for up to 3 months before serving.
If thawing to serve, thaw just before serving as the crust will get softer the longer it sits after freezing.

More peanut butter desserts you’ll love:
- Peanut Butter Oatmeal Chocolate Chip Cookies – perfectly chewy and never cakey!
- Peanut Butter Chocolate Chip Cookies — just as good as the one above, but no oats 😉
- No Bake Peanut Butter Marshmallow Square Cheesecake — a showstopper you need to see!
- No Bake Chocolate Peanut Butter Cheesecake on a Pretzel Crust — another sweet and salty combo!

No Bake Peanut Butter Pie
written by Ashley Fehr

Ingredients
- 2 ½ cups chocolate baking crumbs*
- ½ cup melted butter
- 2 packages cream cheese room temperature, 16 oz or 500 g total
- 1 ½ cup smooth peanut butter
- 1 ½ cup powdered icing sugar
- 1 ½ cup heavy whipping cream 30% fat or higher, cold
- homemade whipped cream for garnish
Instructions
- Stir together the chocolate baking crumbs and melted butter. Press firmly into the bottom and up the sides of a 8 or 9" pie plate.
- In a large bowl, beat cream cheese with an electric mixer on medium until smooth.
- Add the peanut butter and sugar and beat until combined.
- Add the cream and beat on low until incorporated, then beat on high until thickened and fluffy. Taste the filling and adjust sweetness to taste as desired.
- Spread into prepared crust and refrigerate until set, at least 6 hours or overnight.
- Garnish with whipped cream, peanut butter drizzle, chocolate shavings and chopped peanuts or as desired.
Notes
Nutrition Information
Want to save this recipe?
Create an account easily save your favorite content, so you never forget a recipe again.
Tried this recipe?
Tag @thereciperebel or hashtag #thereciperebel — I love to see what you’re making!
Tag @thereciperebel
Mollie Lyddane says
what might be a good substitute for the heavy cream in this recipe? trying to decrease the fat content a bit
The Recipe Rebel says
Hi Mollie, sorry there is no substitute for the heavy cream.
Alanna says
Hi, did you use natural peanut butter or the sweet stuff? (Kraft)
Thank you!
The Recipe Rebel says
Hi Alanna! I just use regular smooth (creamy) peanut butter. Enjoy!
Lori says
Made it! So yummy! I used Cool Whip though, turned out very well. Great recipe. And easy!
The Recipe Rebel says
Great to hear! Thank you Lori!
Ashley Fehr says
Thanks Susie!
Rachel Gibson says
Delicious!
Ashley Fehr says
Thanks Rachel!
Jenn says
I didn’t have any chocolate gf cookies, so I subbed gf Graham crackers and then put a layer of chocolate sauce on the crust before I added the peanut butter. It’s freezing now but can’t wait to eat it later!
Ashley Fehr says
That sounds delicious!
P.V. says
Lol! Just saw the video! Awesome instructions- then saw the comments- then saw your name REBEL! Lol spot on answers for a rebel.
I’d say it’s pretty easy to guess why you made two pies, one to demonstrate the steps and one for the final product! Keep rockin!
Ashley Fehr says
I appreciate it!
Nancy Rowe says
That’s kind of a snarky answer. You could have just explained it nicely.
Ashley Fehr says
Niceness goes two ways here 🙂
Jenni says
This recipe looks delicious and I definitely want to try it. However I must comment that I was put off by your response to Carl. I’m sure you pour a lot of time and love into your blog, but perhaps a gentler response would have been a little more appropriate. Not all people know the process of filming cooking videos. Kindness & comedy go a long way! Just a comment, take it or leave it as you may.
Ashley Fehr says
Thanks Jenni! Gentleness and kindness go two ways here.
Laura says
Made today for Father’s Day. I didn’t have chocolate cookies for the crust so sub with graham crackers. The filling is magical! I could not stop dipping into the mixing bowl!
Ashley Fehr says
Thanks Laura! This is one of our favorites!