
This Homemade Cheesy Garlic Bread recipe is packed with flavor, and it’s so easy to make. Packed with herby flavors and three types of cheese, it’s the perfect side dish for just about any meal!

Table of Contents
This is the best cheesy garlic bread I have ever had, and I’ve tried a few!
We love having bread sides with dinner, it’s the perfect way to compliment just about any main meal. (It’s also perfect for dunking in any of my soup recipes!)
While I love Classic Garlic Bread, sometimes I’m looking for something a bit more indulgent. This Cheesy Garlic Bread is what we’re after!
This homemade garlic bread is the best comfort food for snacking and it’s a perfect appetizer for dinner parties too. Pair it with some marinara, ranch or homemade Homemade Salsa and I don’t need much else 😉
If you love this recipe, you’ll also love my Garlic Herb Dinner Rolls and my Homemade Breadsticks.
Ingredients Needed:

- Butter: use salted butter as it has a better flavor for this side dish. If you only have unsalted butter to hand, add a pinch of salt to the butter mixture.
- Seasoning: freshly chopped garlic cloves and fresh parsley bring so much rich and herby flavor to this garlic bread.
- Cheese: a combination of Parmesan cheese, mozzarella cheese, and cheddar cheese works perfectly for this recipe, but you can use almost any kind!
- Bread: I love to use French bread that has a crunchy crust with soft bread in the middle. Ciabatta or sourdough would also work great!
How to Make Cheesy Garlic Bread
This homemade garlic cheese bread is quick and easy to make. Full instructions are included in the recipe card below.
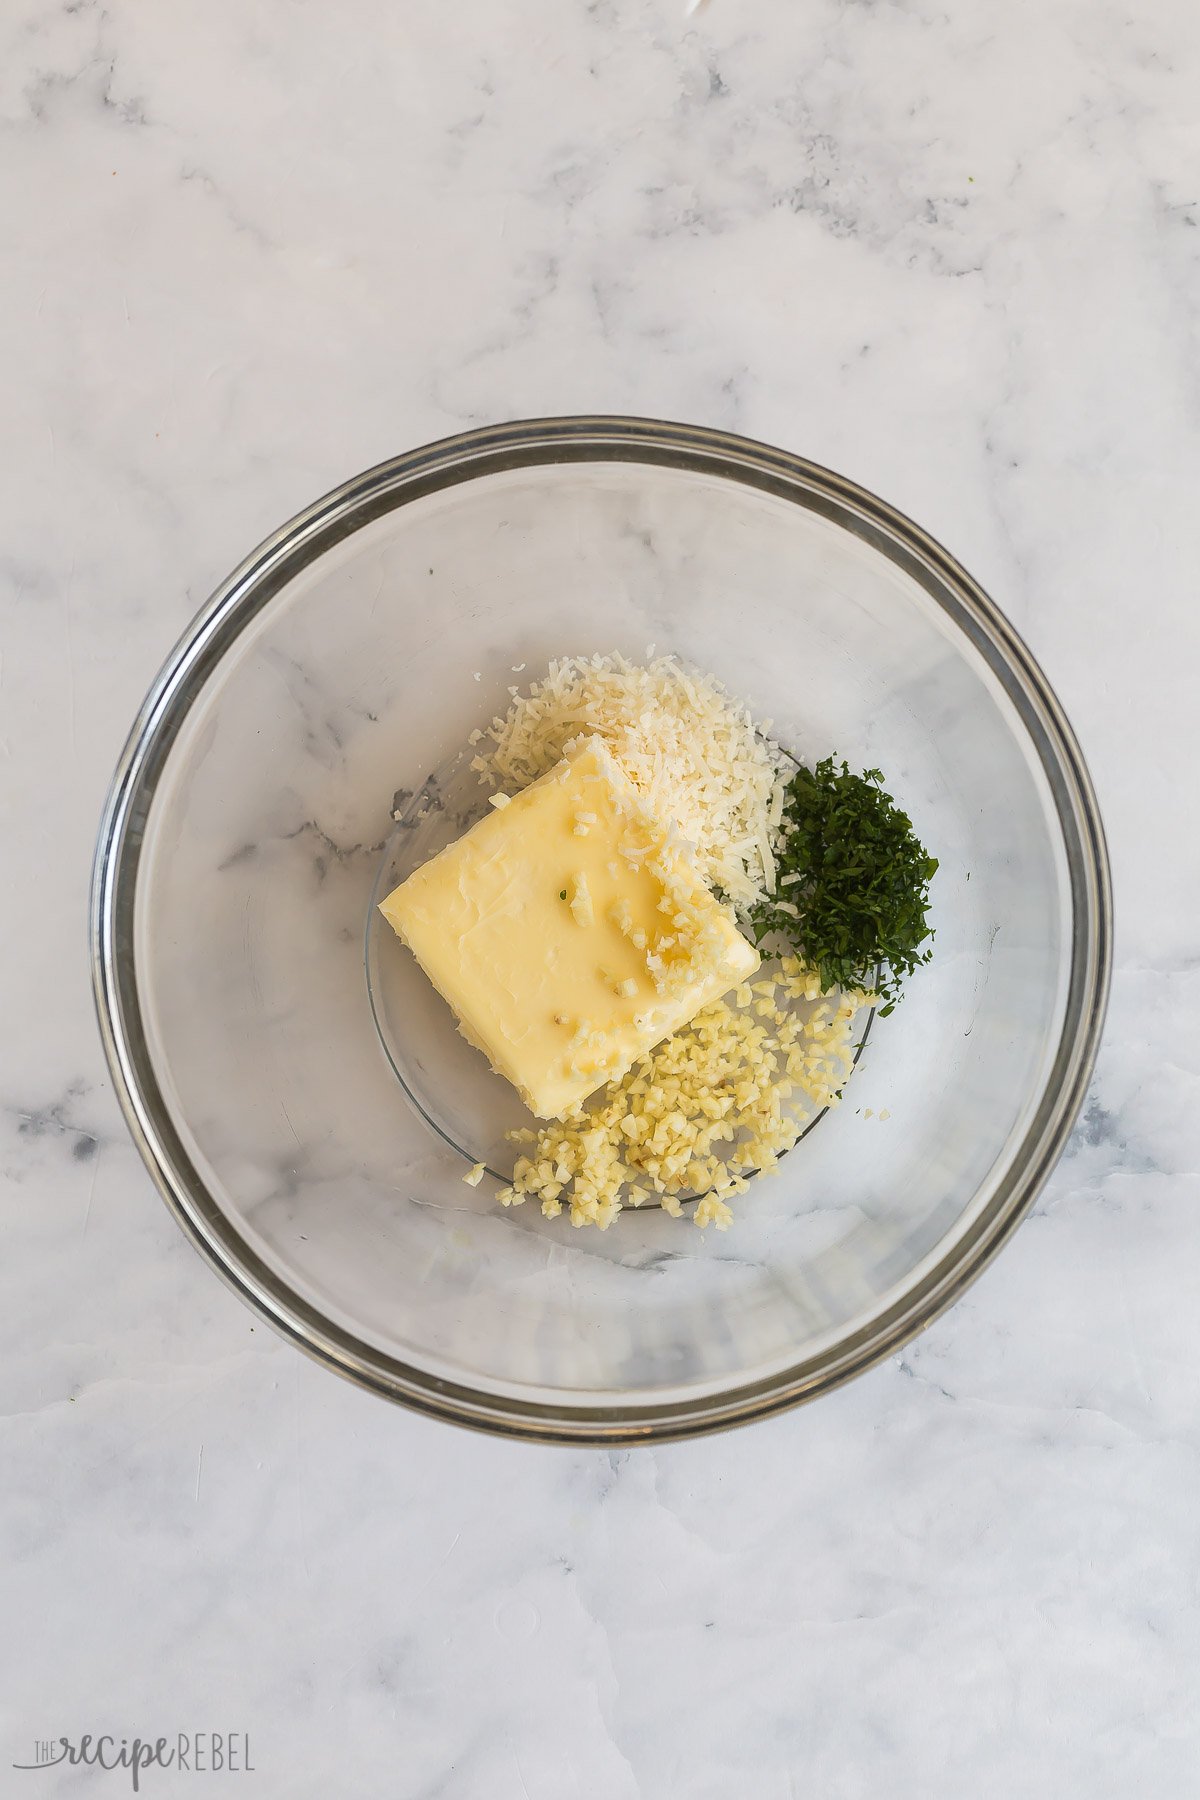
- Make garlic butter: Mix together the butter, garlic, parsley, and Parmesan cheese.
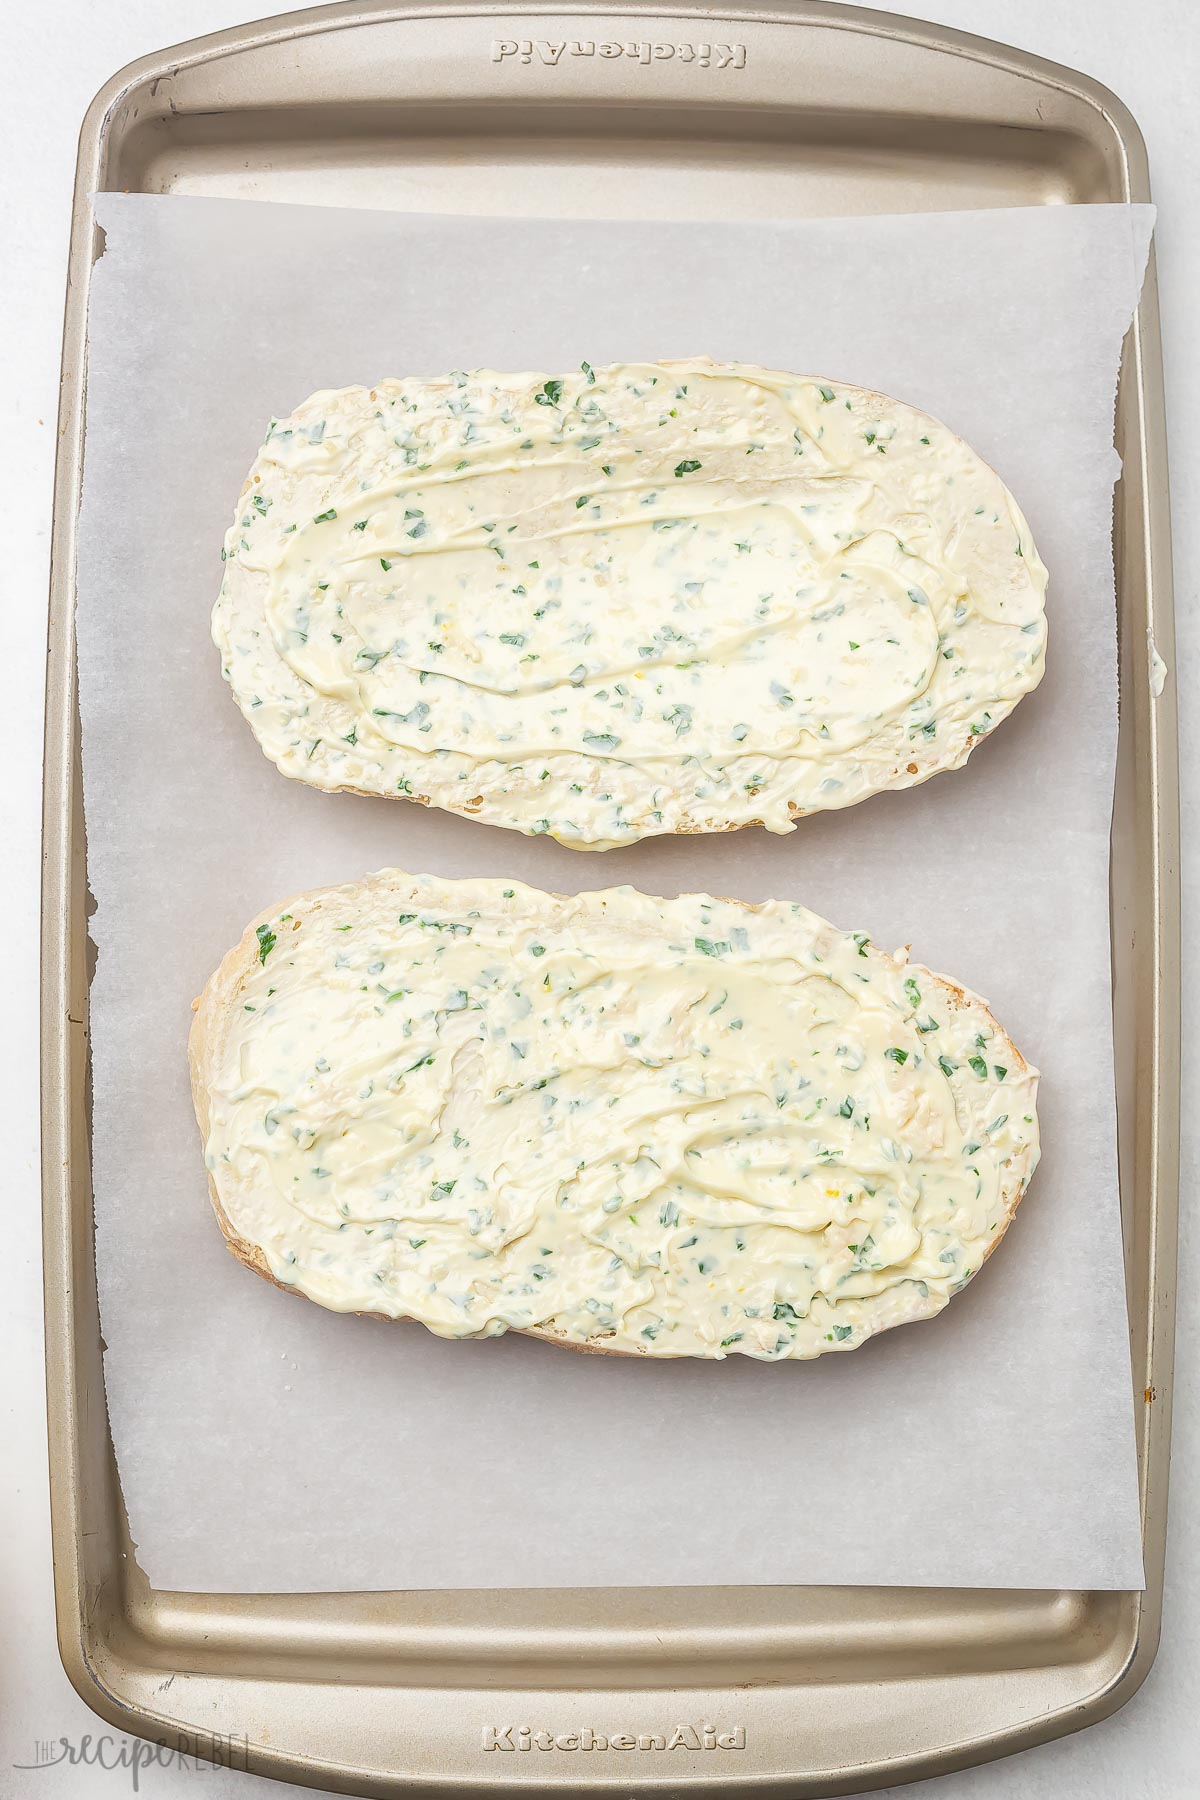
- Add butter to bread: Spread butter evenly on the bread slices.
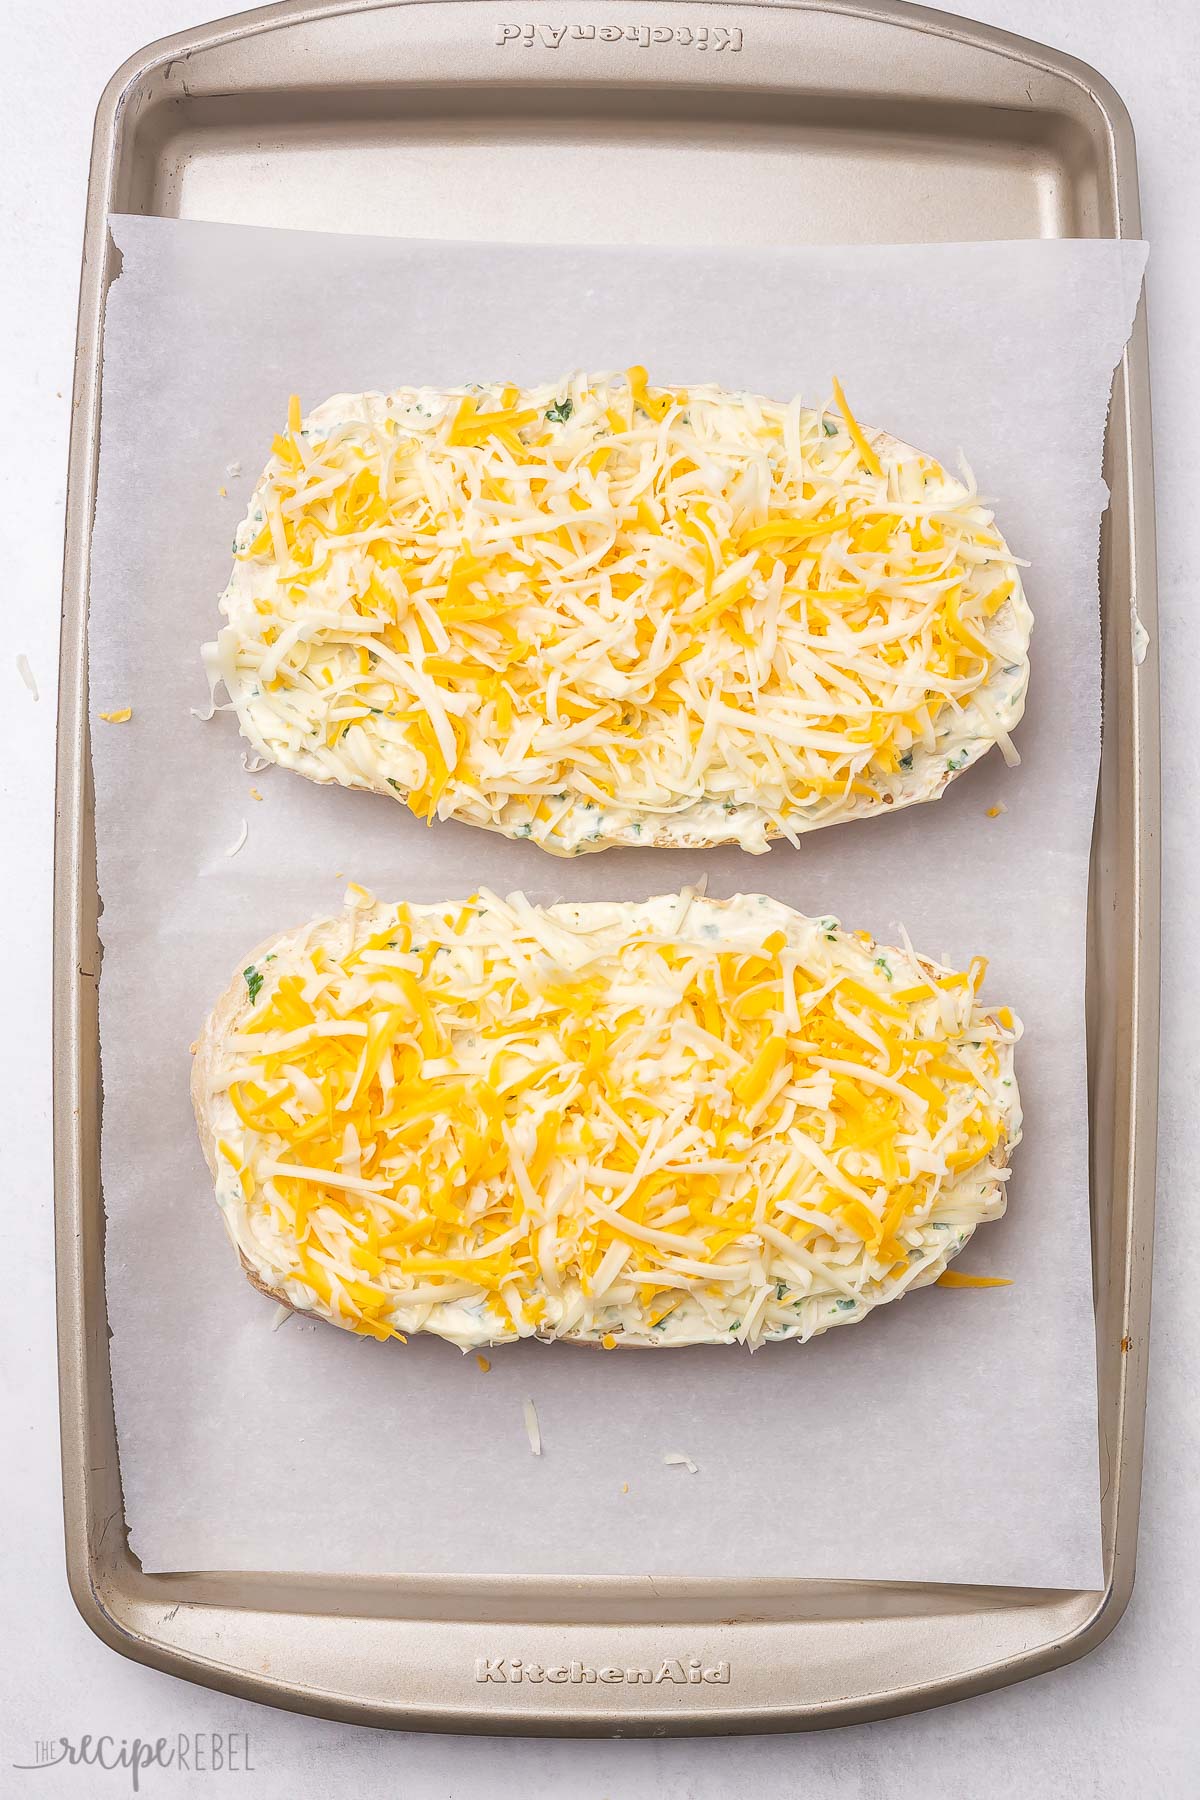
- Add cheese: Add shredded cheese evenly on the slices.
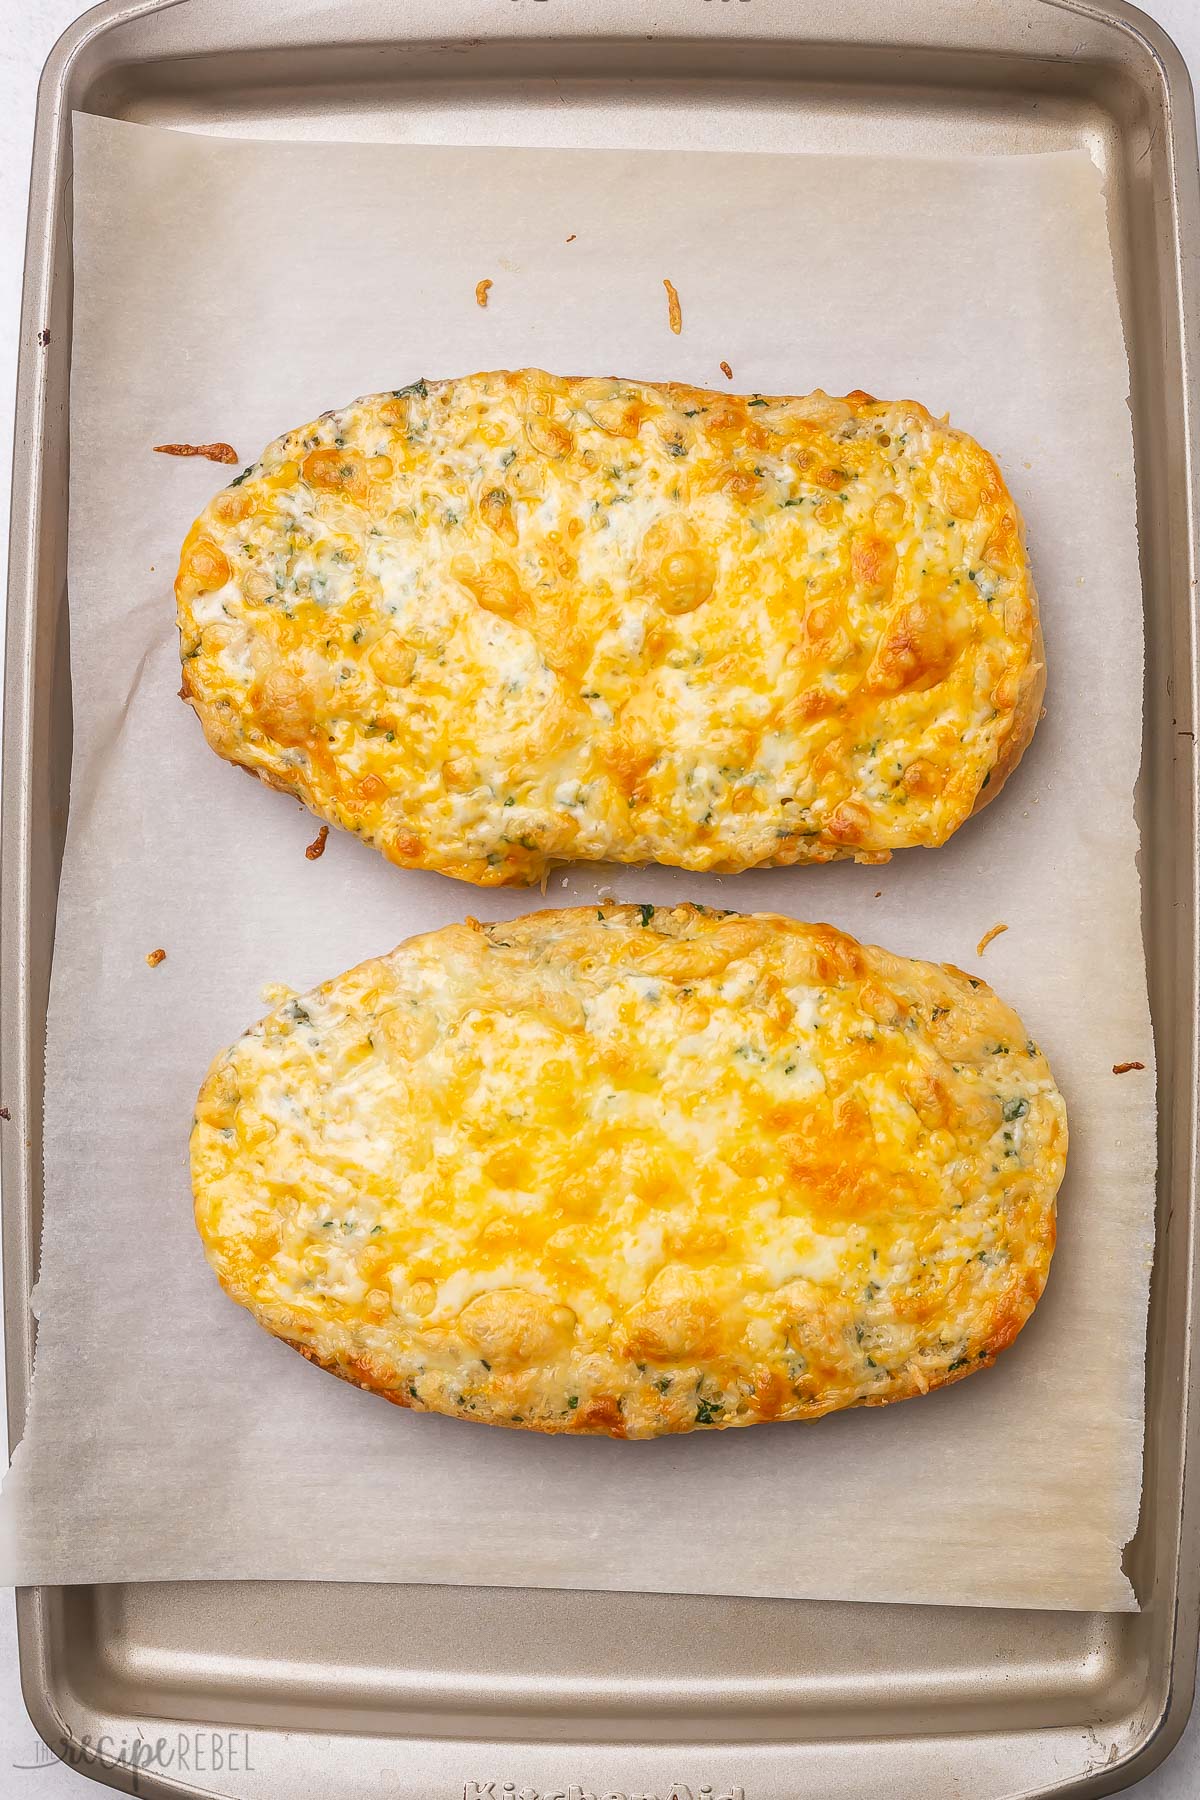
- Bake: Bake until desired crispness is reached.
Cheesy Garlic Bread FAQs
You can make the homemade garlic butter ahead of time. It will last for up to a week in the fridge or for up to 6 months in the freezer. Keep it on hand so you can whip up fresh cheesy garlic bread quickly and easily anytime you wish!
Store cheesy garlic bread in an airtight container in the refrigerator for 2-3 days. Allow it to cool to room temperature before putting it in the fridge.
I recommend reheating in the oven or the air fryer for a crisp texture.
Yes! Have cheesy garlic bread on hand by making it up, cooking it, and letting the slices completely cool. Place on a tray lined with parchment paper and put it in the freezer for 30 minutes.
Once frozen, you can put the bread slices in a freezer-safe container or in a Ziploc bag with parchment paper between each slice so it doesn’t stick. Store in the freezer for up to 6 months!
You can also freeze garlic bread before baking — simply prep completely, wrap in plastic wrap and freeze. If you bake from frozen, you may need to add 10-15 minutes.
Tips and Notes
- Real butter. Use real butter for this recipe, not margarine. It just has a better flavor!
- Room temperature. Softer butter will incorporate more easily with the other ingredients and have a smoother texture.
- Use fresh ingredients. I recommend using fresh parsley and fresh garlic for the best flavor.
Cheesy Garlic Bread Variations
- Mix up the herbs. Feel free to play around with herbs and spices. Try adding other fresh herbs such as rosemary, basil, oregano, or thyme. Use garlic powder as well as fresh garlic for a stronger flavor.
- Spice it up. Add ground black pepper, some red pepper flakes, or chili powder to the tops of your cheesy garlic bread slices for a bit of heat.
- Cheese. Use other cheeses like Monterey Jack, Provolone, or even a Mexican Cheese Mix for more flavor!

Serving Suggestions
This cheesy garlic bread is perfect as a side dish to just about any meal, but it will taste wonderful with a tomatoey main dish like this Easy Lasagna, my delicious Baked Ziti, and this reader-favorite One Pot Hamburger Helper dish!
Other side dishes that will work well with this garlic bread are my Air Fryer Green Beans, this Air Fryer Broccoli, or Corn on the Cob for some added color!
More Bread Recipes to Try
- Whole Wheat Bread Loaf
- Homemade Crescent Rolls
- Mom’s Homemade Buns
- Homemade Soft Pretzels
- Buttery Bread Machine Rolls
- No Knead Artisan Bread


Cheesy Garlic Bread
written by Ashley Fehr

Ingredients
- ½ cup salted butter room temperature (you can use unsalted and add salt)
- 2 cloves garlic very finely chopped about 1 ½ teaspoons fresh or ½ teaspoon garlic powder
- 1 tablespoon fresh parsley finely chopped
- 1 tablespoon grated Parmesan cheese
- 1 loaf French bread
- 2 cups mozzarella cheese shredded
- 1 cup cheddar cheese shredded
Instructions
- Preheat oven to 375 degrees F.
- In a medium bowl, add butter, garlic, parsley, and Parmesan cheese.
- Beat ingredients with an electric mixer on medium speed until combined and creamy. Taste and adjust to your preferences as desired.
- Slice french bread in half crosswise and place on parchment lined baking sheet with the cut side up. Press halved loaves down with a cutting board or another sheet pan (this helps to prevent the edges from curling too much).
- Spread butter evenly on the cut sides. Top each slice with shredded cheese.
- Bake at 375 degrees F for 8-10 minutes until desired crispness is reached, broiling to brown further if desired.
- Garnish with finely chopped parsley, then slice into strips. Serve hot.
Notes
- Make Ahead: You can make the homemade garlic butter ahead of time. It will last for up to a week in the fridge or for up to 6 months in the freezer. Keep it on hand so you can whip up fresh cheesy garlic bread quickly and easily anytime you wish!
- Store: Store cheesy garlic bread in an airtight container in the refrigerator for 2-3 days. Allow it to cool to room temperature before putting it in the fridge.
- Freeze: Make the cheesy garlic bread, cook it, and let the slices completely cool. Place on a tray lined with parchment paper and put it in the freezer for 30 minutes. Once frozen, you can put the bread slices in a freezer-safe container or in a Ziploc bag. Wrap the slices individually in plastic wrap, or put parchment paper between each slice so they don’t stick together. Store in the freezer for up to 6 months.
Nutrition Information
Want to save this recipe?
Create an account easily save your favorite content, so you never forget a recipe again.
Tried this recipe?
Tag @thereciperebel or hashtag #thereciperebel — I love to see what you’re making!
Tag @thereciperebel
megan baldwin says
Easy to make and even easier to eat!! Delicious!
The Recipe Rebel says
Hi Megan! So glad you enjoyed the recipe! Thank you for this kind review!
AshleyMara says
Easy recipe and so delicious!
The Recipe Rebel says
Hi AshleyMara! So glad you enjoyed the recipe! Thank you for this kind review!